Make a Star Wars valentine in the image of the galaxy's fuzziest walking carpets.
If you had to pick one Star Wars character to give you a hug, who would you choose? A supportive embrace from Han Solo? A group hug with Rey, Poe, and Finn? Grogu’s little hand around your finger? (Um, how about all of the above?) Listen, we all know who gives the best hugs in the galaxy: Chewbacca!
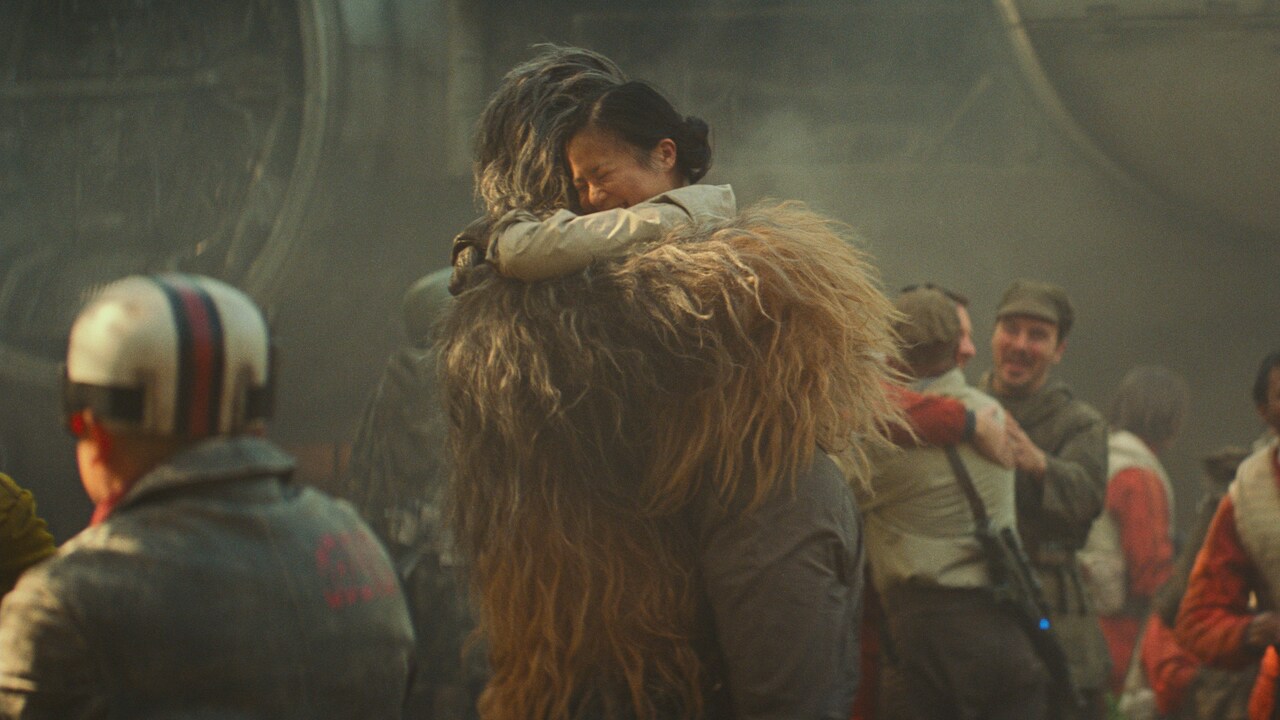
Share those same warm feelings — without all the Wookiee fur — by making them a special Star Wars valentine! All you need is paper, scissors, glue, and a template. Whether you’re making a valentine for your best bud or for an entire class of younglings, this valentine is sure to make its recipient let out a happy roar.
Rrarrrggh (What You’ll Need)
Scissors
Brown cardstock paper
Pencil
Small hole punch
Small heart hole punch (optional)
Black cardstock or construction paper
School glue
Kraft paper or paper grocery bag
Fine tip black marker
Heart stickers of various sizes
Aaahhhrrggghh! (Get Started!)
Step 1: Cut out the pieces of the Wookiee hug template. Save the remaining piece of paper for now and set aside.
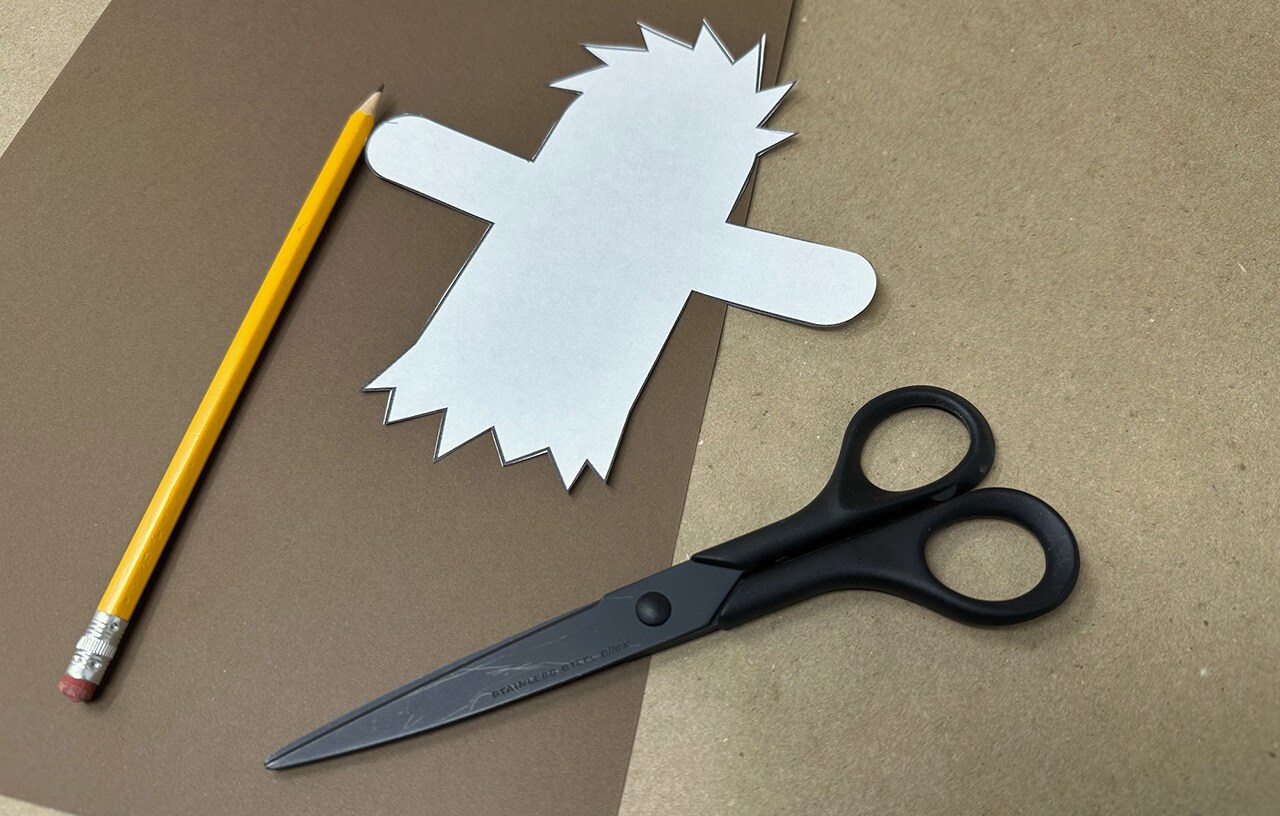
Step 2: Next, trace the Wookiee shape on the brown cardstock paper. Cut it out with scissors.
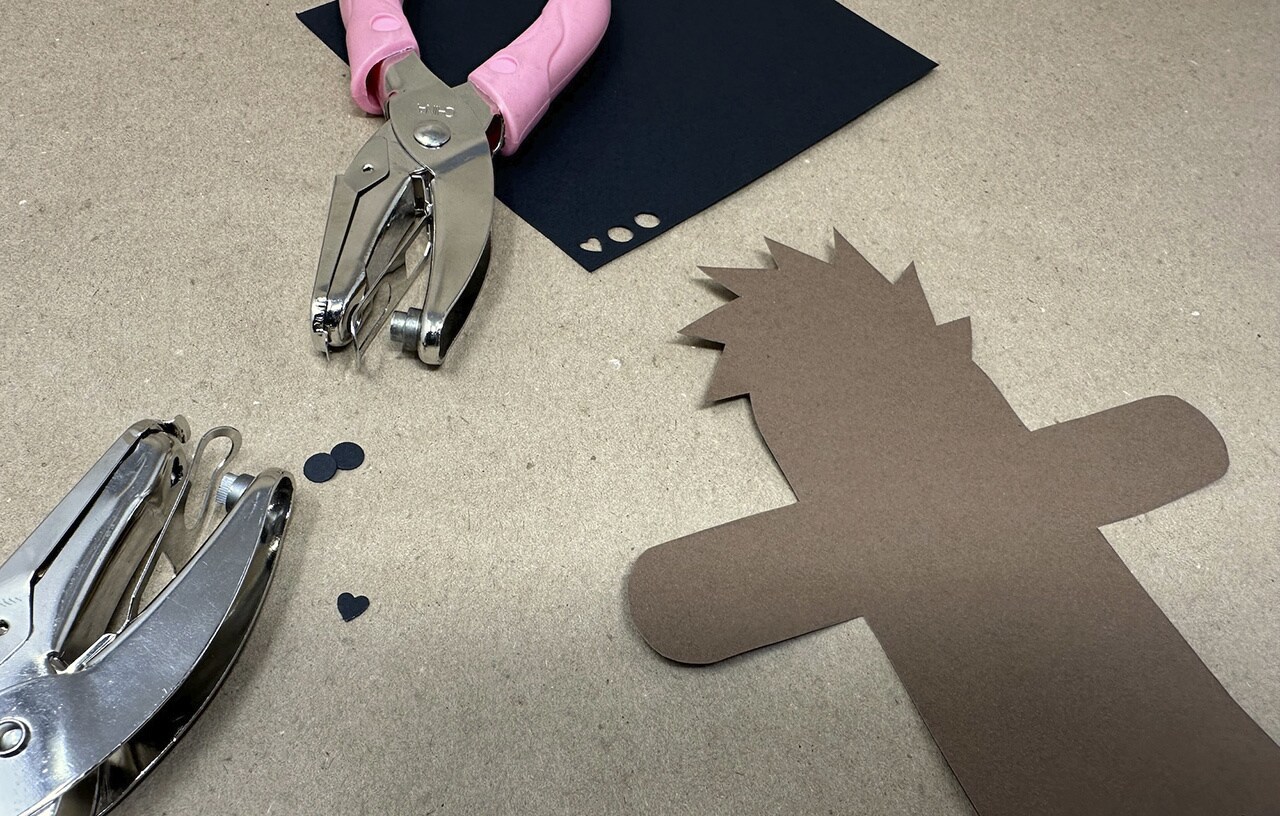
Step 3: Punch two holes in the black paper for the Wookiee’s eyes, and punch one heart for the Wookiee’s nose.
Tip: If you don’t have a heart hole punch, cut a tiny heart from the black paper.
Step 4: Use the school glue to fix the eyes and nose in place.
Step 5: Next, cut a thin strip from the kraft paper or brown paper bag.
Step 6: Cut a thin strip from the remaining piece of paper from the template, about the same width as the brown paper strip. Cut it into five or six smaller rectangle pieces.
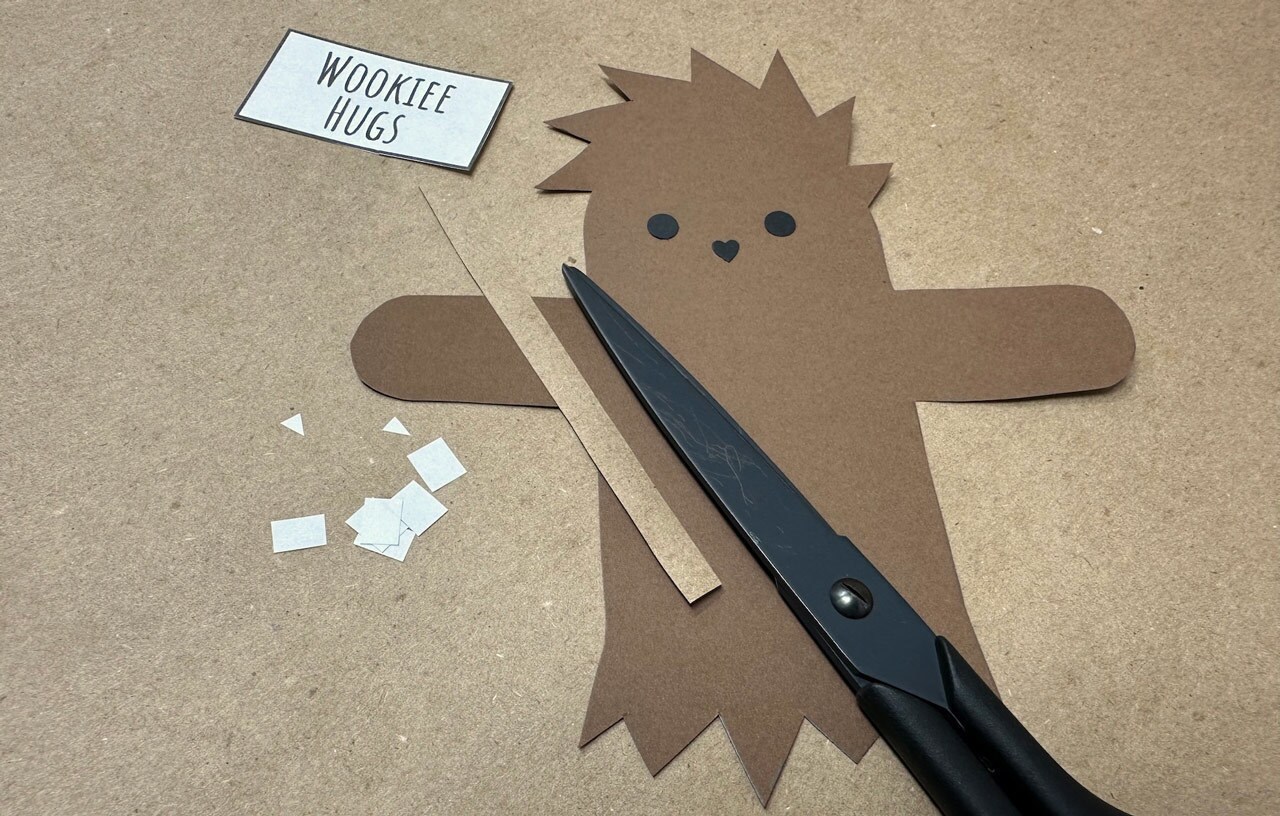
Step 7: Cut two tiny triangles from the template paper for the Wookiee’s teeth. You can discard the rest of the template paper.
Step 8: Glue the brown strip across the Wookiee’s body. Let dry, then trim the overhanging edges.
Step 9: Glue the small white rectangles along the brown strip to finish the bandolier.
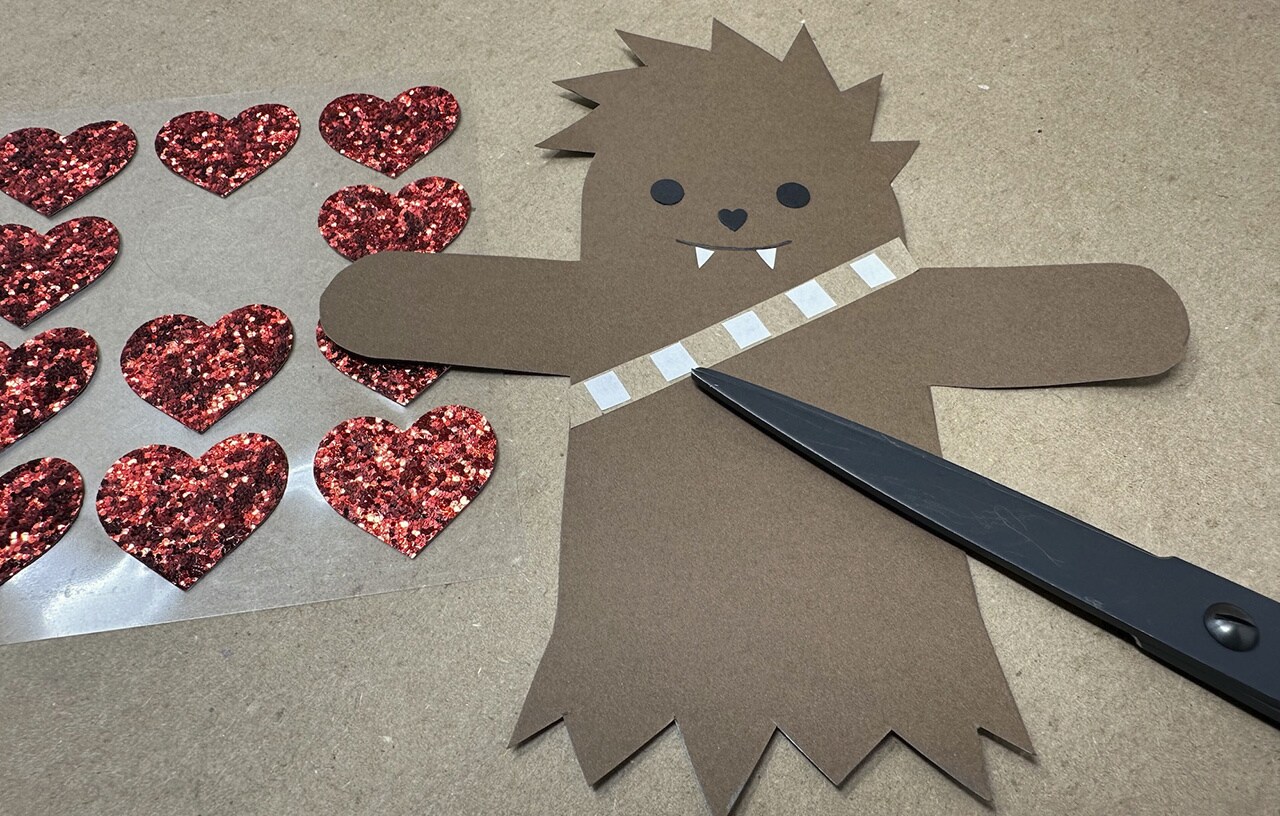
Step 10: Use the fine tip black marker to draw the Wookiee’s smile. Glue the two tiny triangles below it for the teeth, and then let all glue dry.
Tip: You may want to lightly draw the mouth with a pencil first for best placement, then trace it with the marker.
Step 11: Next, glue the words from the template on the valentine, with “WOOKIEE HUGS” on the bottom half.
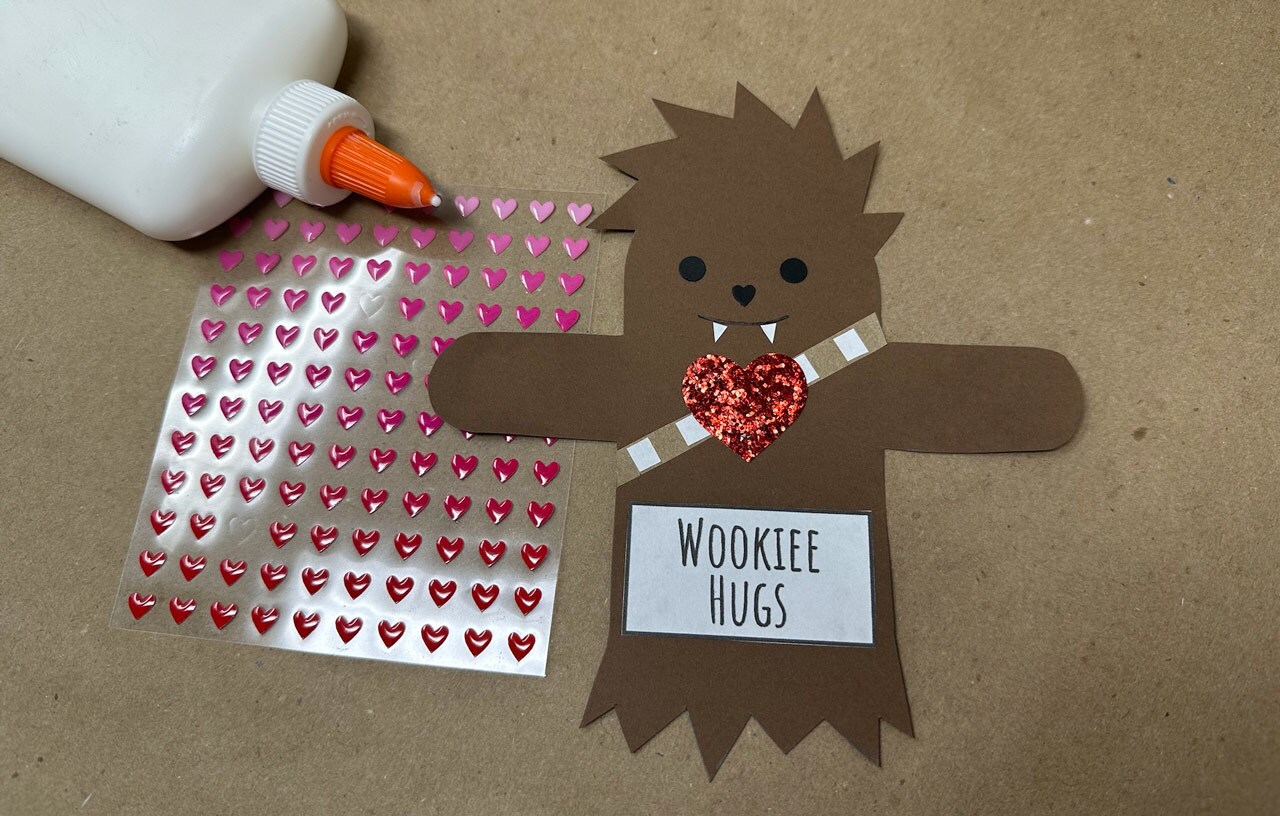
Step 12: Stick a heart sticker in the middle of the bandolier. Decorate the text and valentine with additional heart stickers as desired.
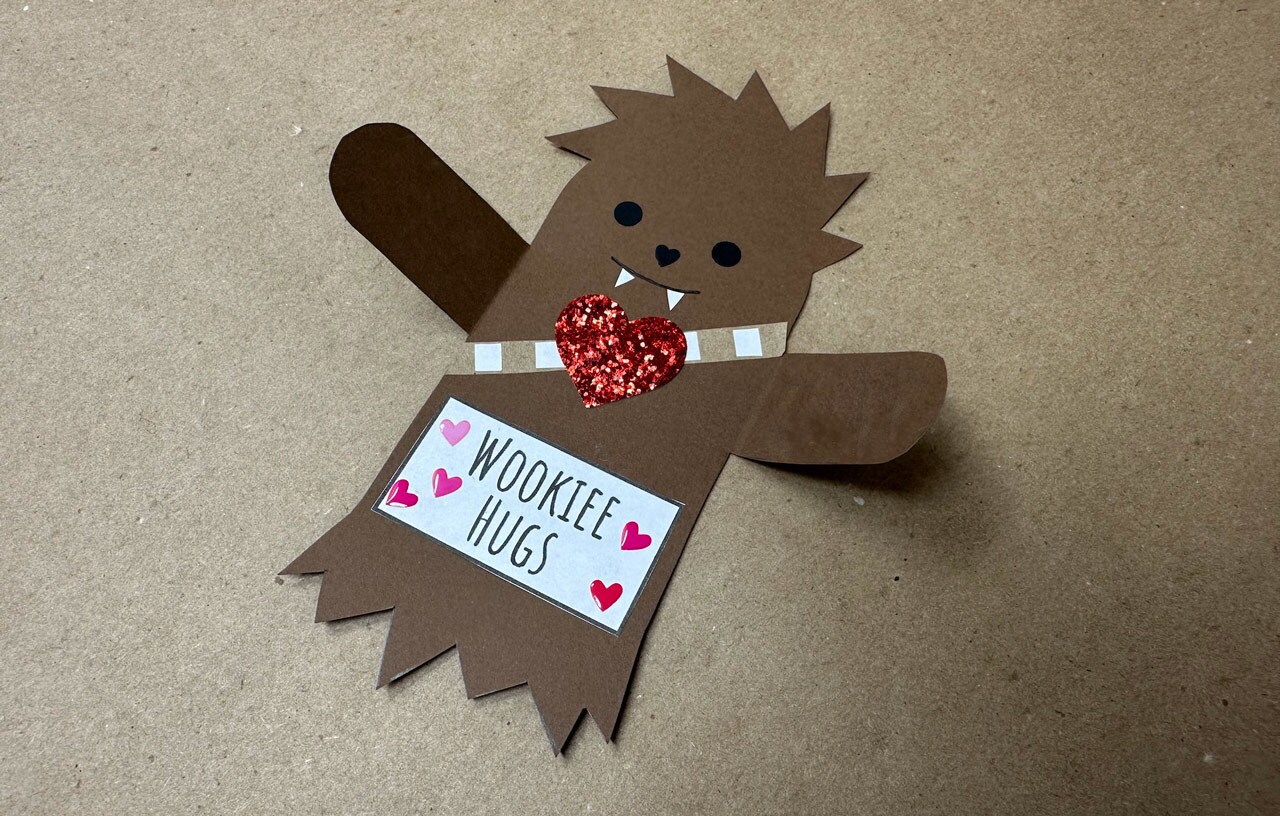
Step 13: Fold the Wookiee’s arms in to meet in the middle to complete the valentine.
Your Wookiee is ready to give all the hugs! For an extra special Valentine’s Day, pair your cards with some delicious homemade Wookiee cookies inspired by the Padawan Gungi.

