
-
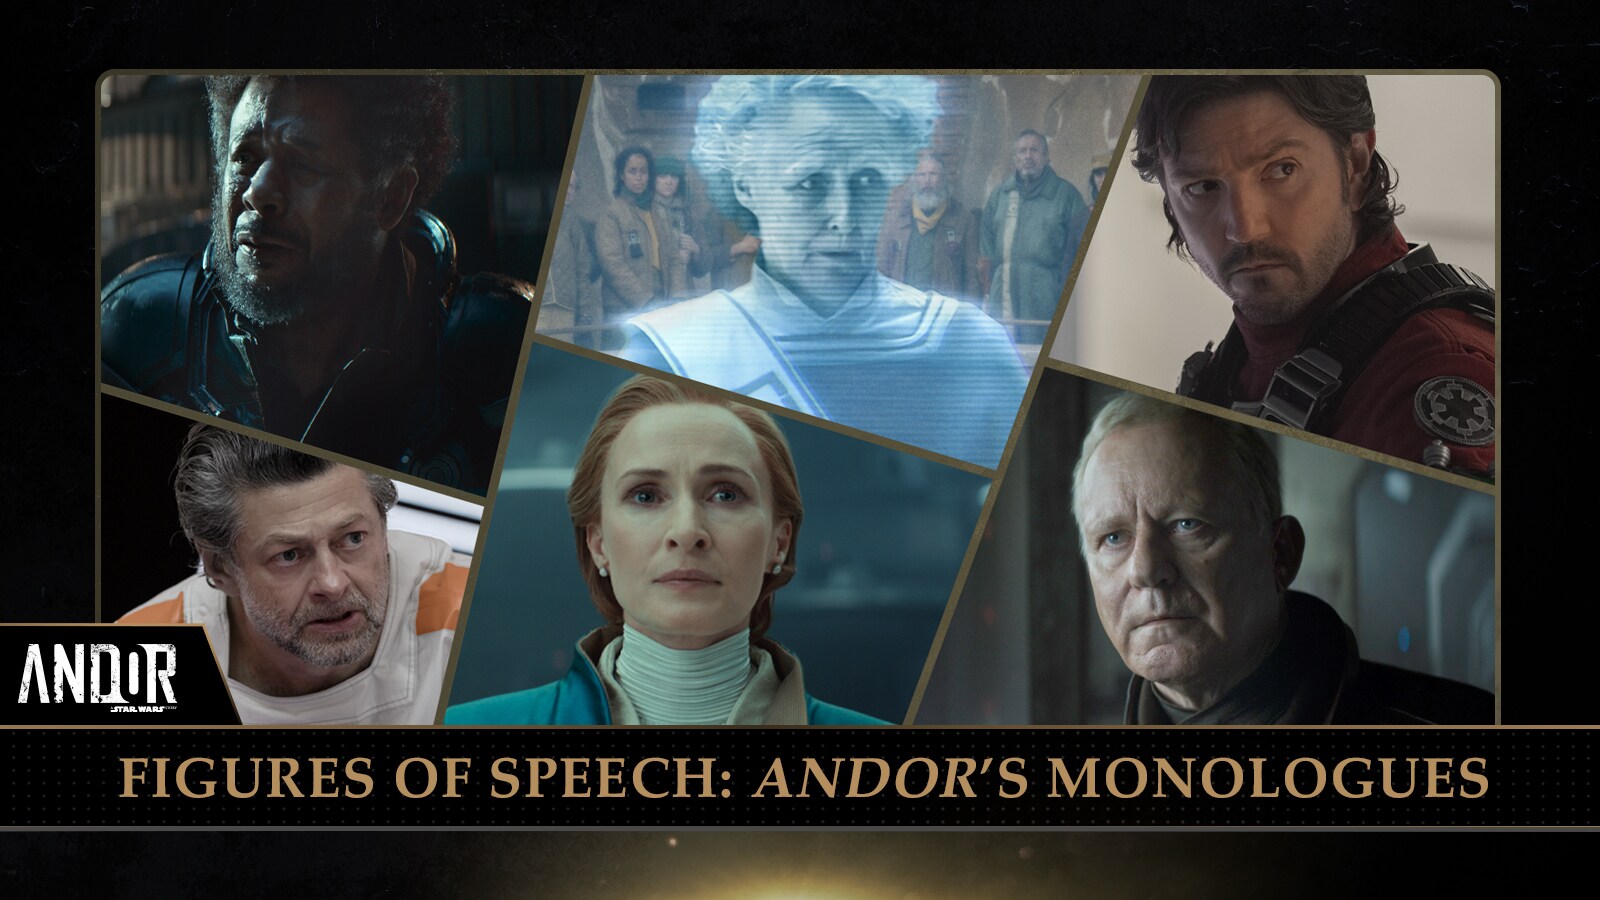
![Saw, Kino, Maarva, Mon, Luthen, and Cassian give speeches in Andor.]()
Figures of Speech: Andor’s Monologues
The critically acclaimed series is filled with incredible monologues that remind us what the Rebellion is all about.
-
![Star Wars Coca-Cola cans on a red horizon]()
Star Wars and Coca-Cola Collaboration Will “Refresh Your Galaxy”
The collaboration showcases the legendary storytelling of Star Wars with the magic of Coca-Cola.
-
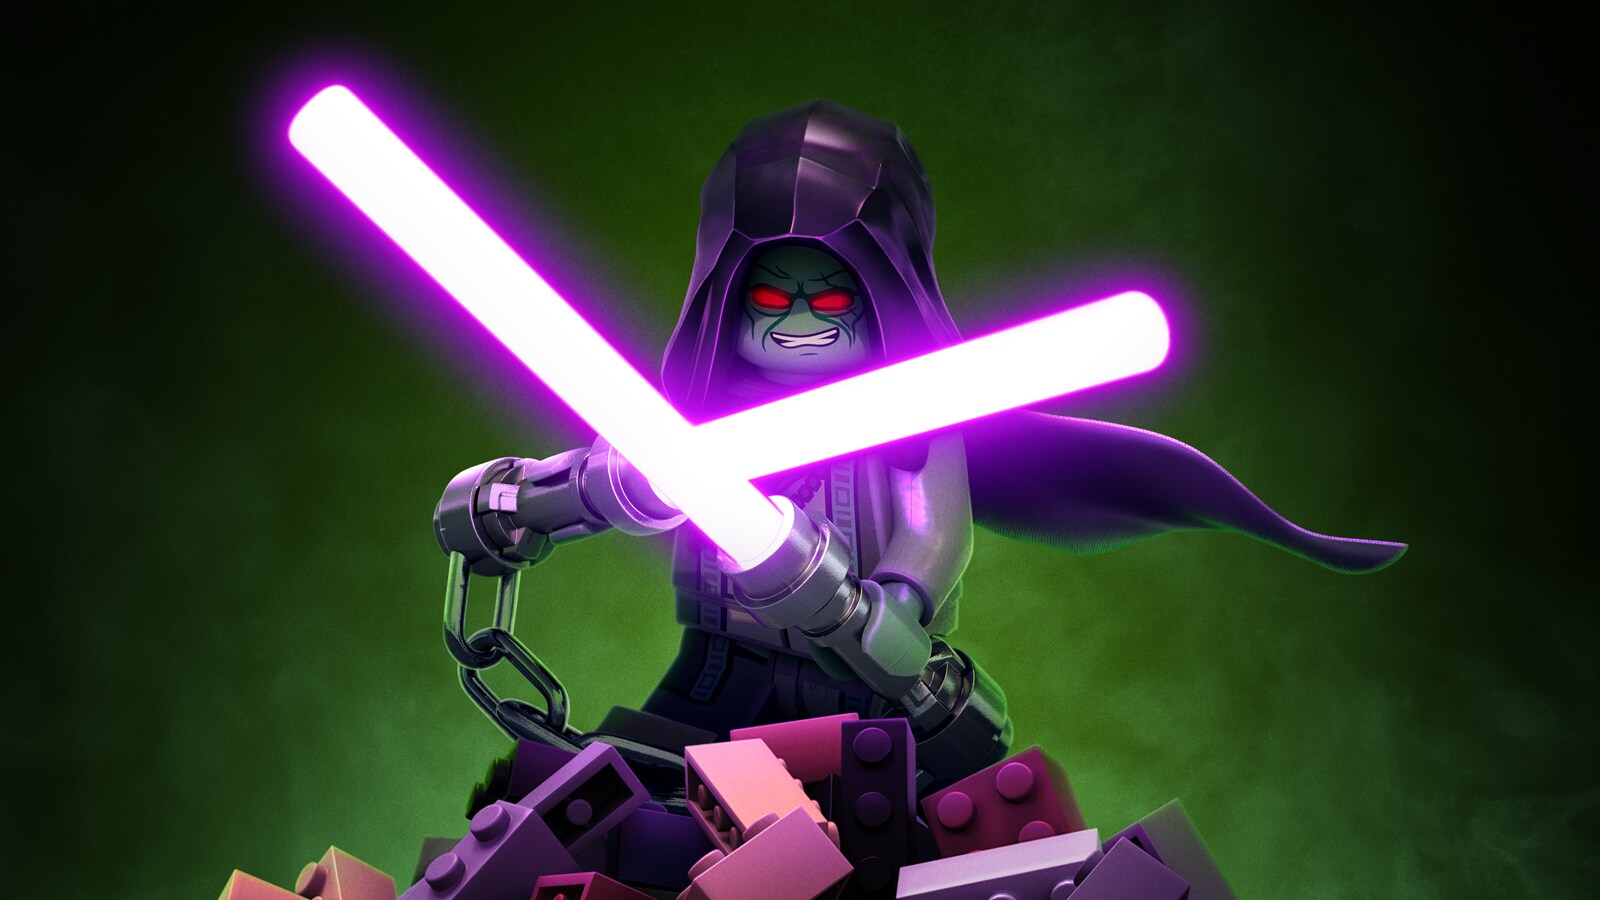
![LEGO Star Wars: Rebuild the Galaxy - Pieces of the Past Solitus character poster.]()
![LEGO Star Wars: Rebuild the Galaxy - Pieces of the Past logo]()
Get a first look at Master Solitus and the reveal of The Force Burner Snowspeeder LEGO set.
-
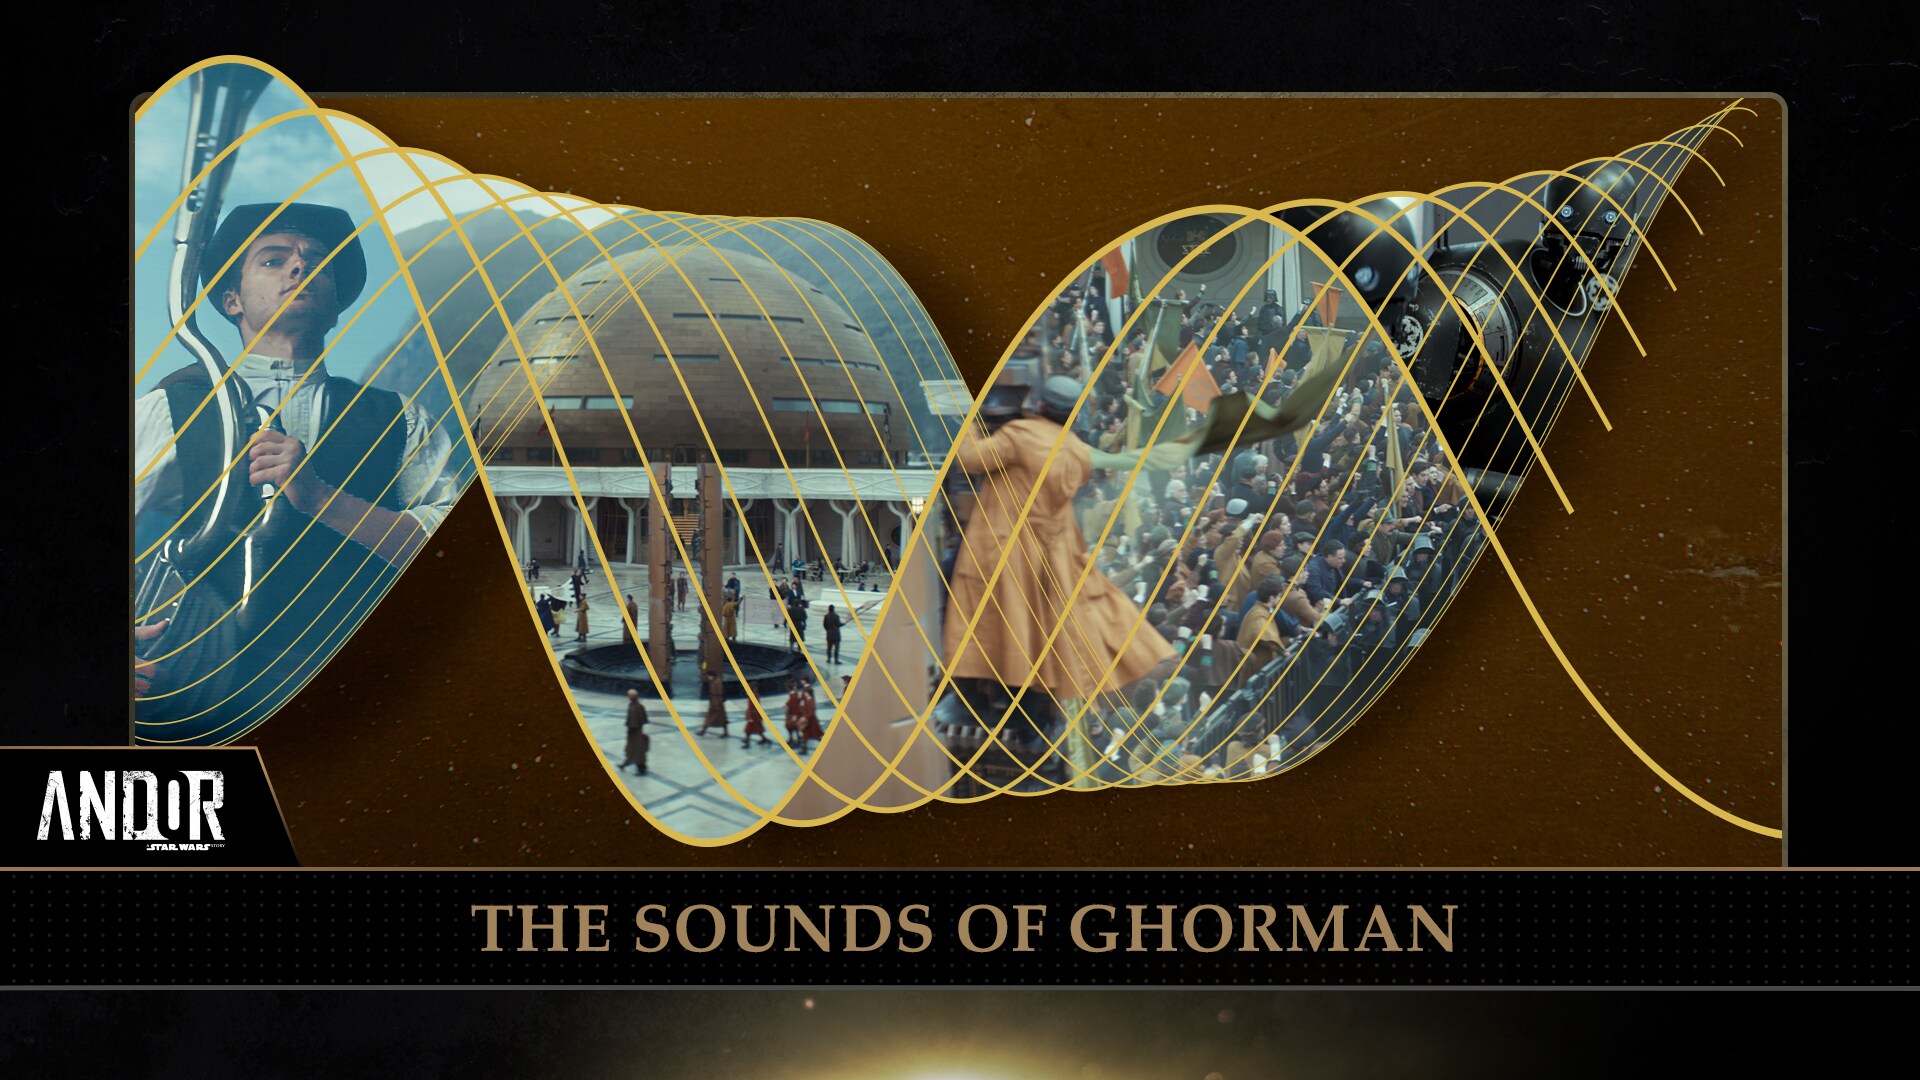
![Sine wave collage of scenes from Andor]()
The Making of Andor: The Sounds of Ghorman
Go behind the scenes of the creation of the Ghorman soundscape, complete with its own language and unique anthem.
-
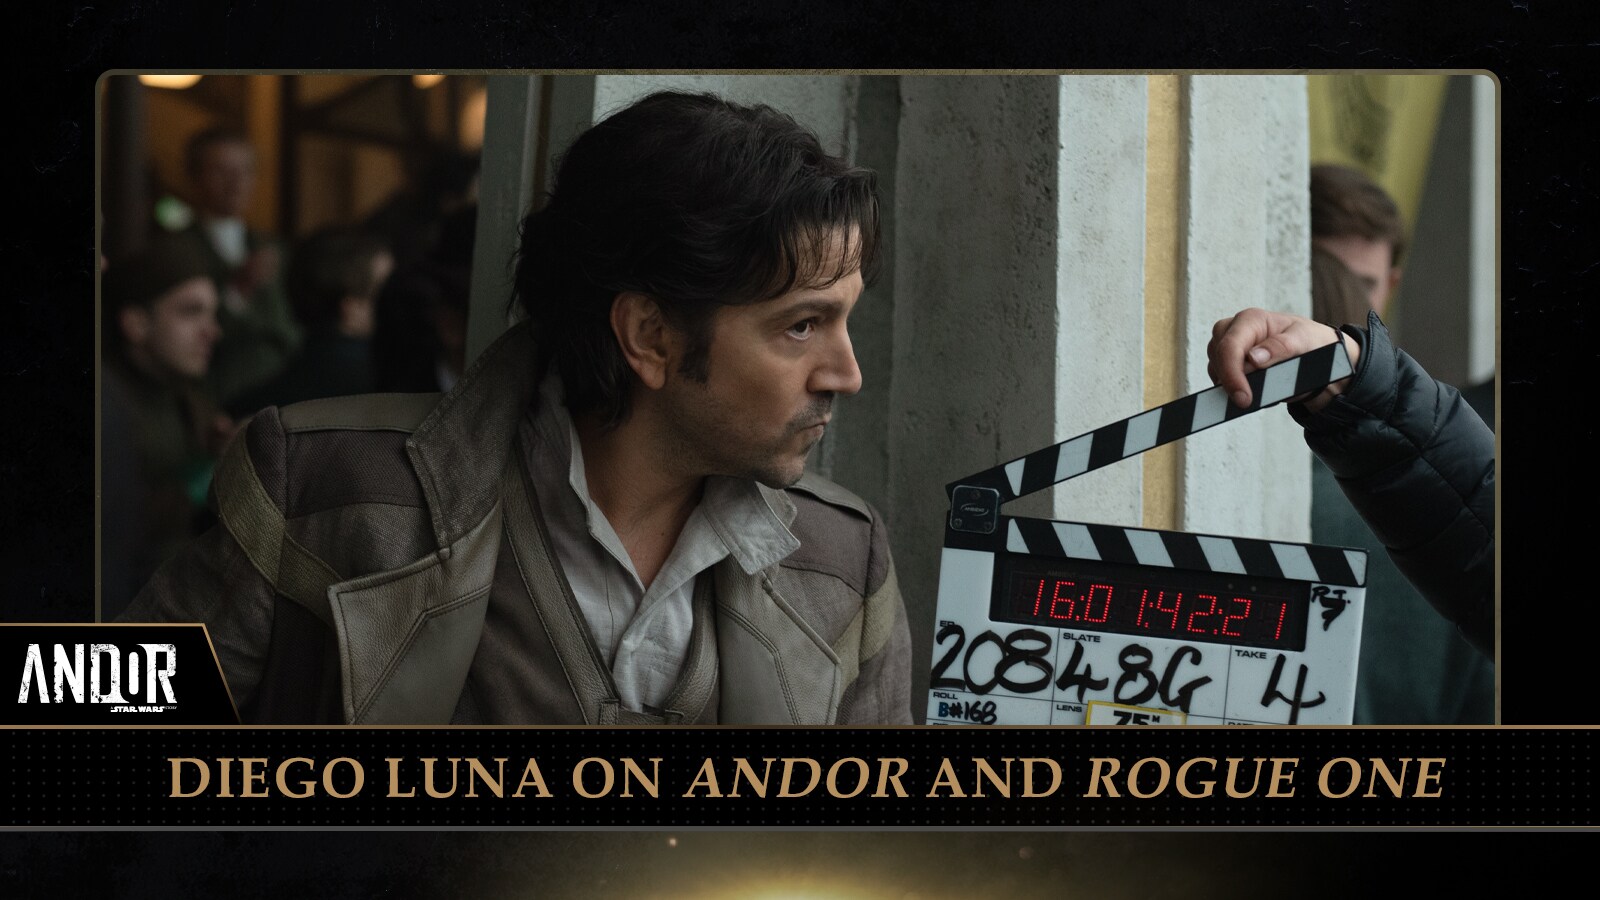
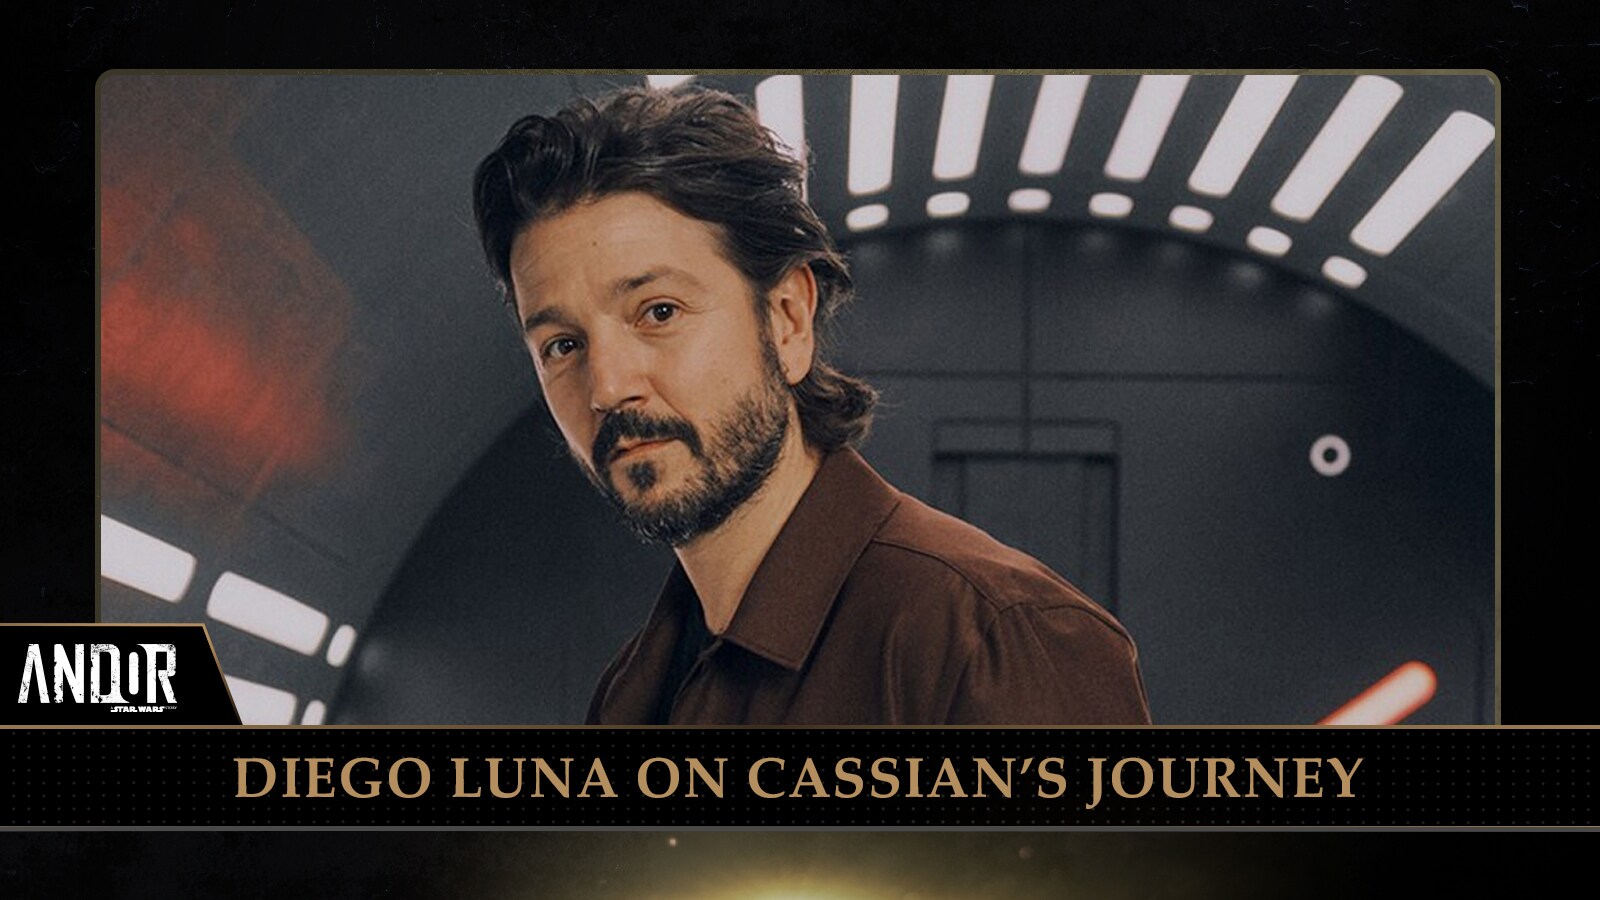
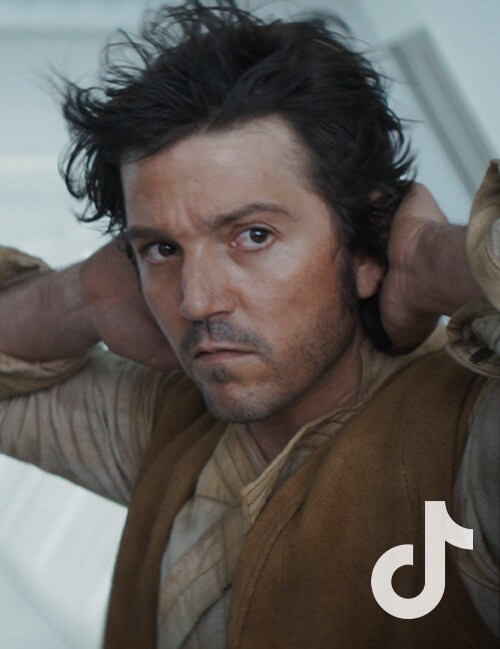
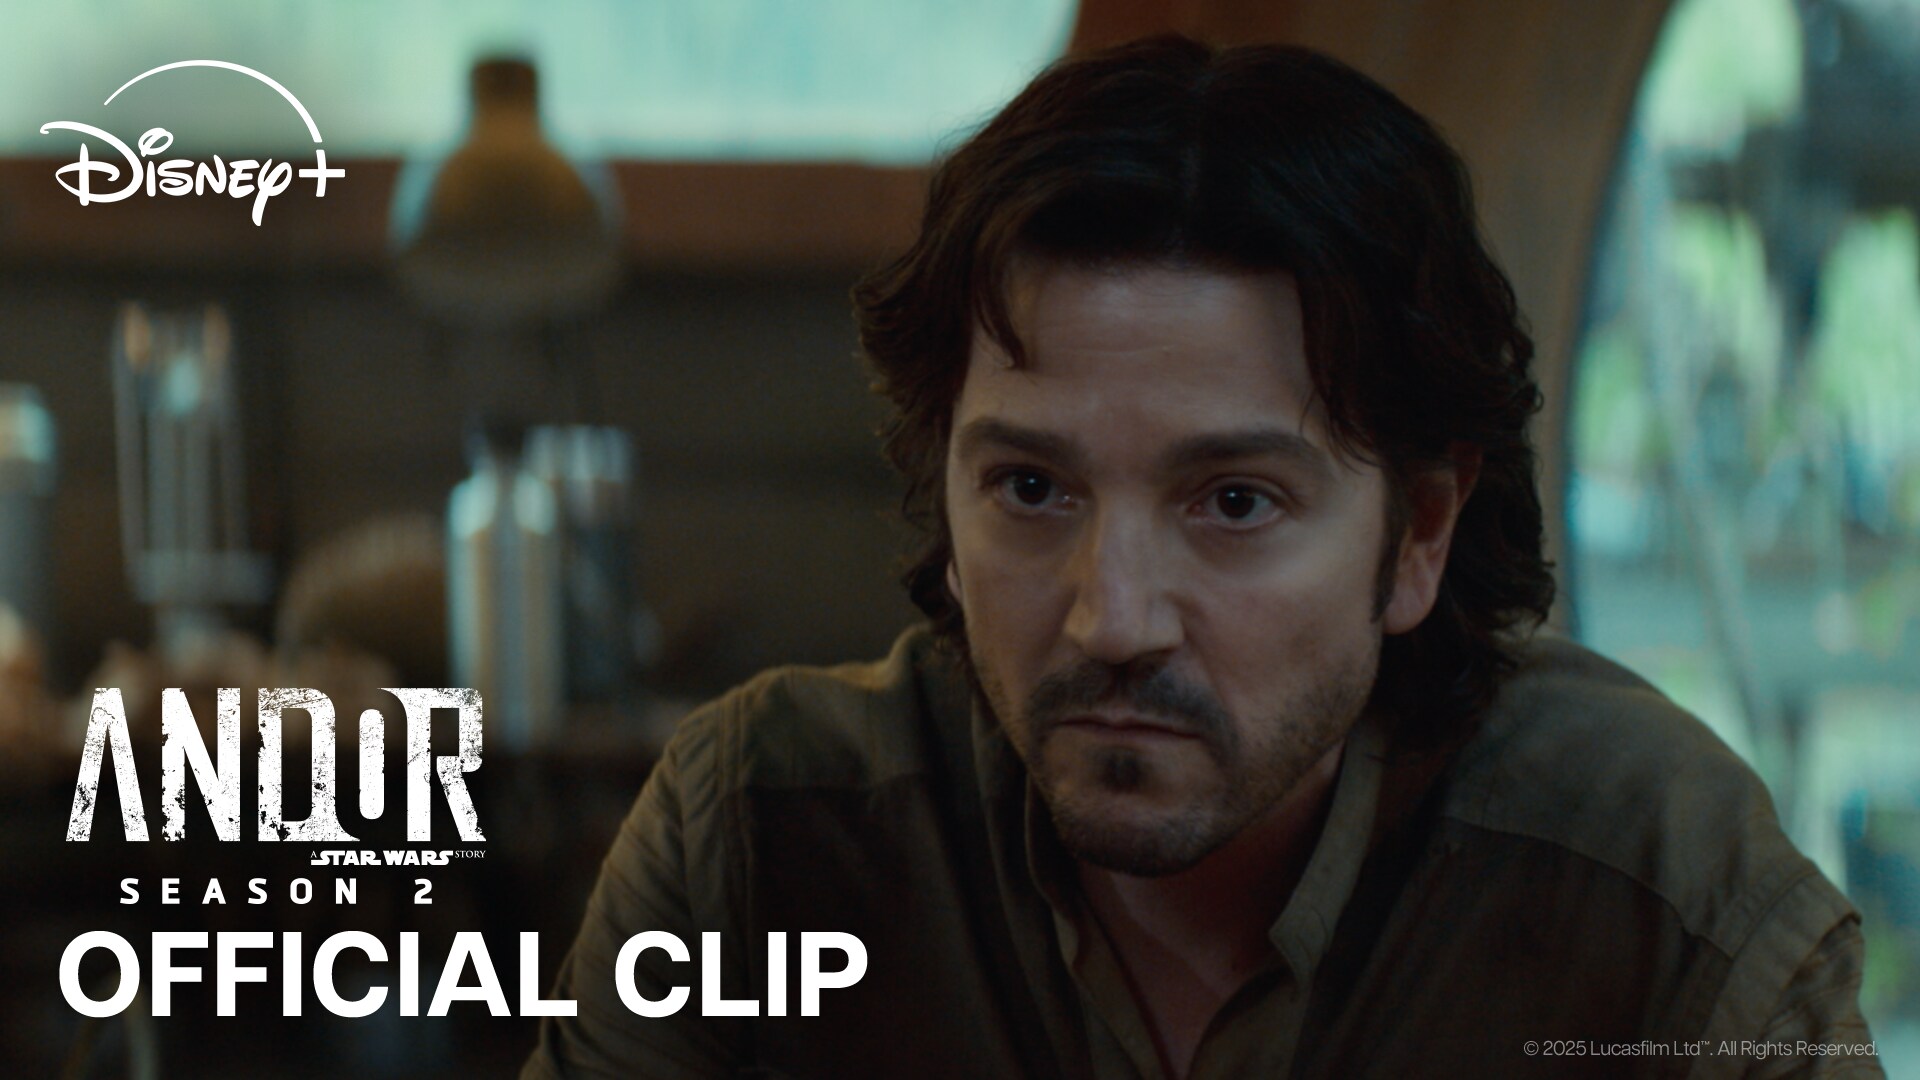
![Diego Luna on the set of Andor season 2]()
Diego Luna on the Legacy of Andor and Rogue One
The star of Andor looks back on the acclaimed series, Cassian's most important missions, and more.
-
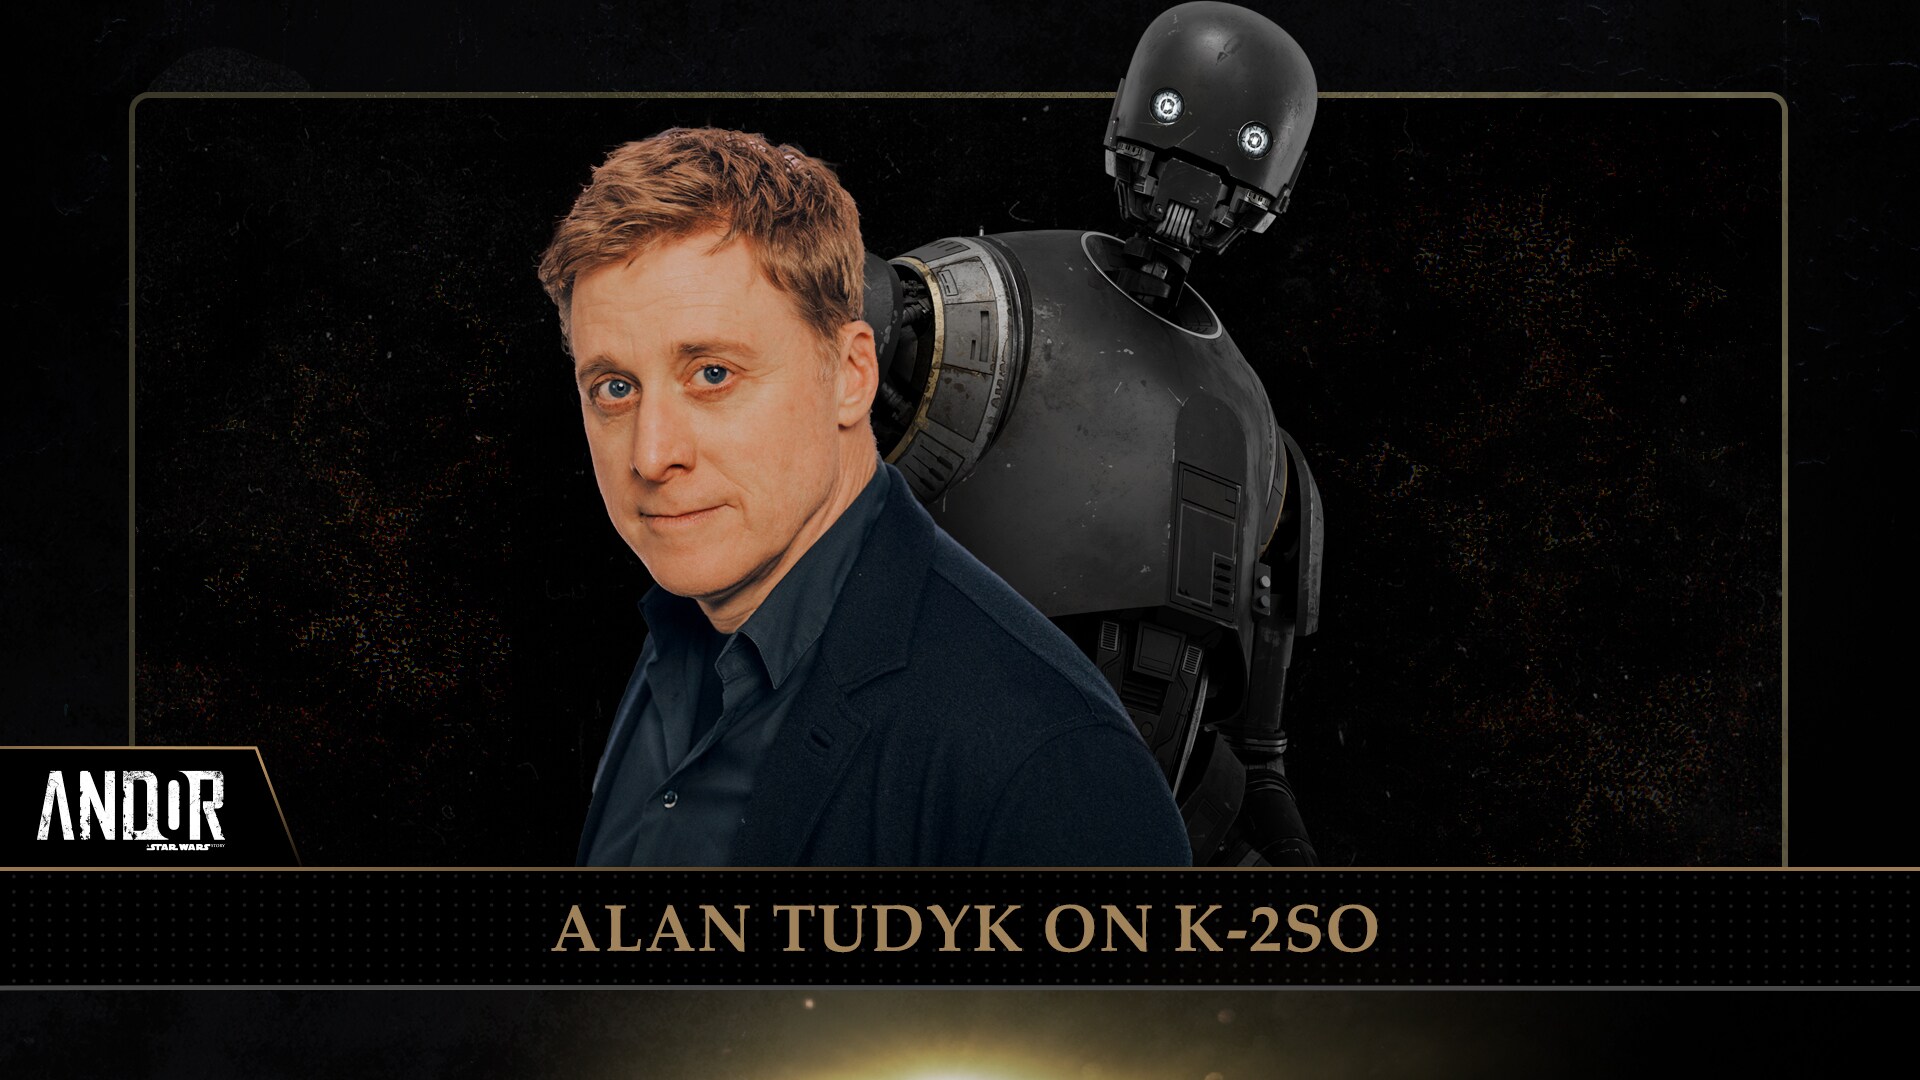
![Alan Tudyk and K-2SO]()
Andor’s Alan Tudyk Captures the Childlike Joy of K-2SO
Is Cassian Andor basically K-2's dad?
-
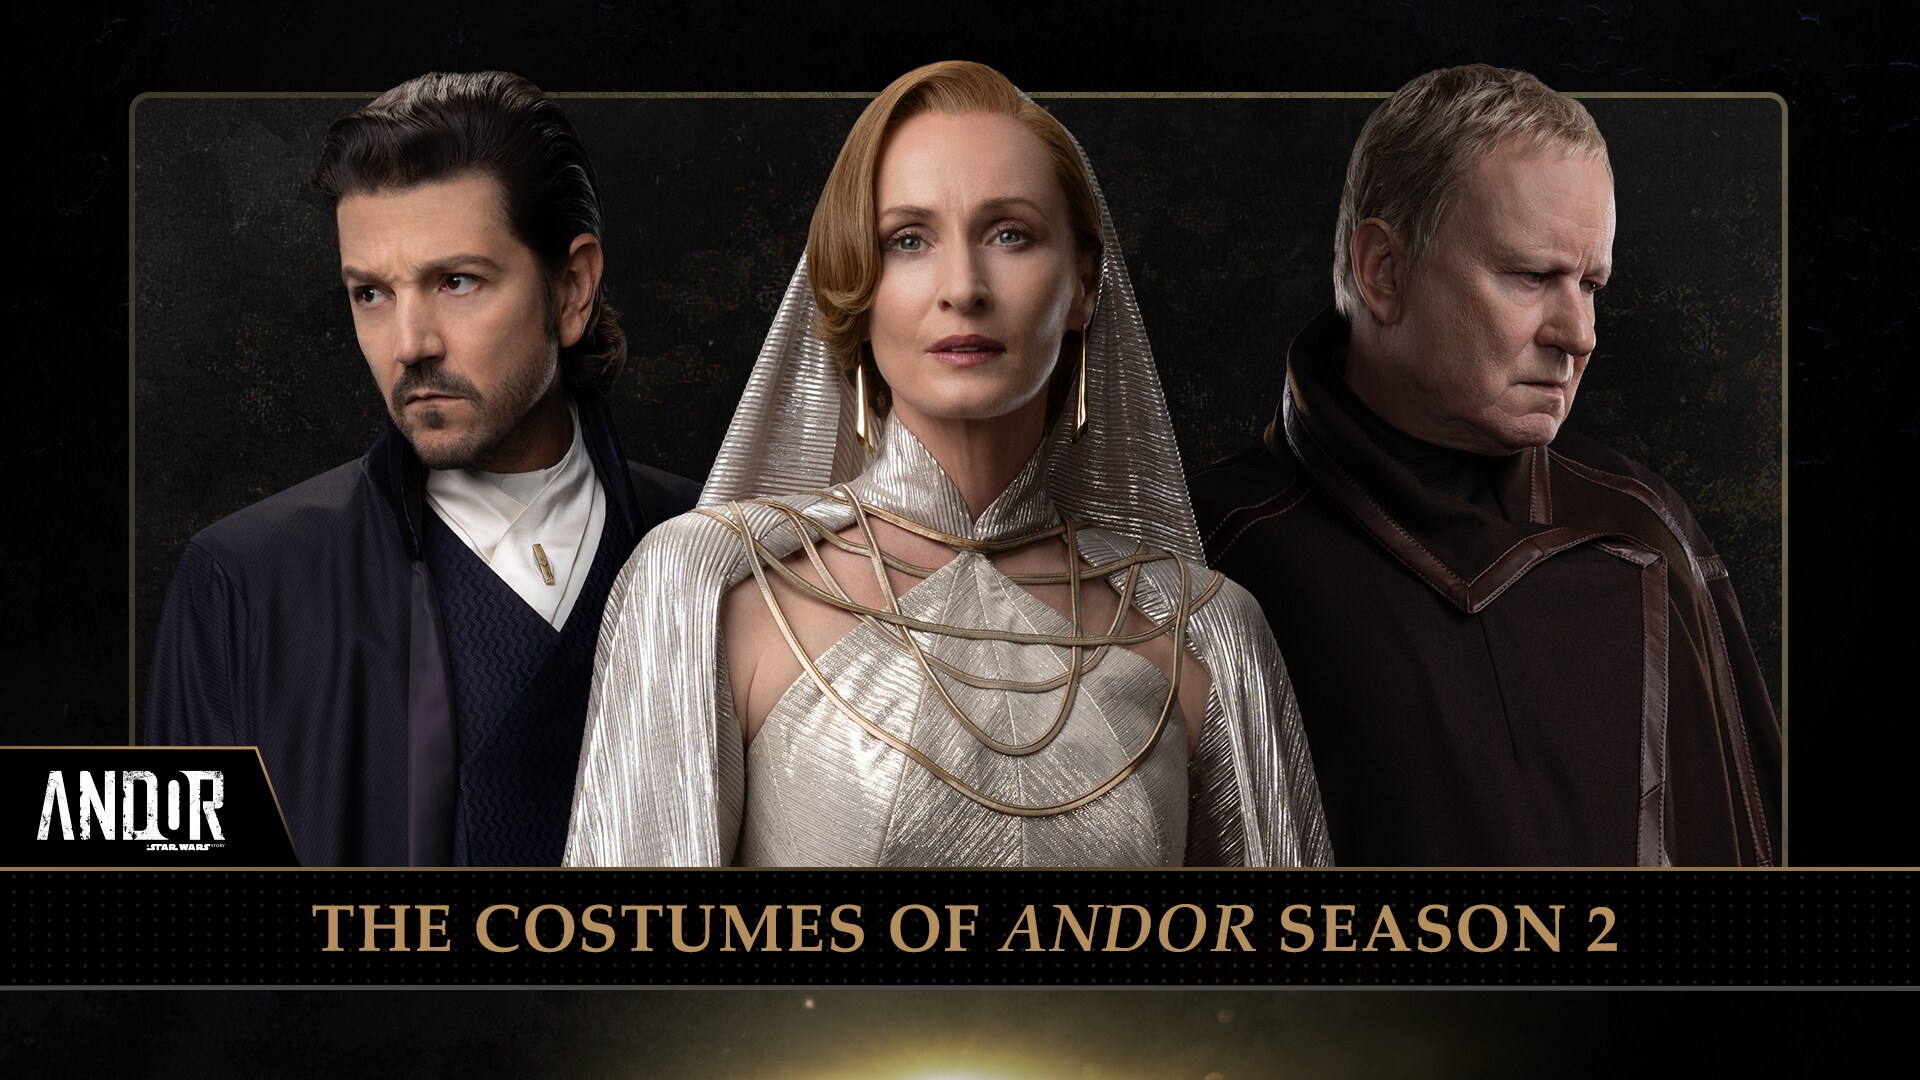
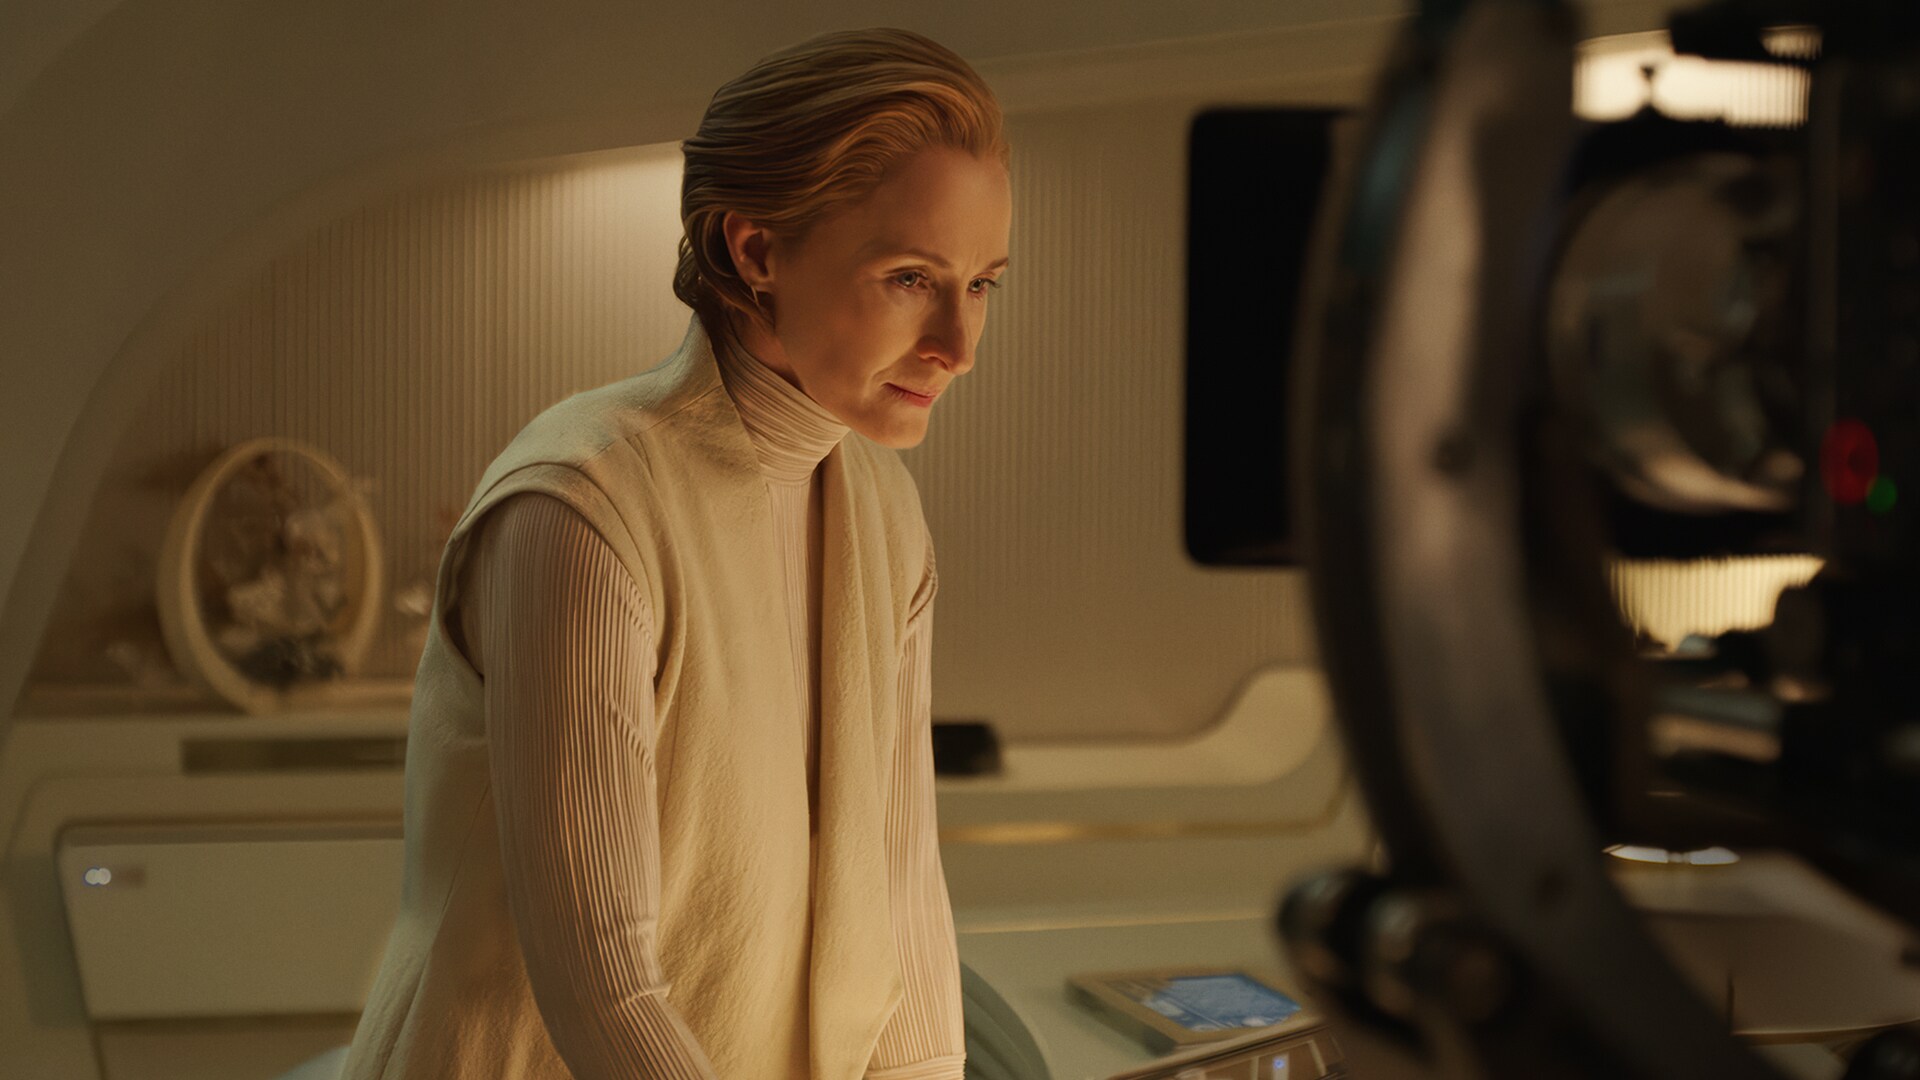
![Cassian Andor, Mon Mothma, and Luthen Rael - The Costumes of Andor Season 2]()
The Costumes of Andor Season 2
Costume designer Michael Wilkinson on designing the Rebellion.


Andor’s Monologues
Star Wars and Coca-Cola
Rebuild the Galaxy - Pieces of the Past Reveals
The Sounds of Ghorman
Diego Luna on the legacy of Rogue One
Alan Tudyk on K-2SO
The Costumes of Andor Season 2


of


Latest Video
View All


TM & © Lucasfilm Ltd. All Rights Reserved