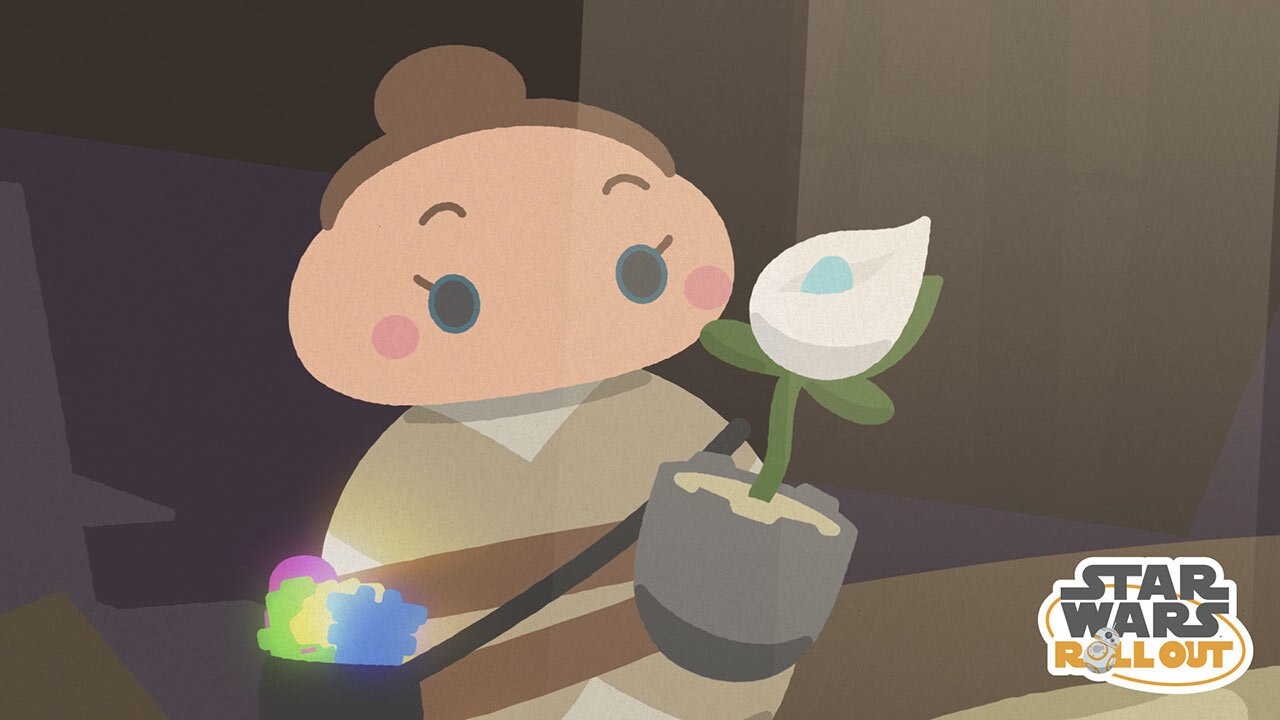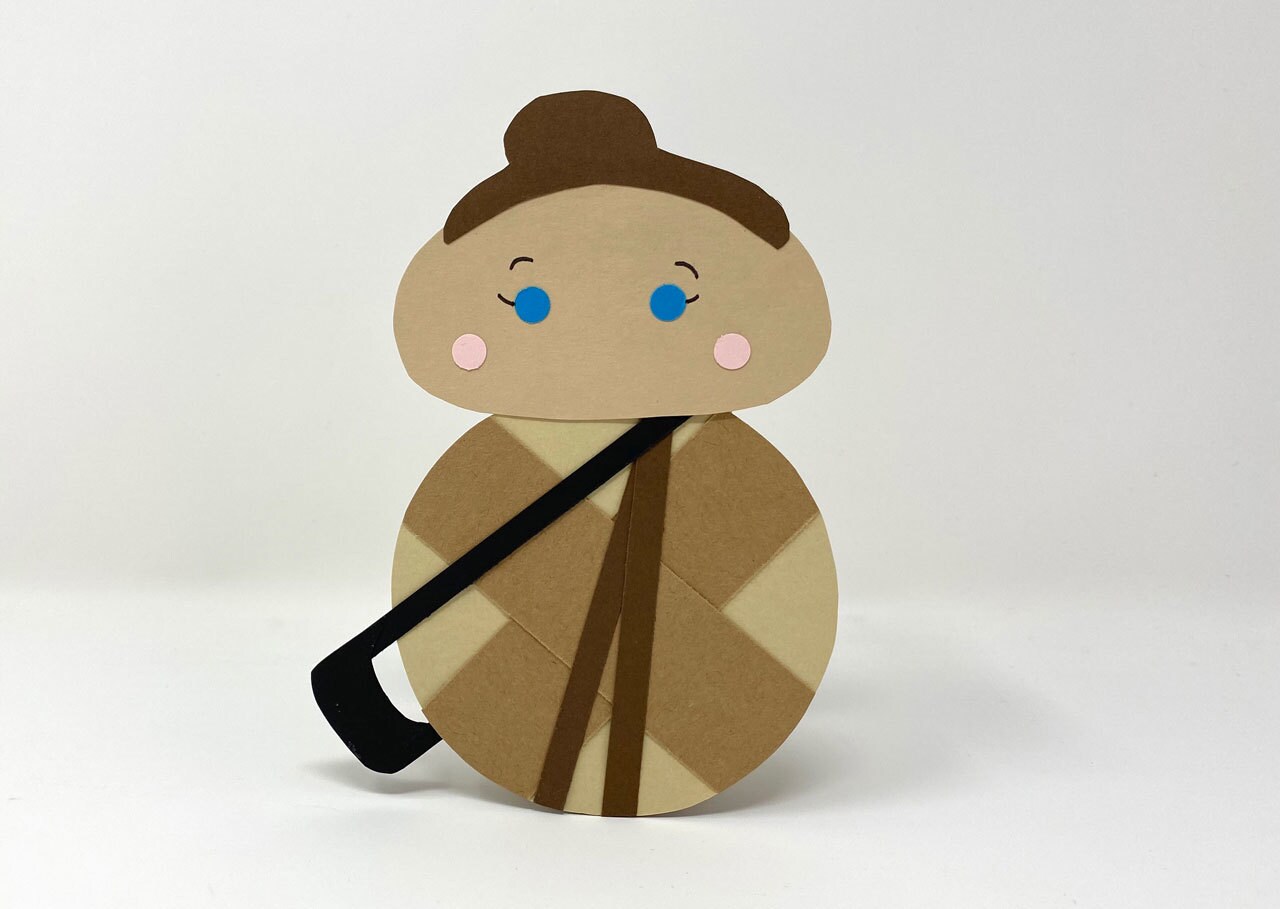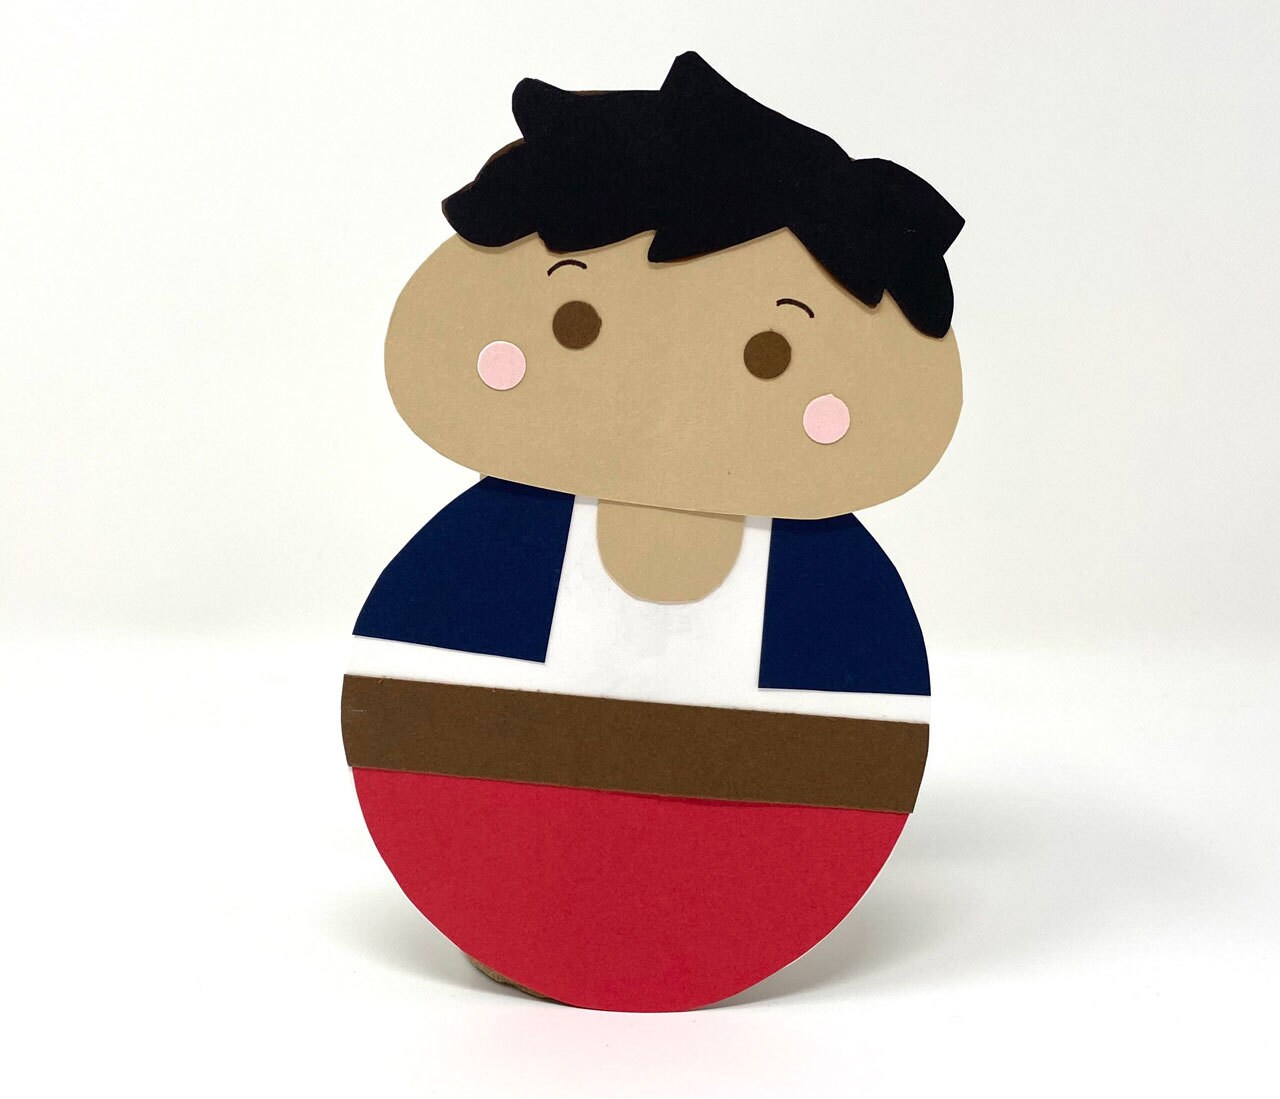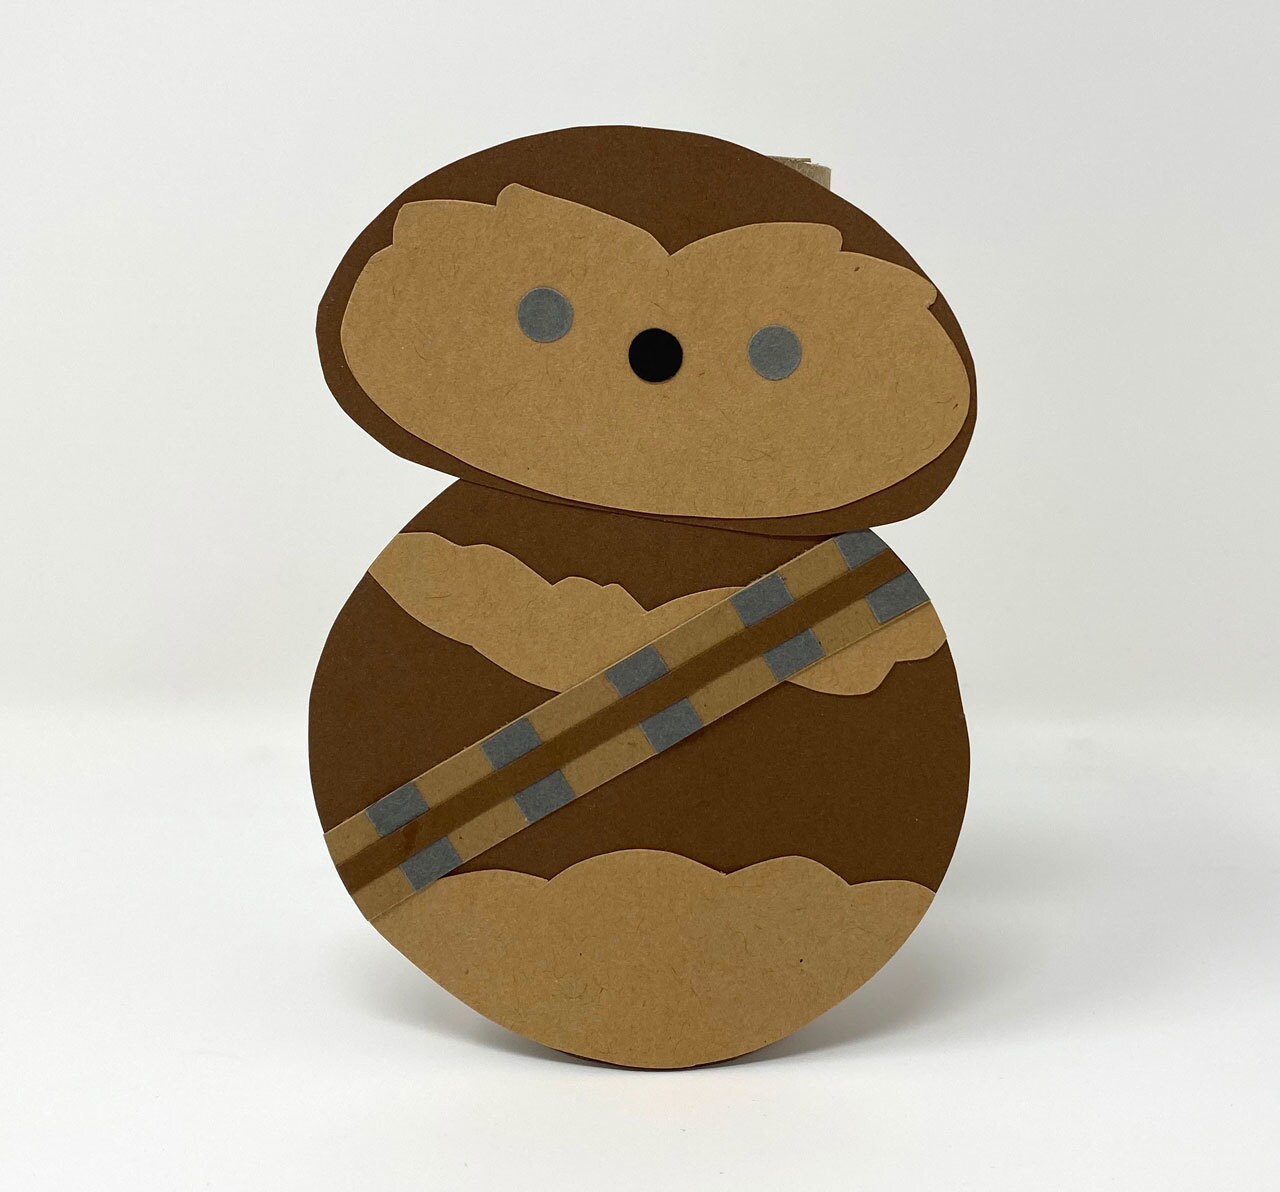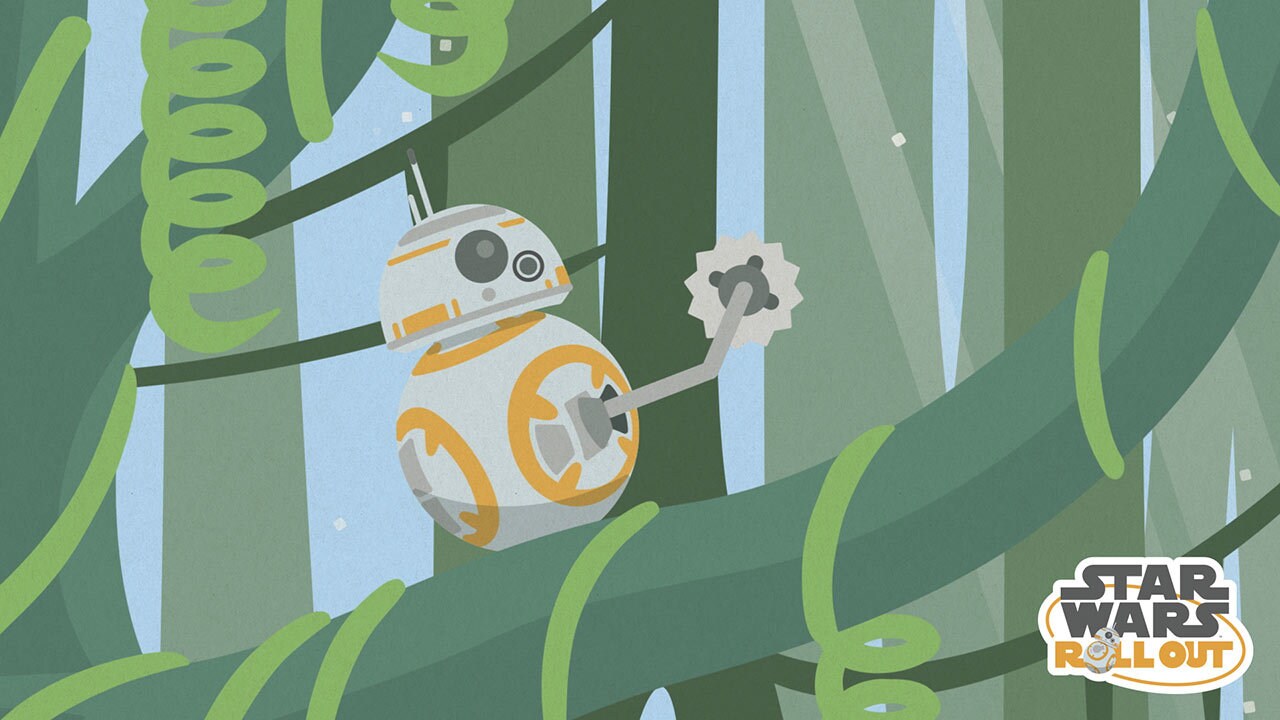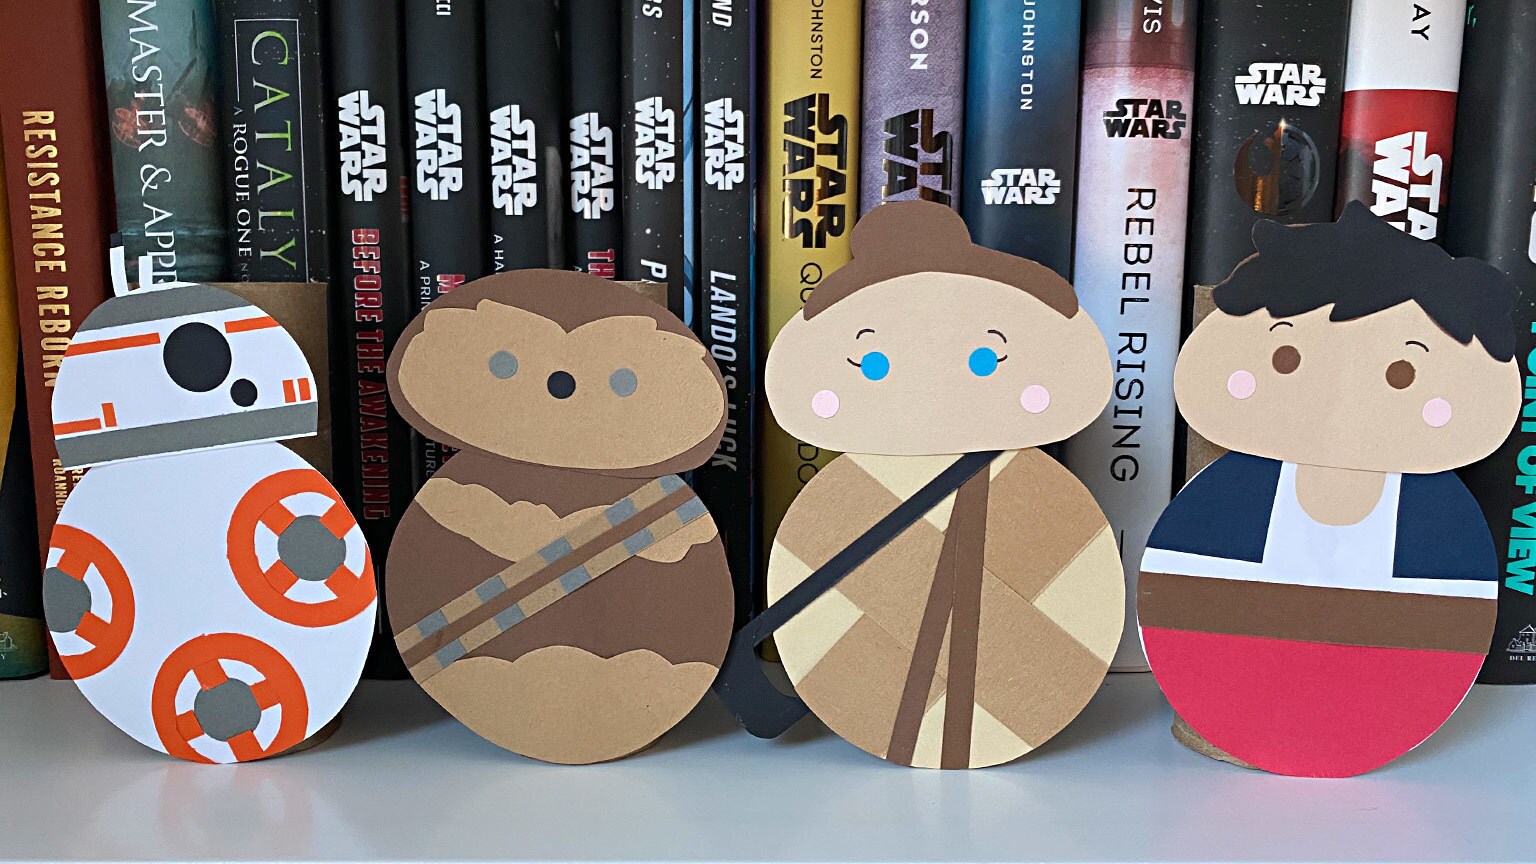

Your favorite characters are cuter than ever with this DIY craft.
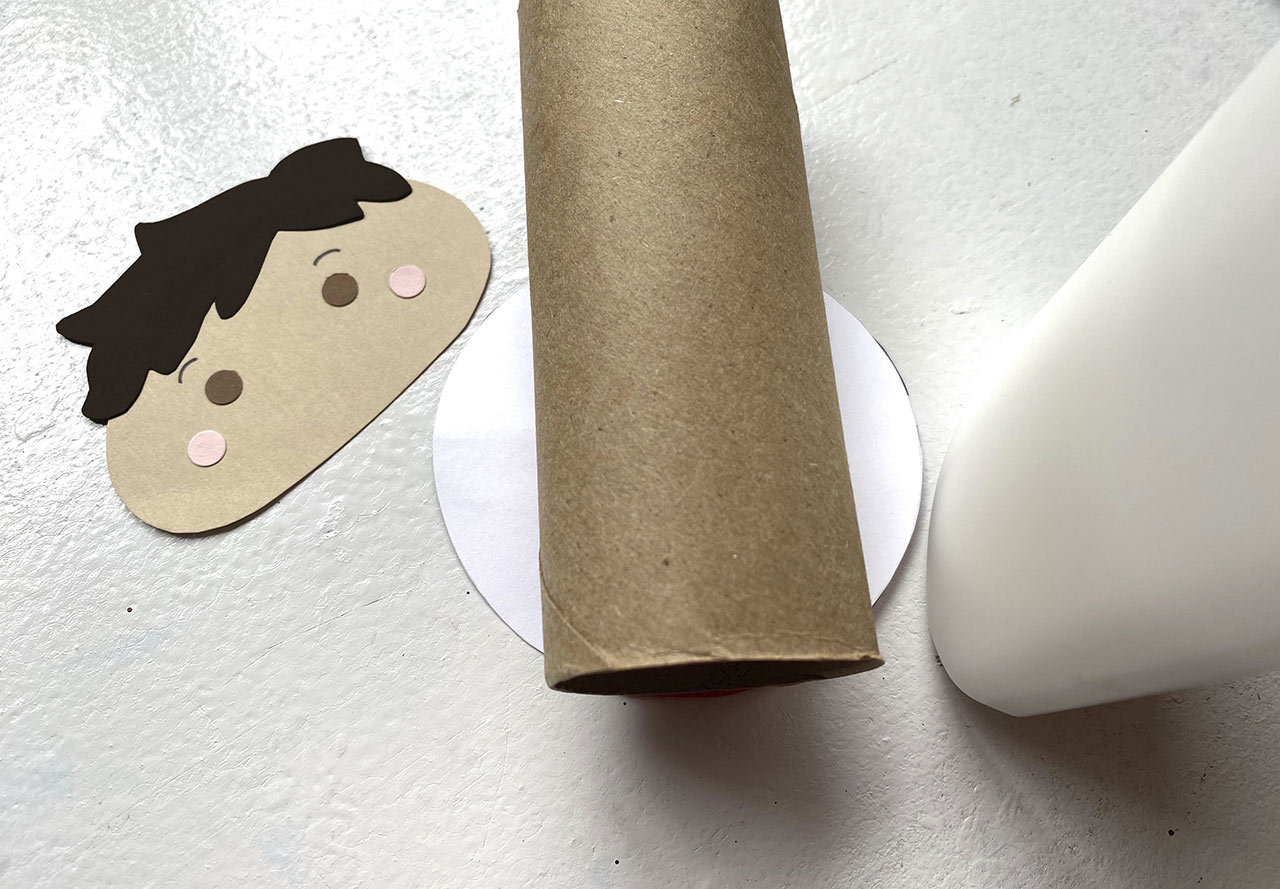
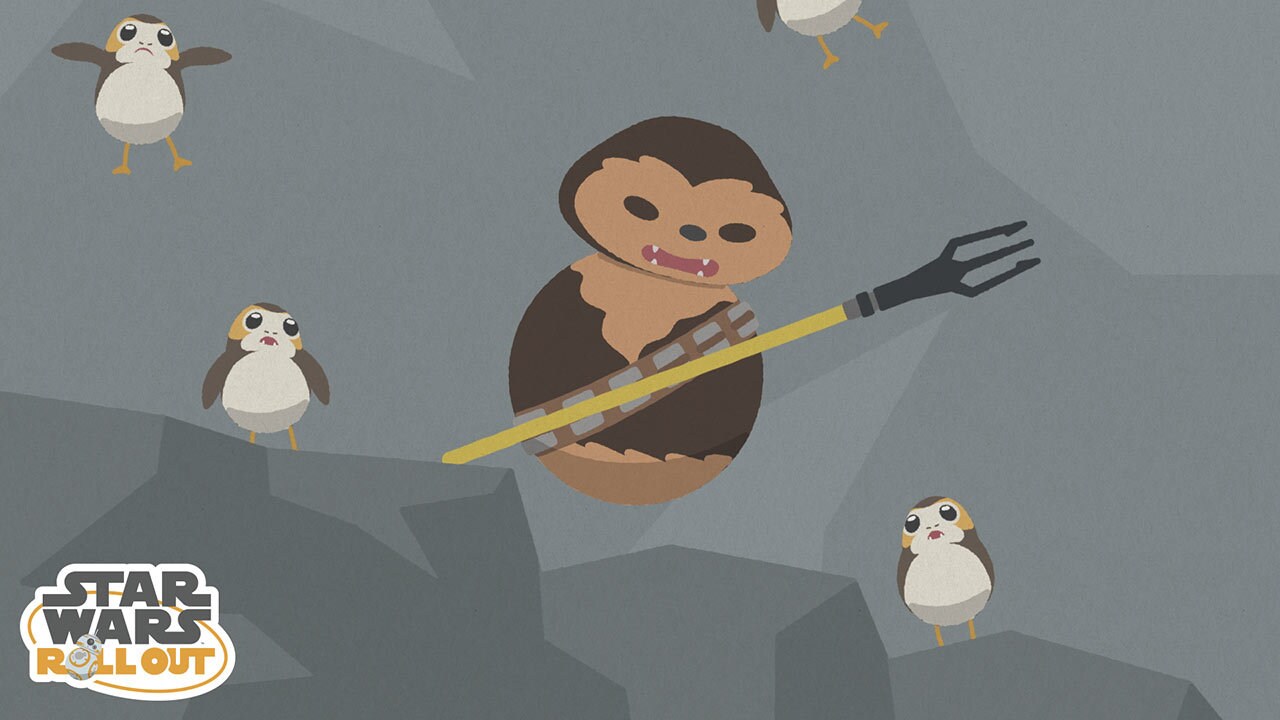
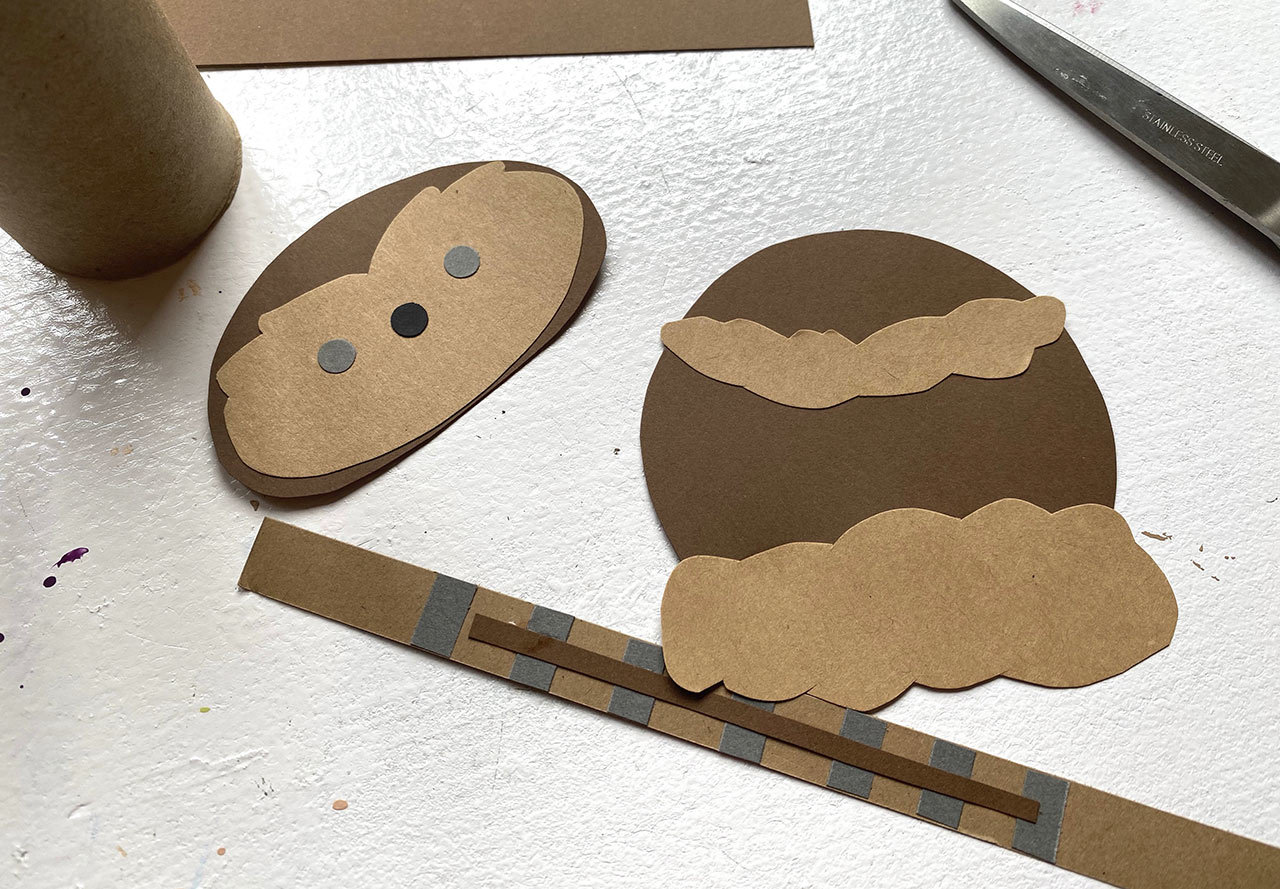
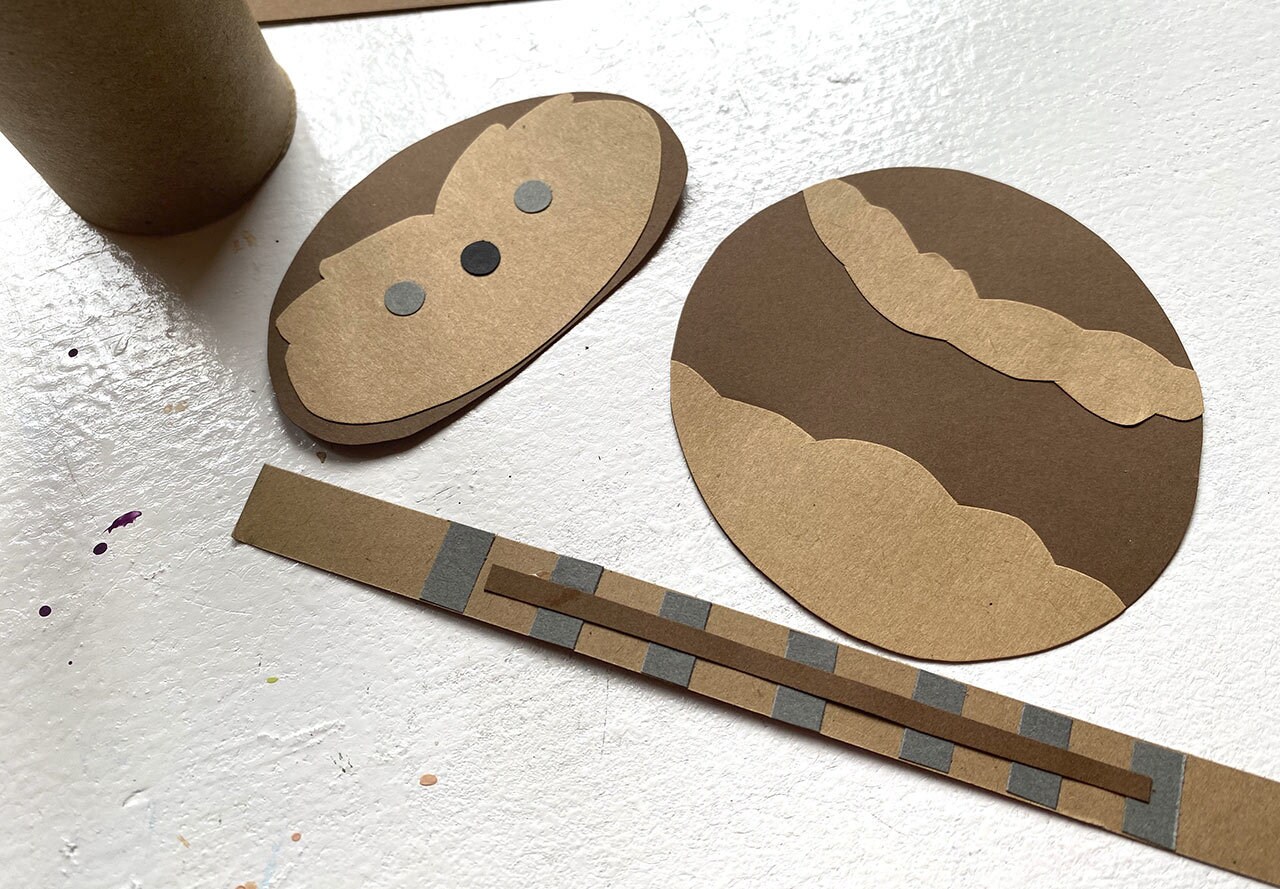
You know them, you love them, but you've never seen your favorite characters as adorable as they are in Star Wars Roll Out! Even if you don't consider yourself a crafty person, anyone can have a ball making these characters at home. If you want to take these mischievous versions of beloved Star Wars characters from the animated short series into real life, this DIY shows you how. With just paper, scissors, and glue, Star Wars Roll Out heroes can roll from the screen and on to your shelves for a one-of-a-kind, galactically cute decoration.
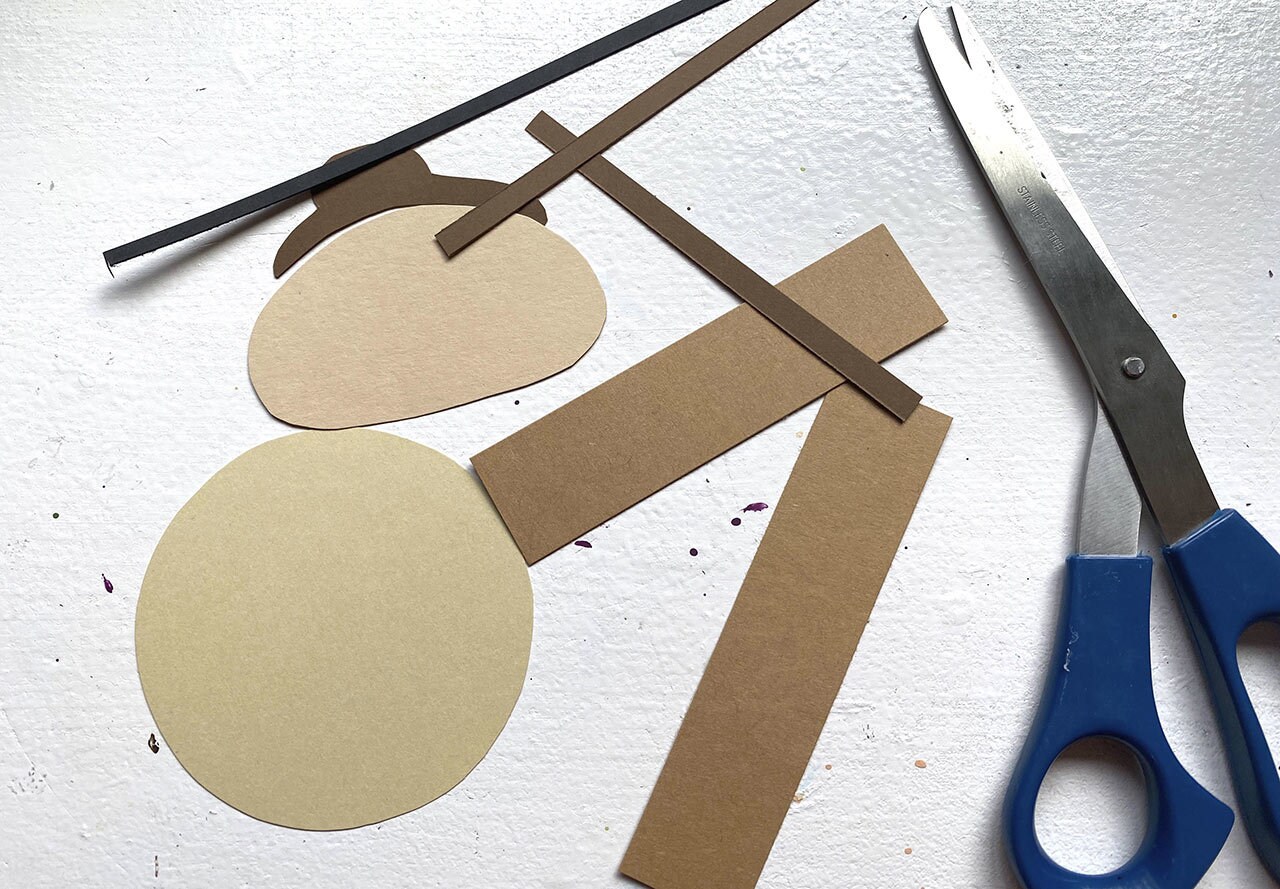
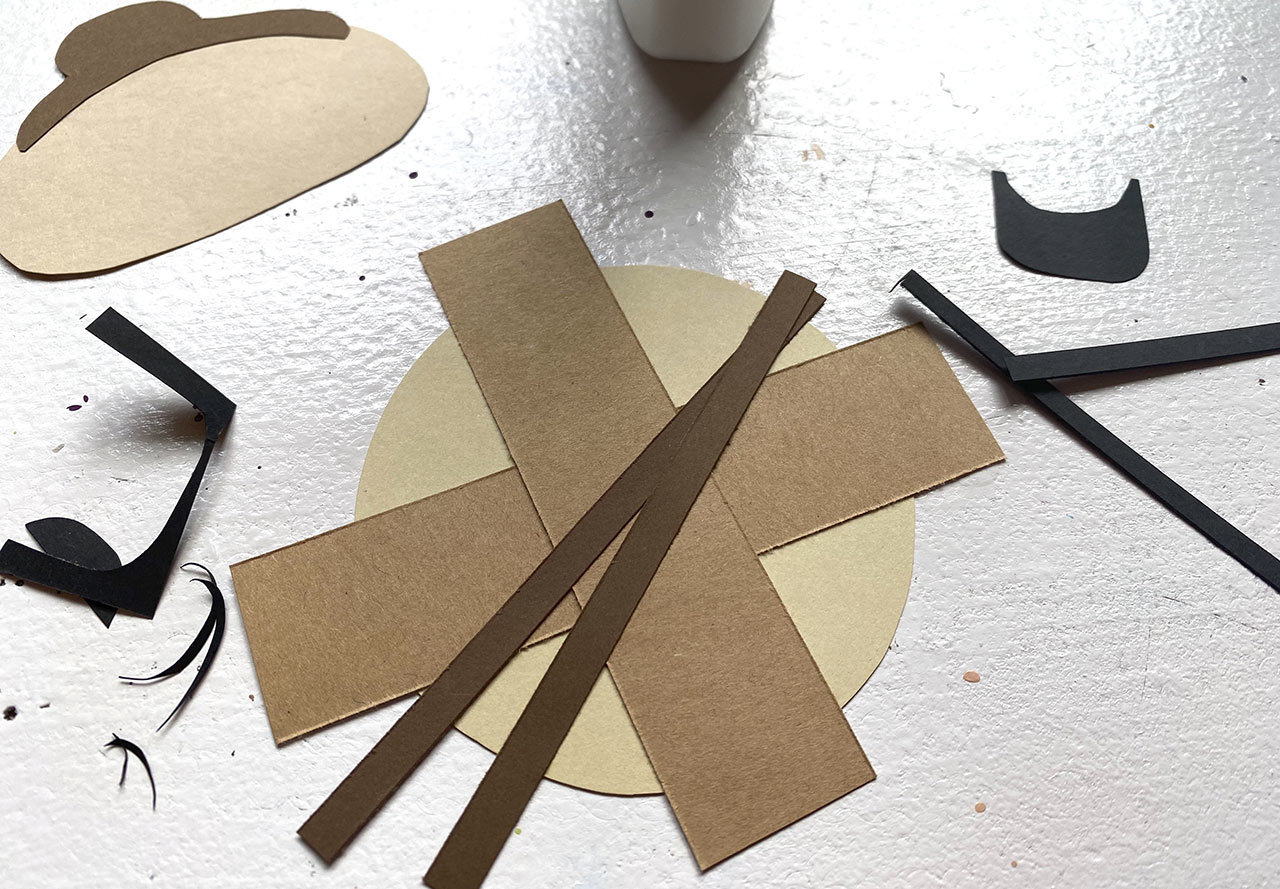
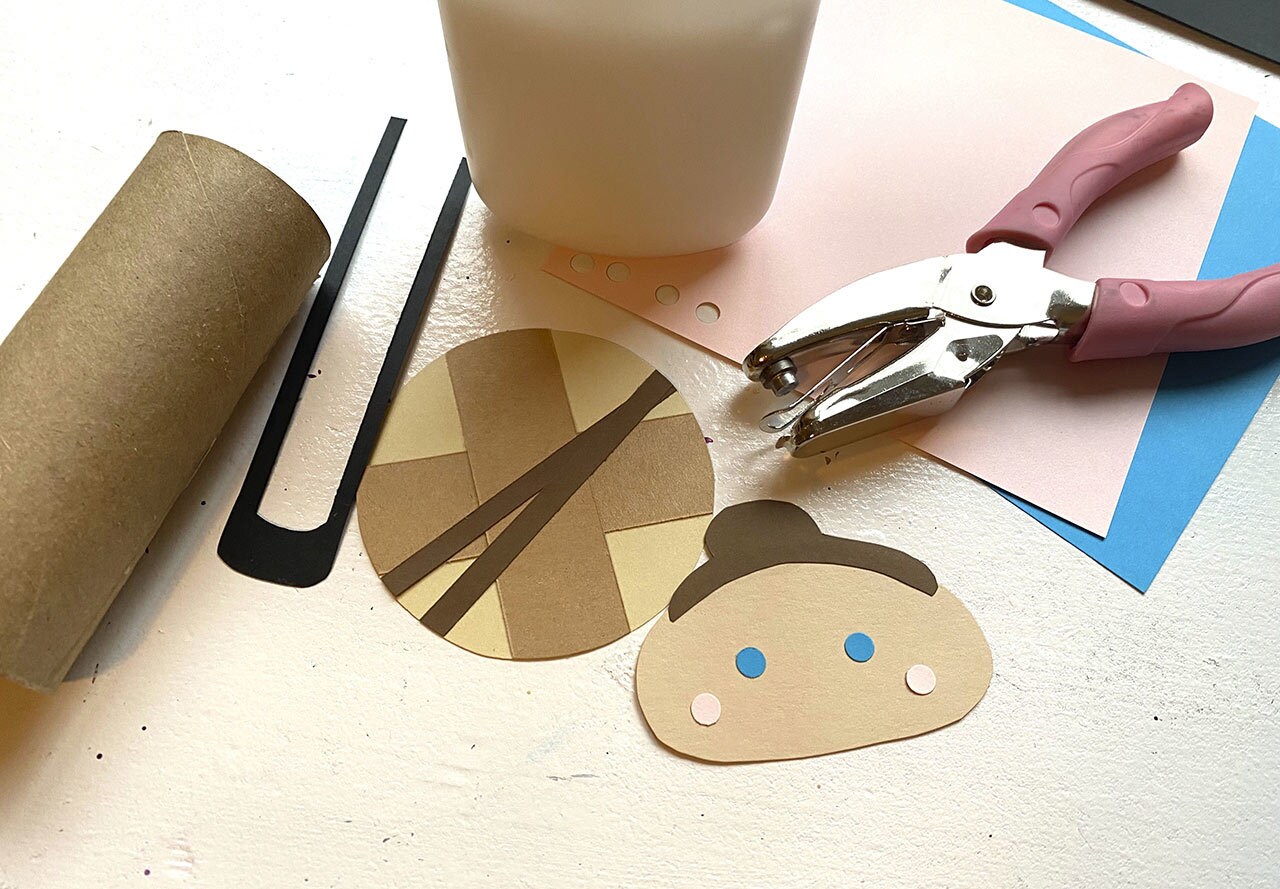
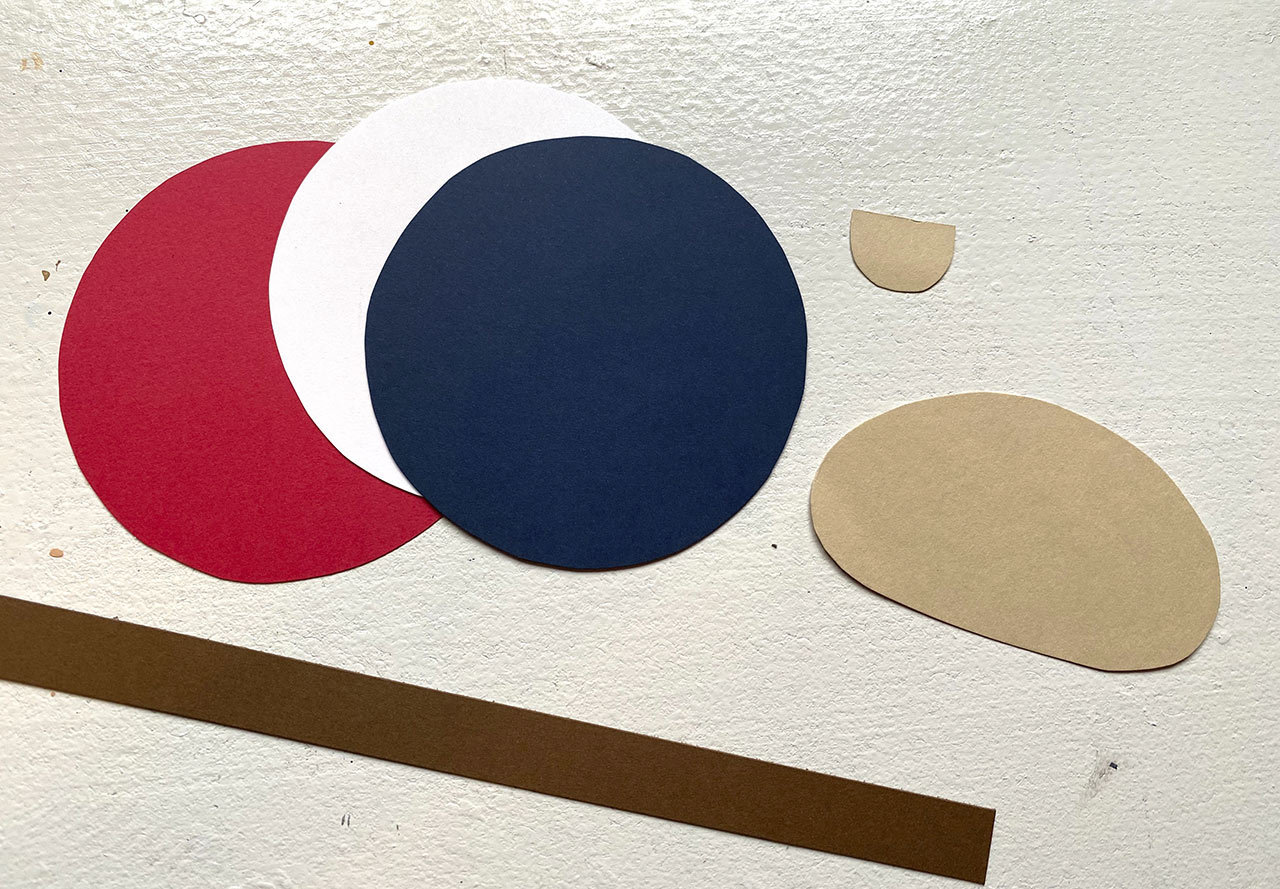
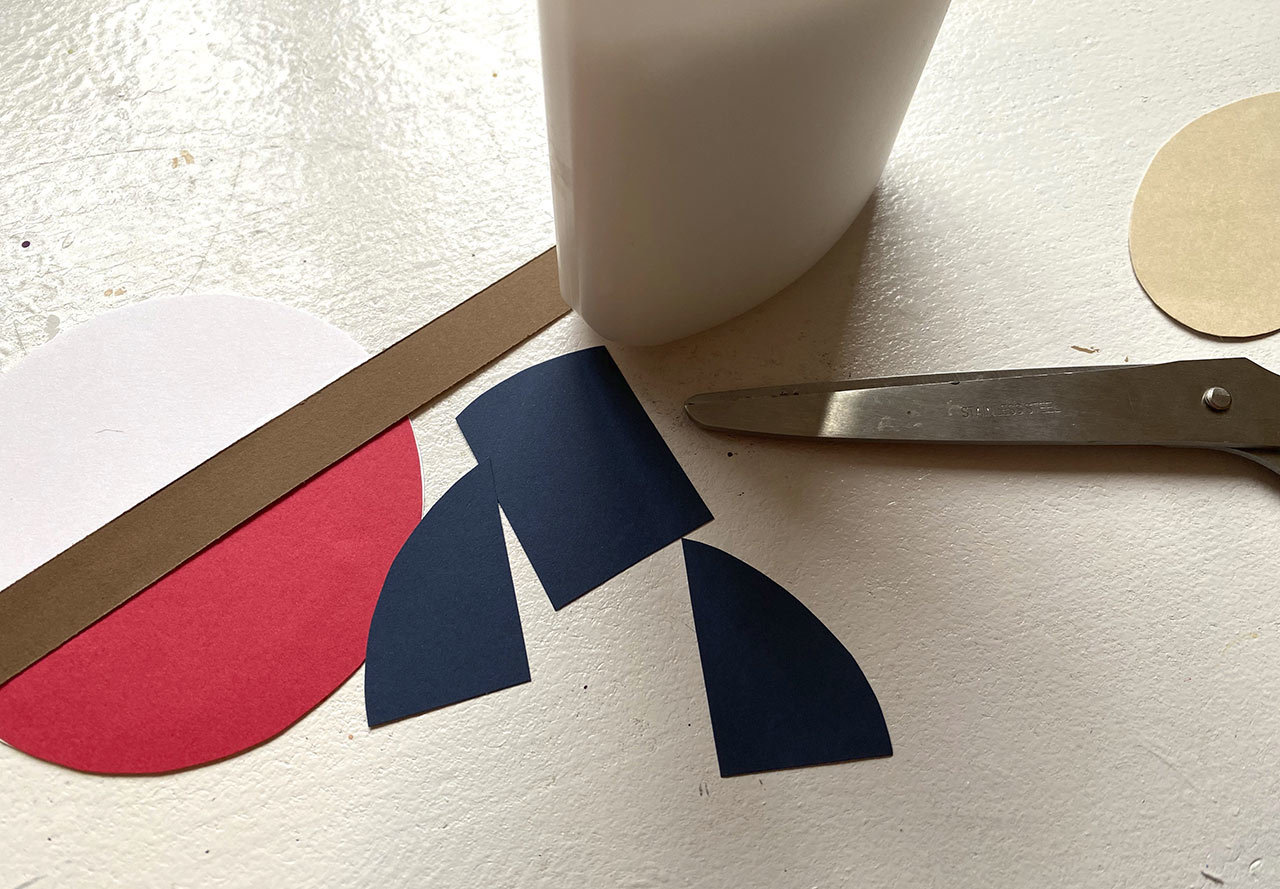
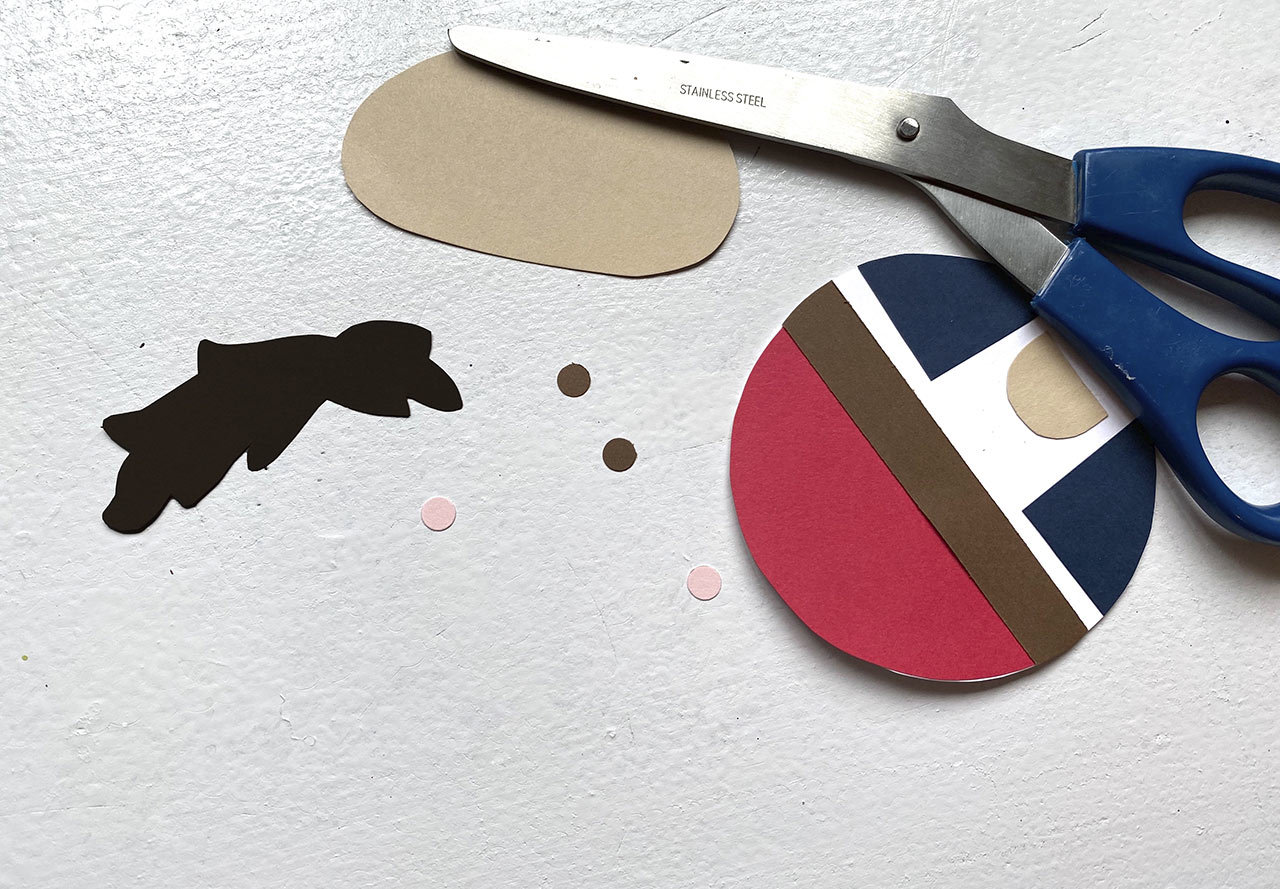
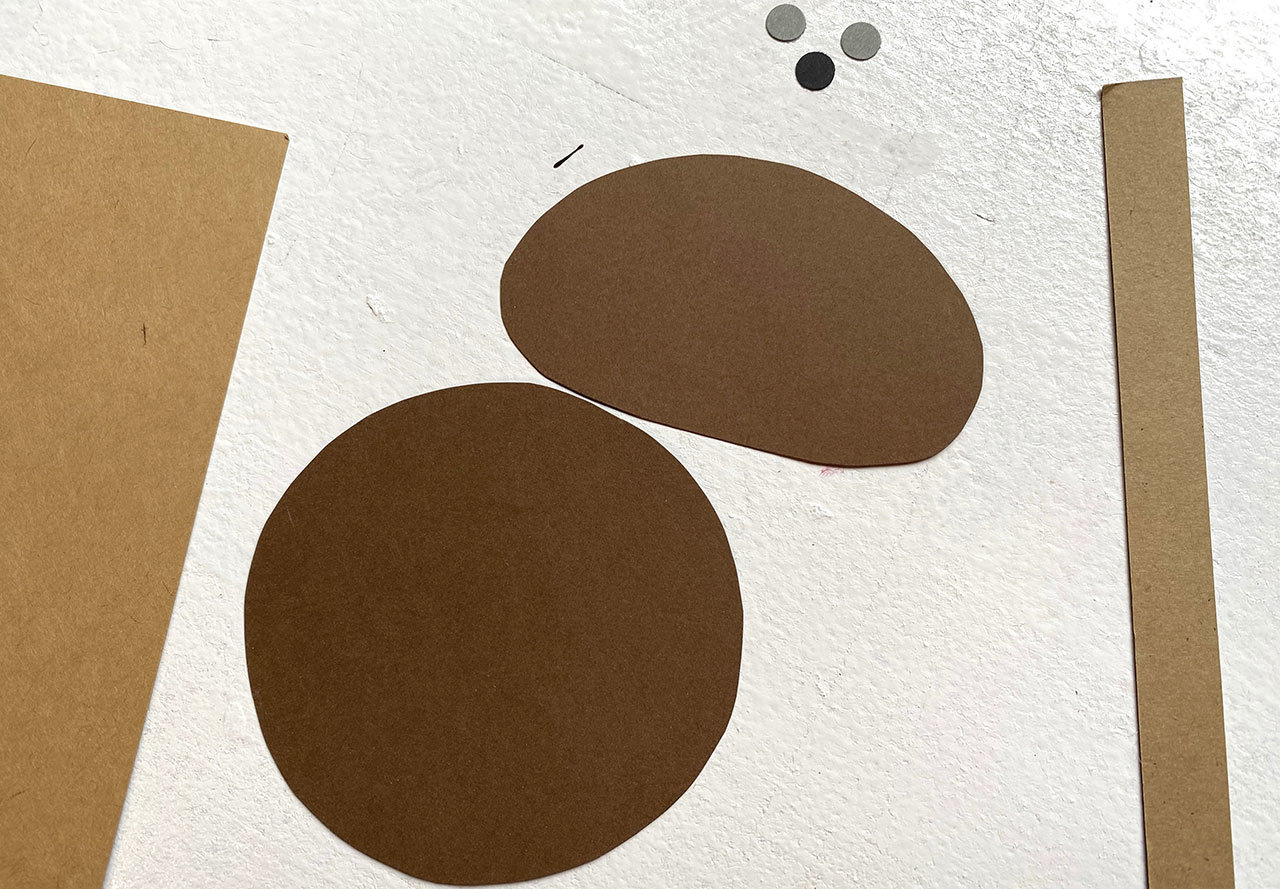
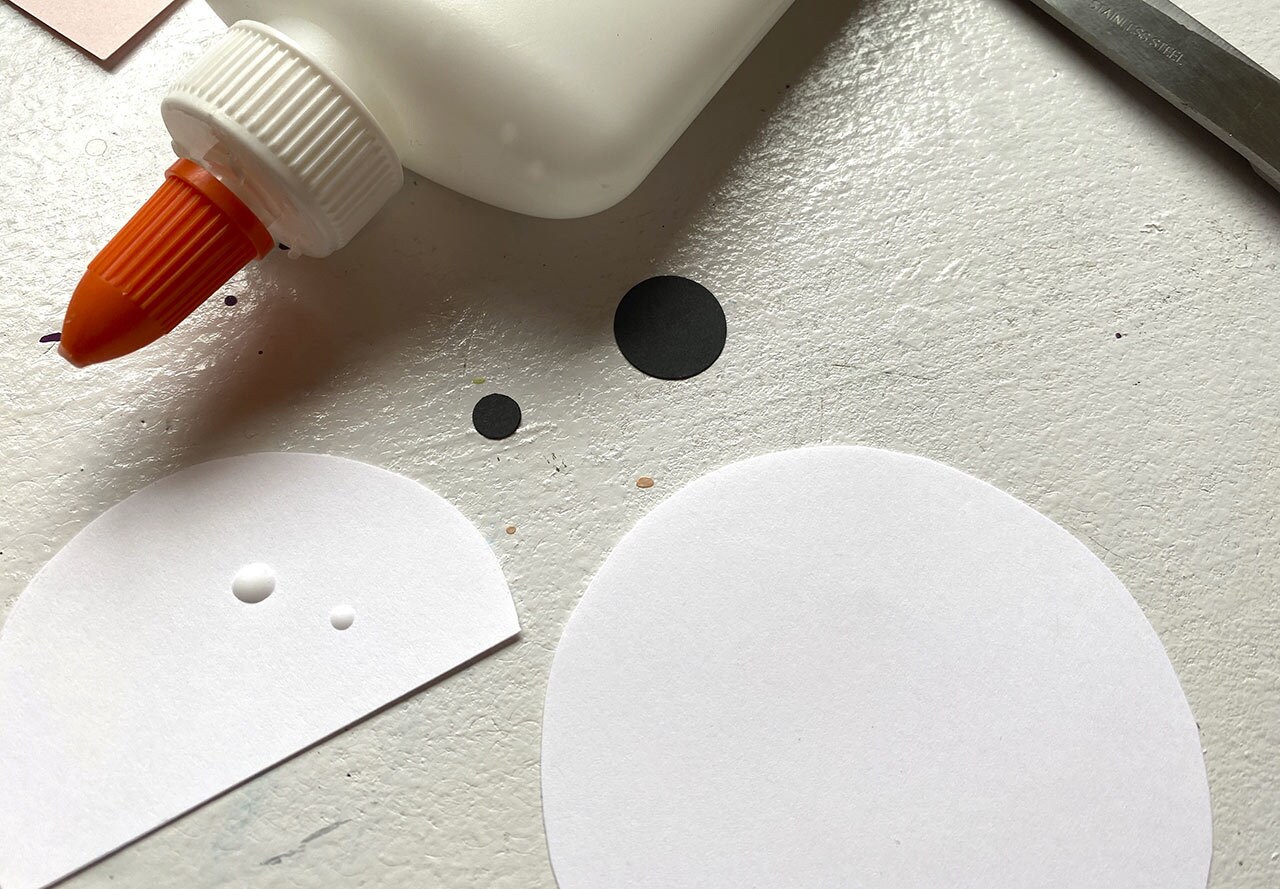
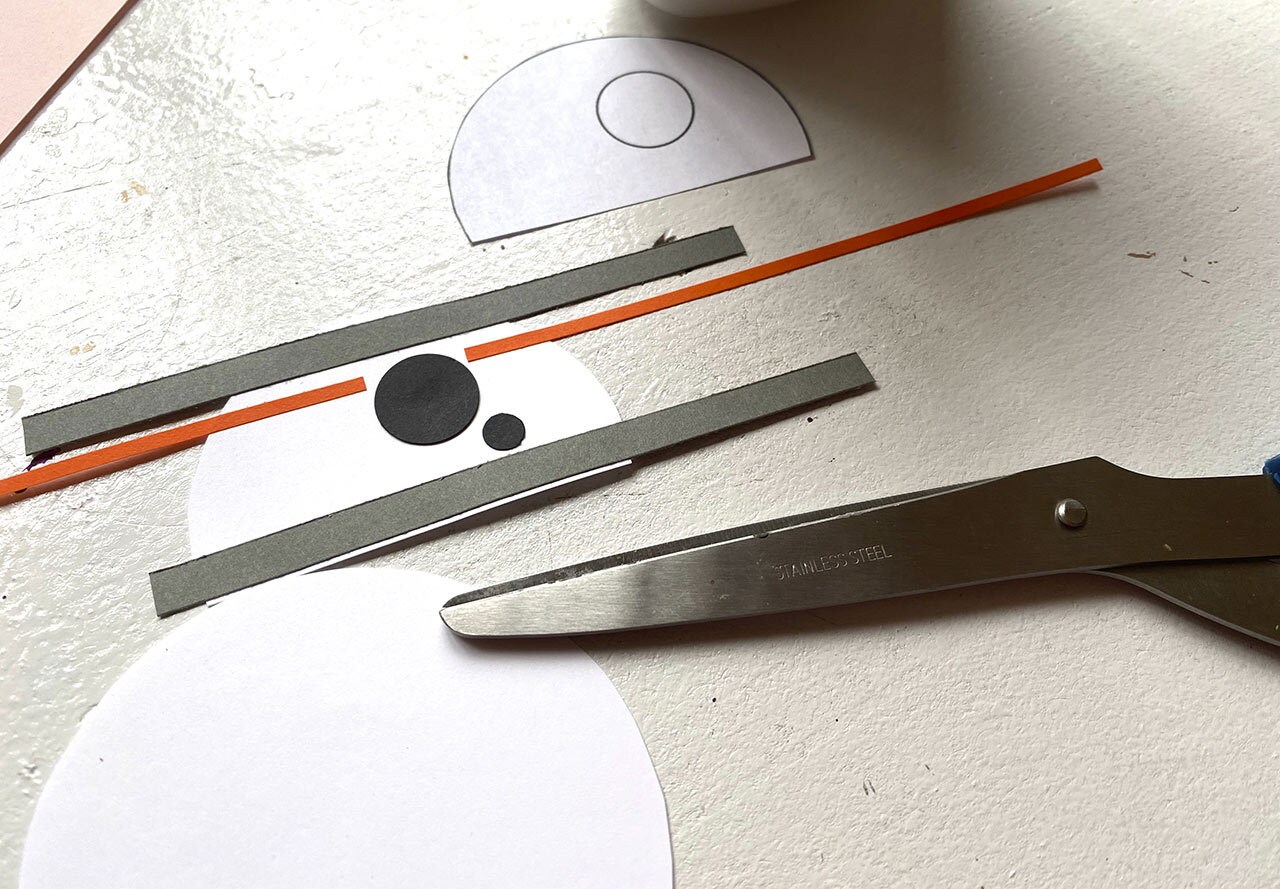
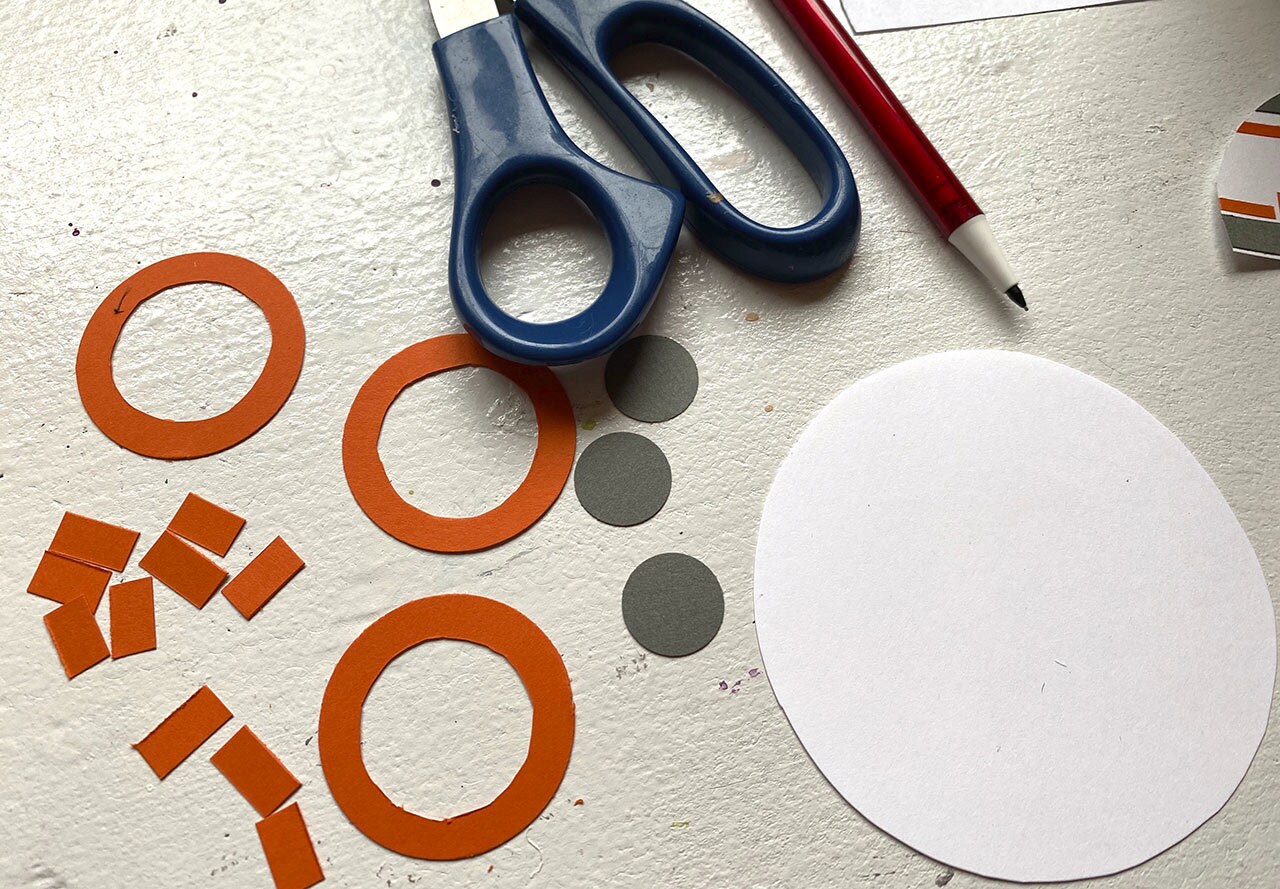
What You’ll Need*