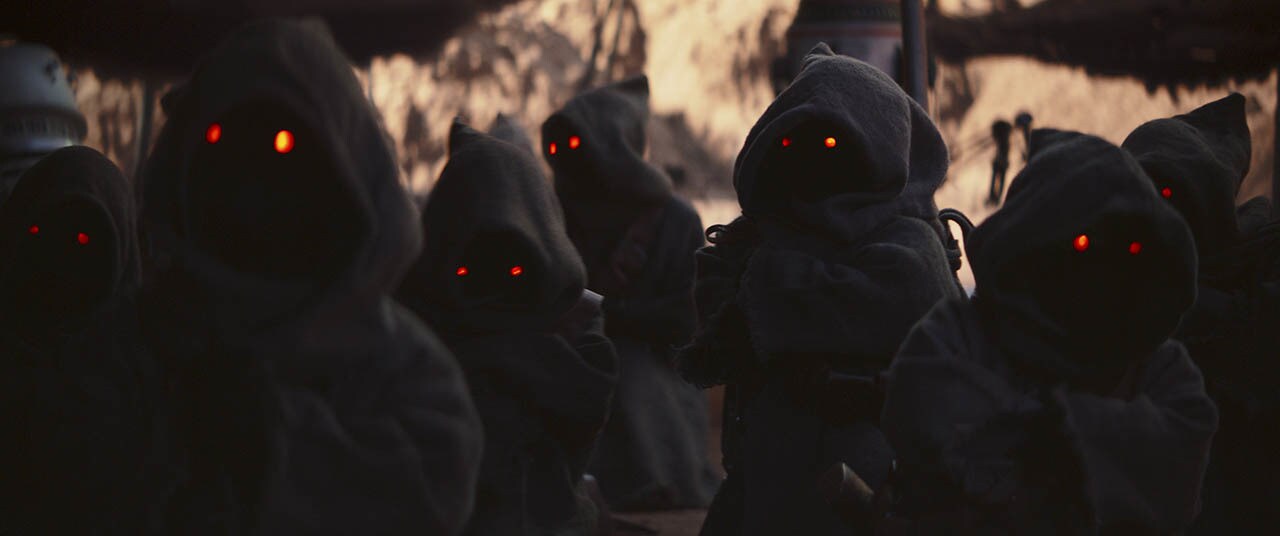
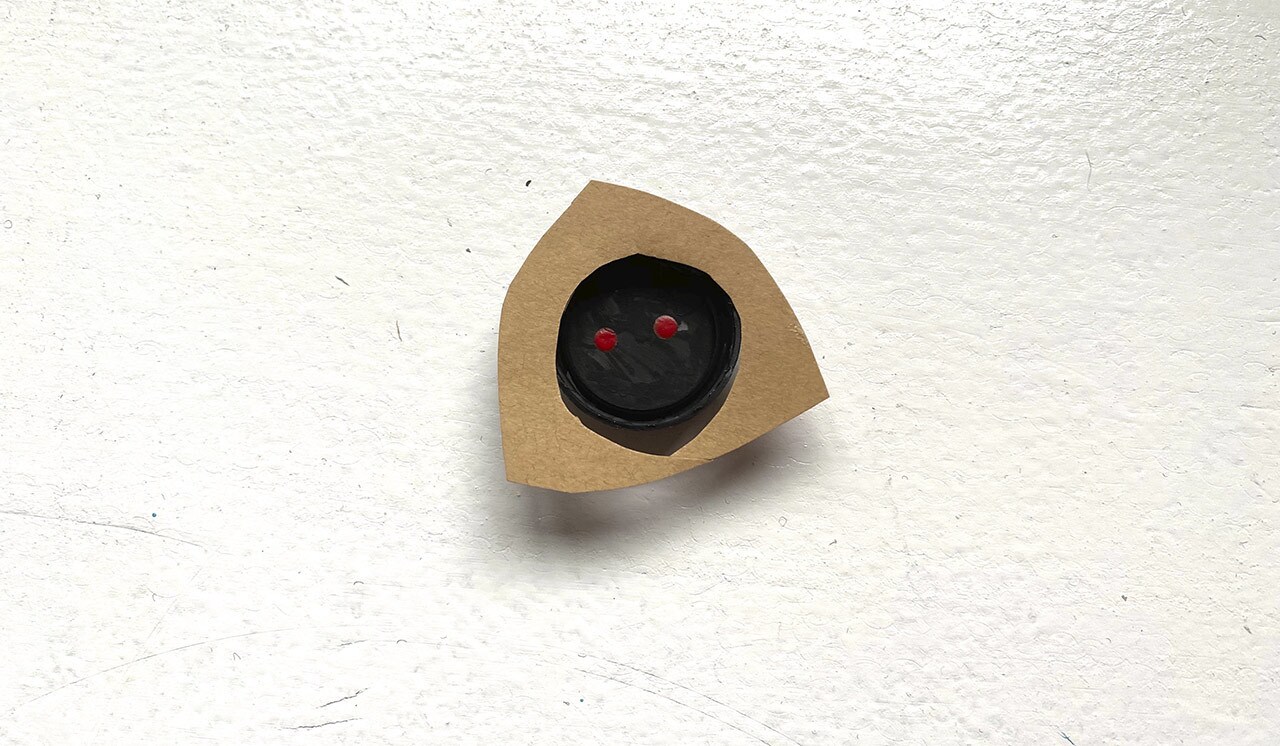
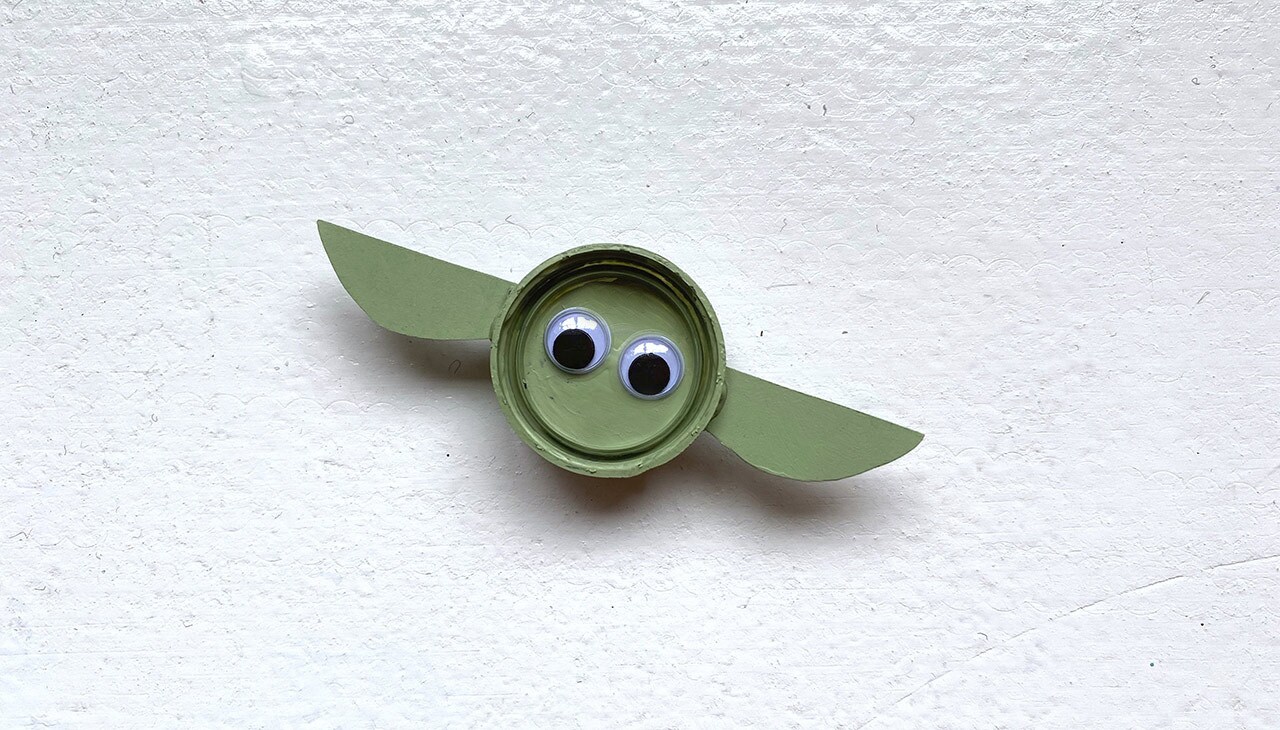
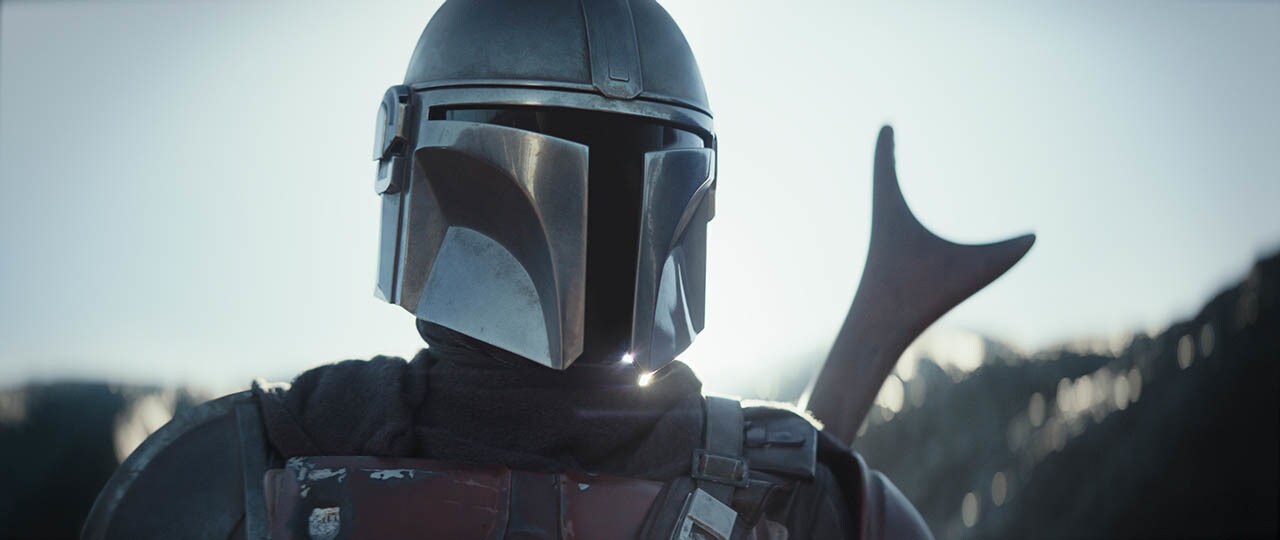
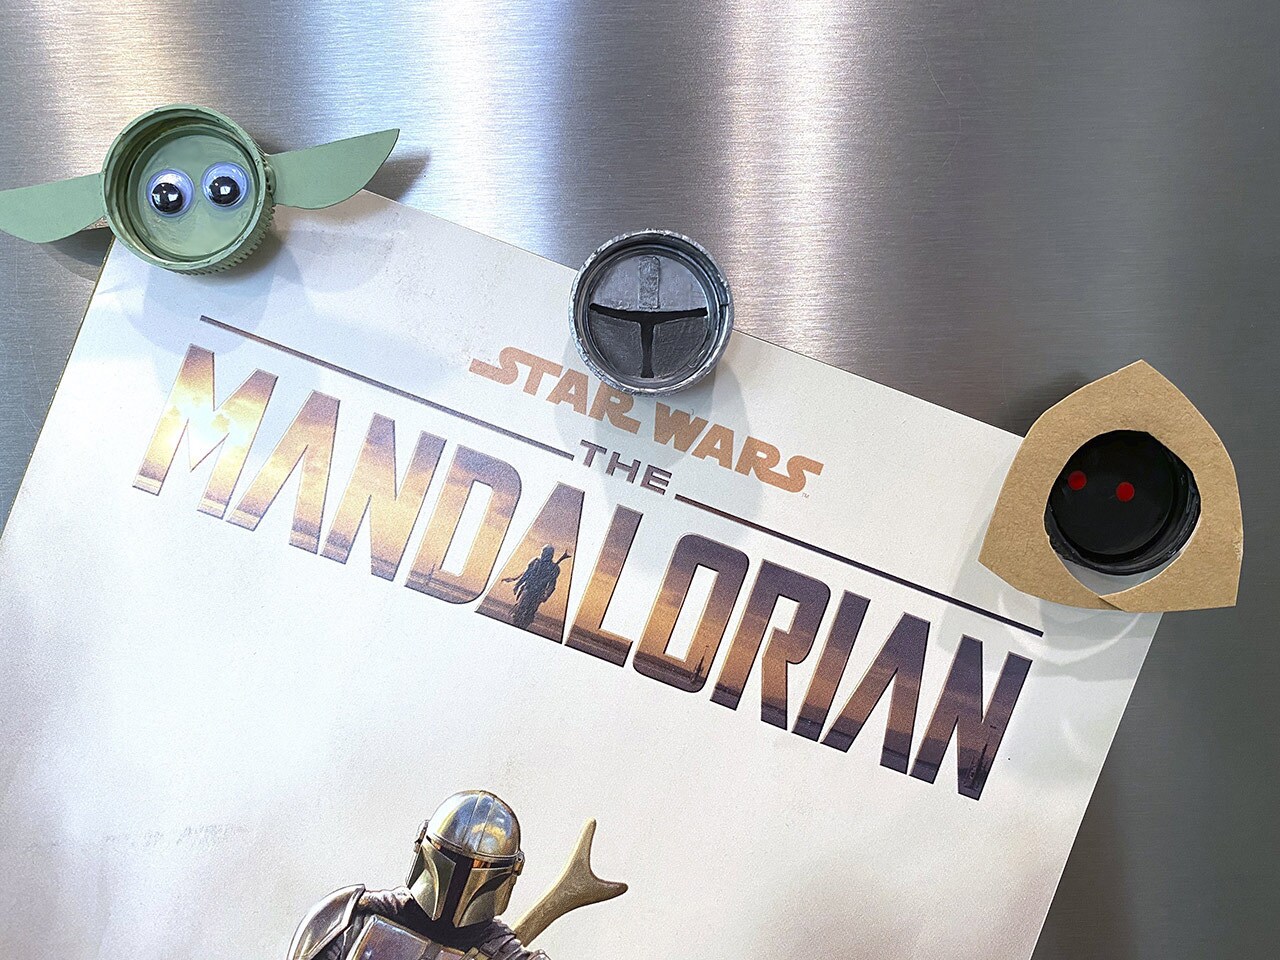
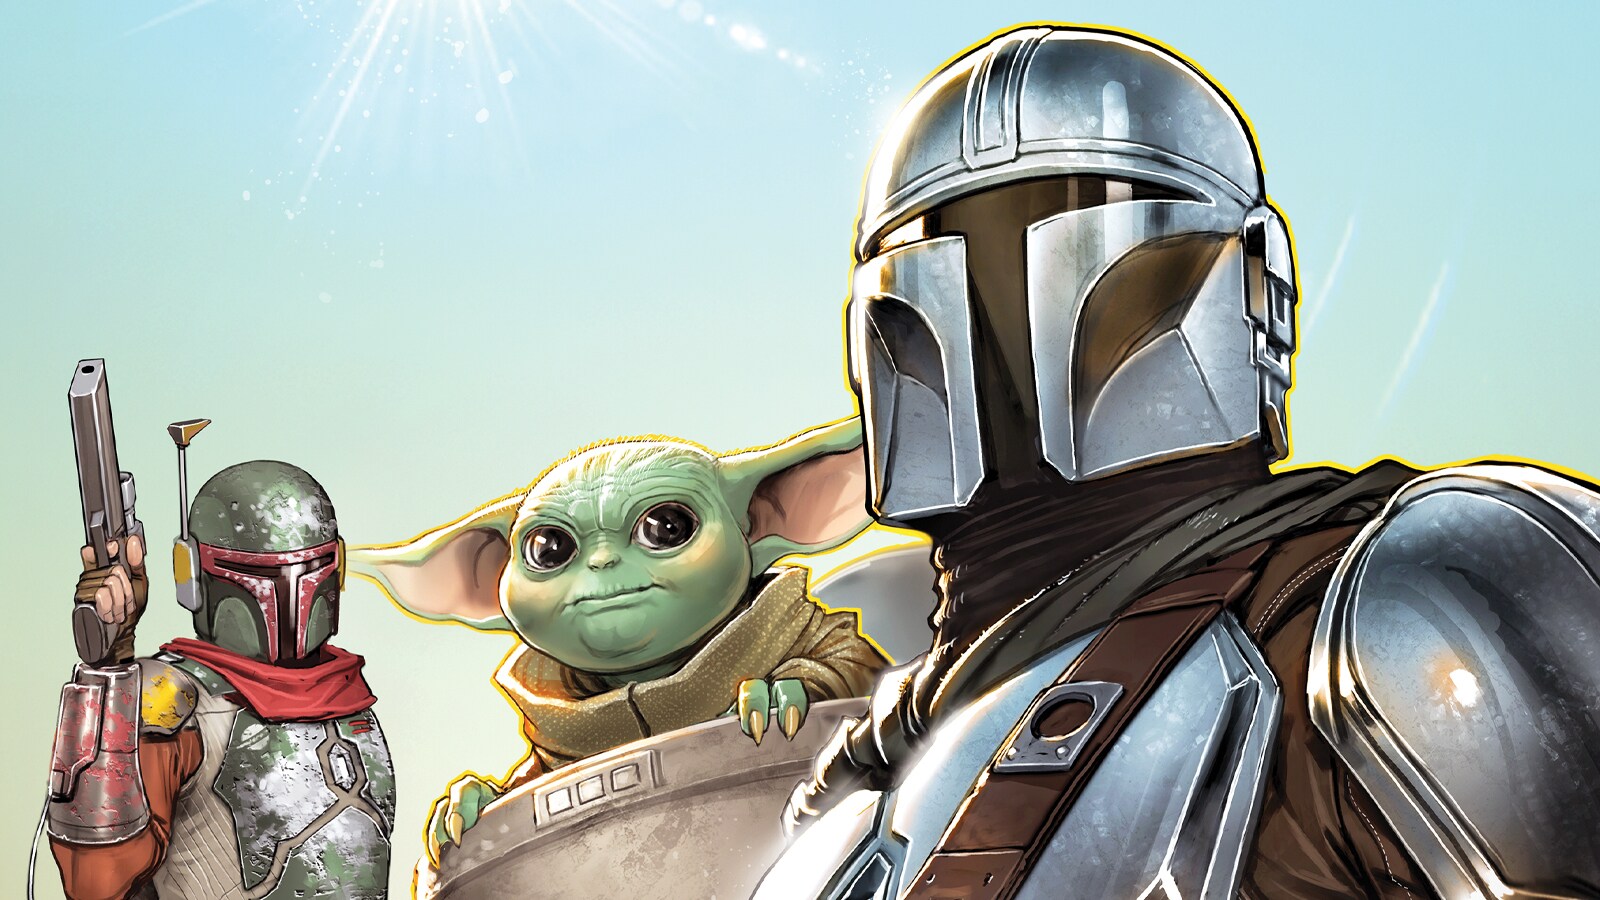
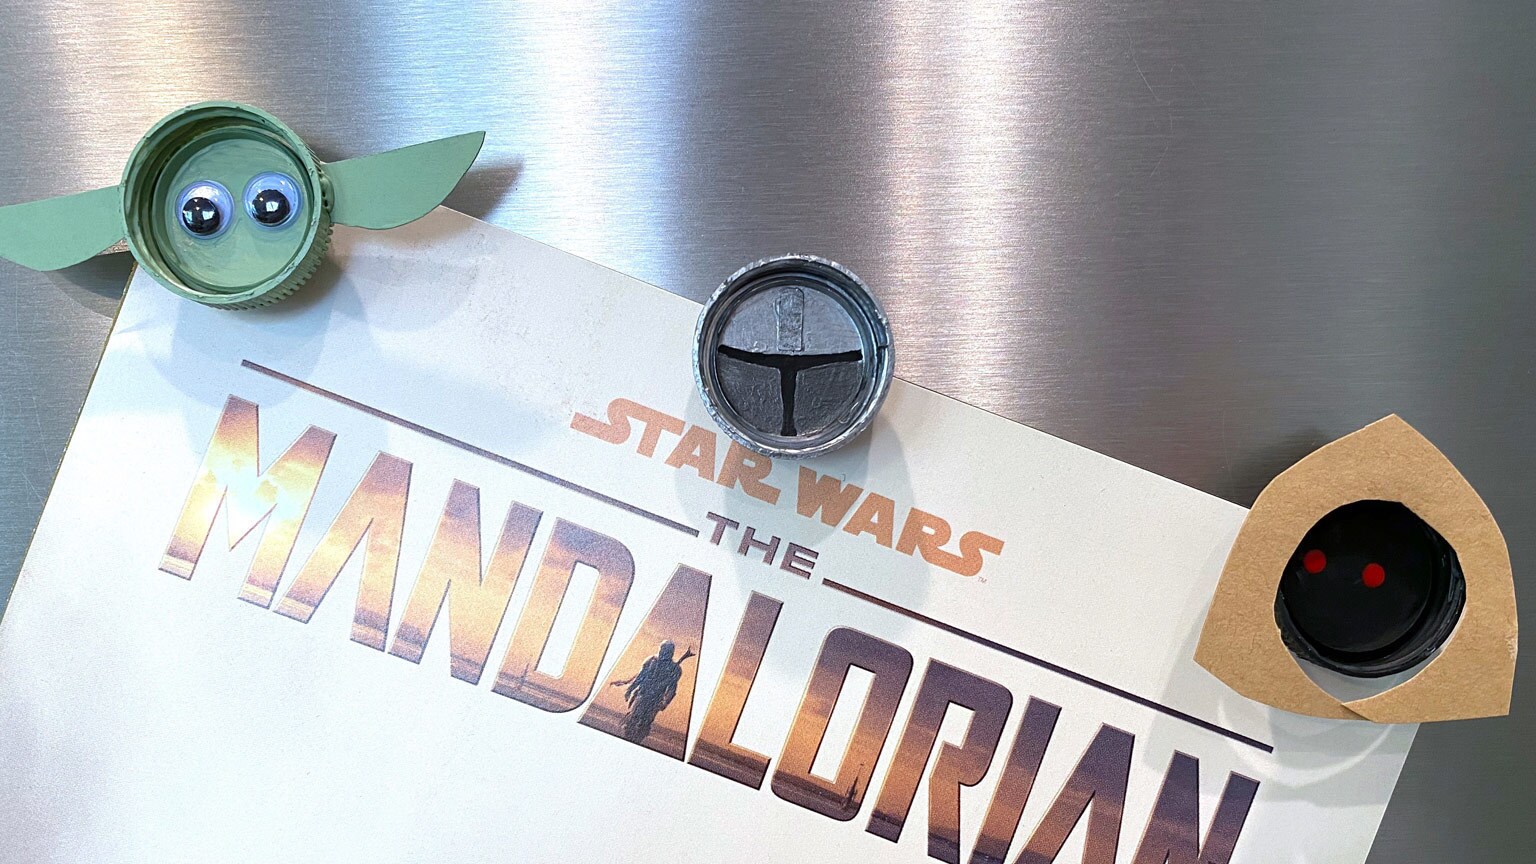
This is our first Star Wars Day with the Mandalorian and the Child, so of course we have to include them in the May the 4th fun! Upcycle plastic water bottle caps into magnets inspired by The Mandalorian, featuring the Mando himself, the Child, and an off-world Jawa from the Disney+ series.
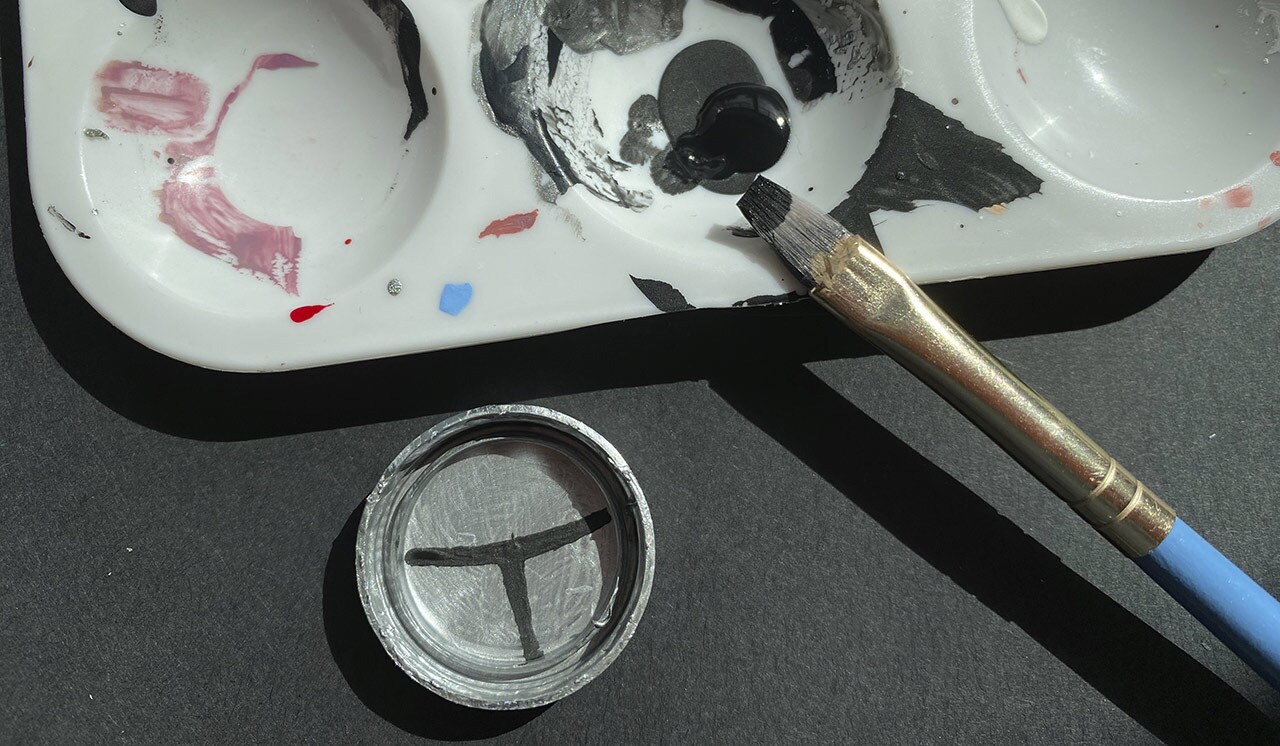
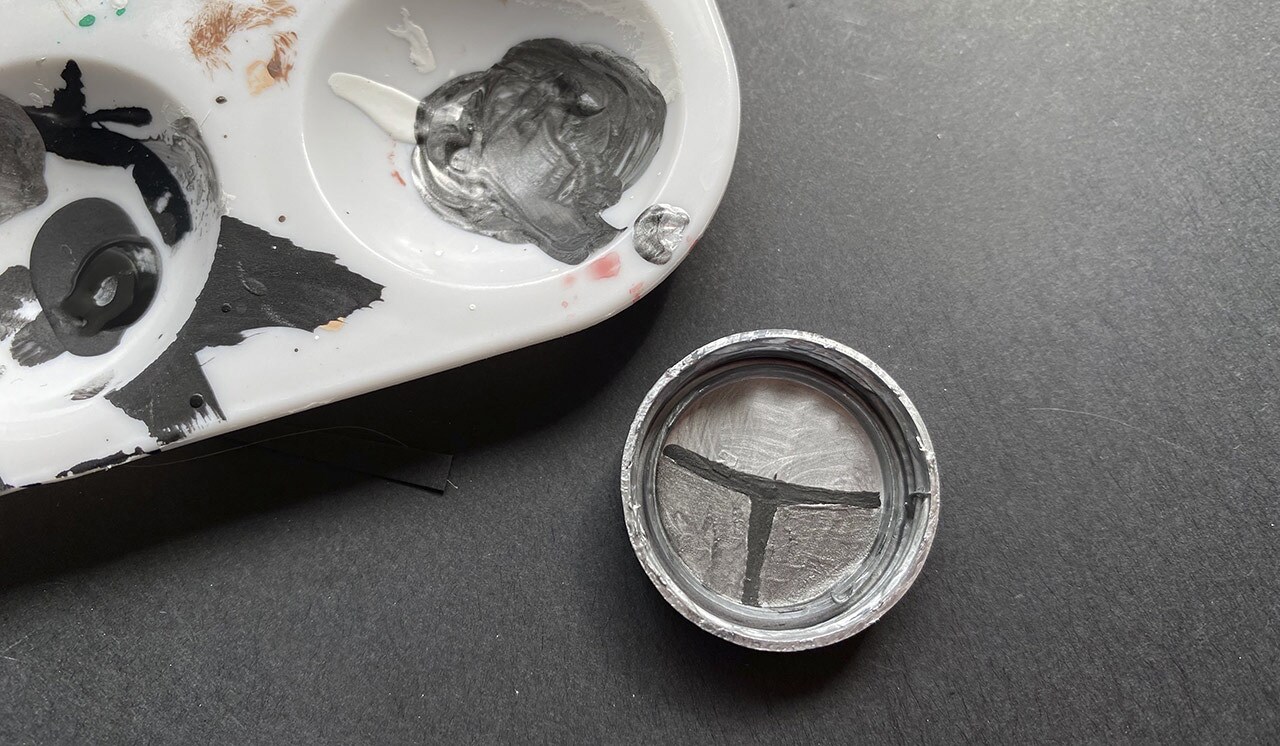
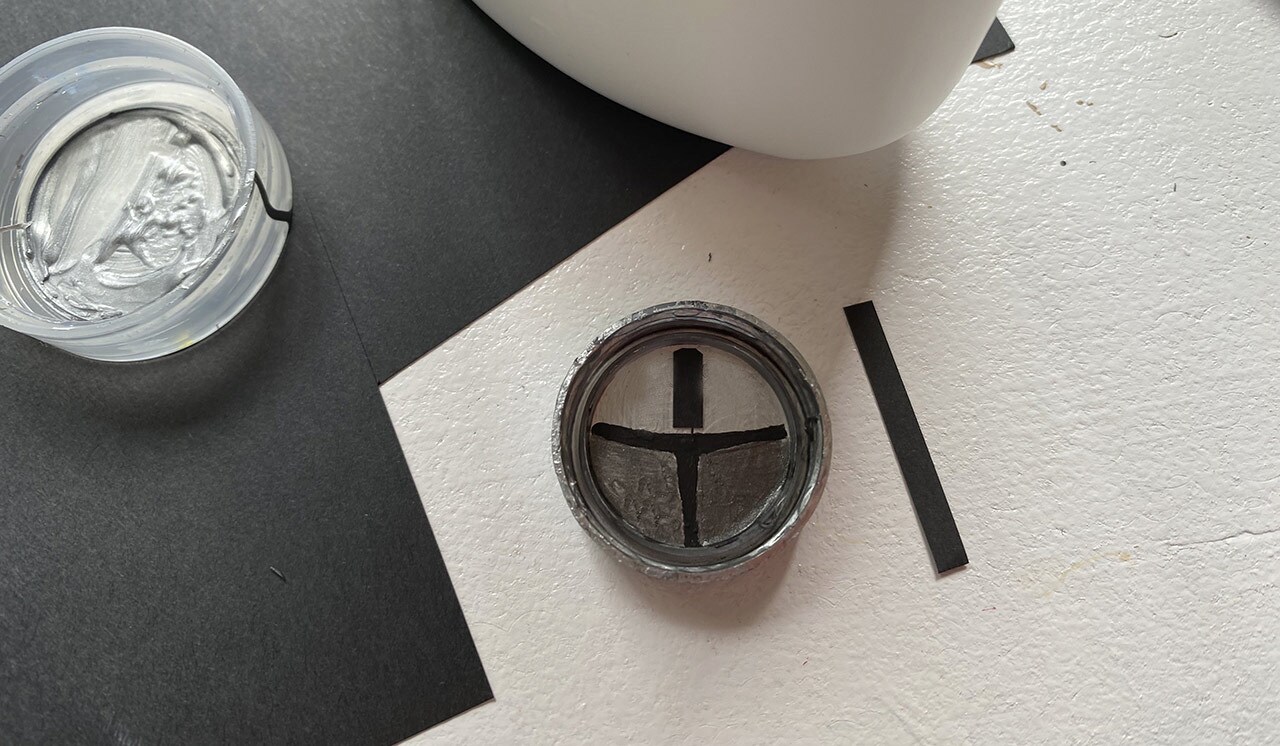
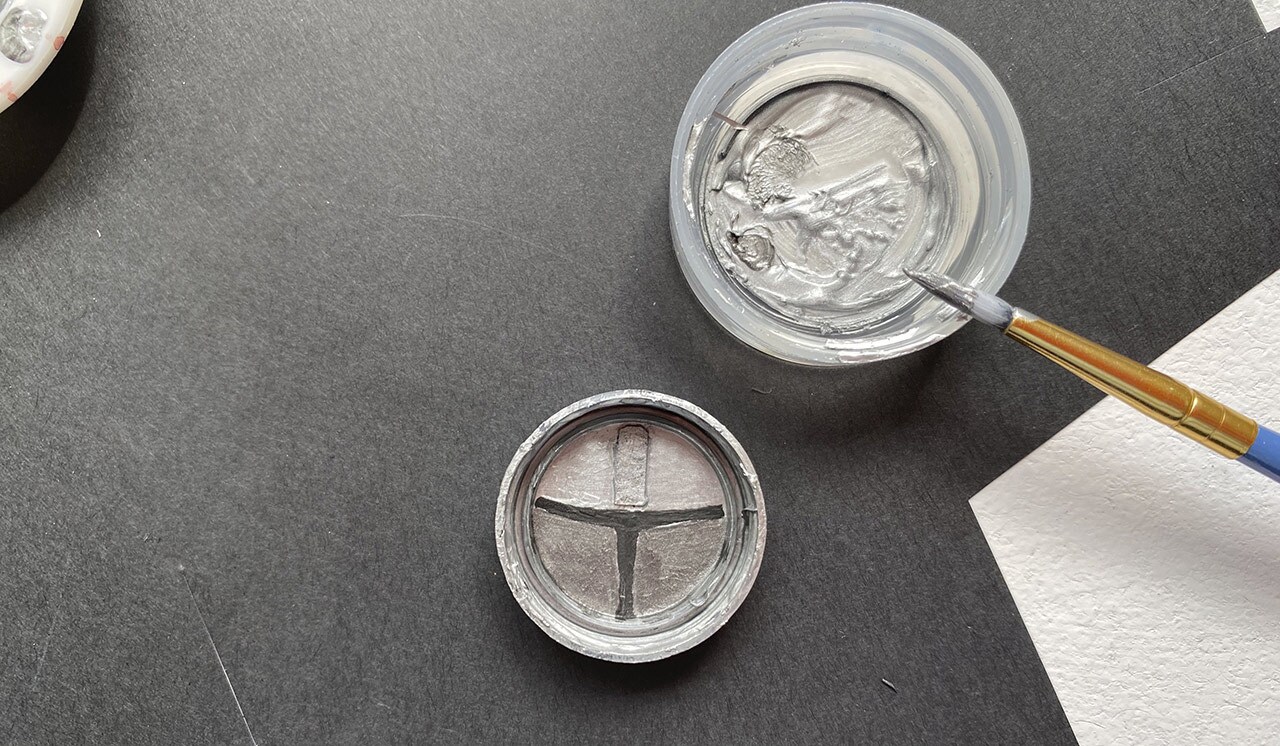
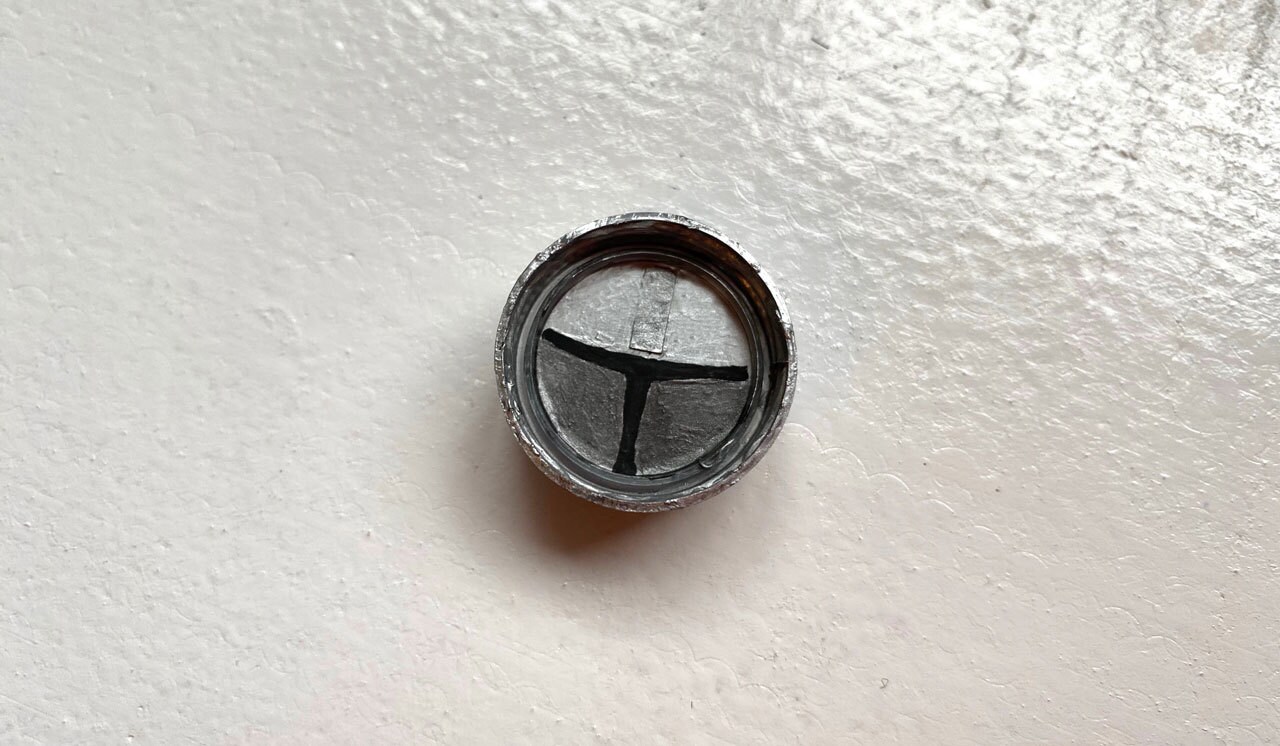
All it takes is paint, paper, glue, and magnets, and your refrigerator will look almost as good as the Razor Crest. No beskar needed!
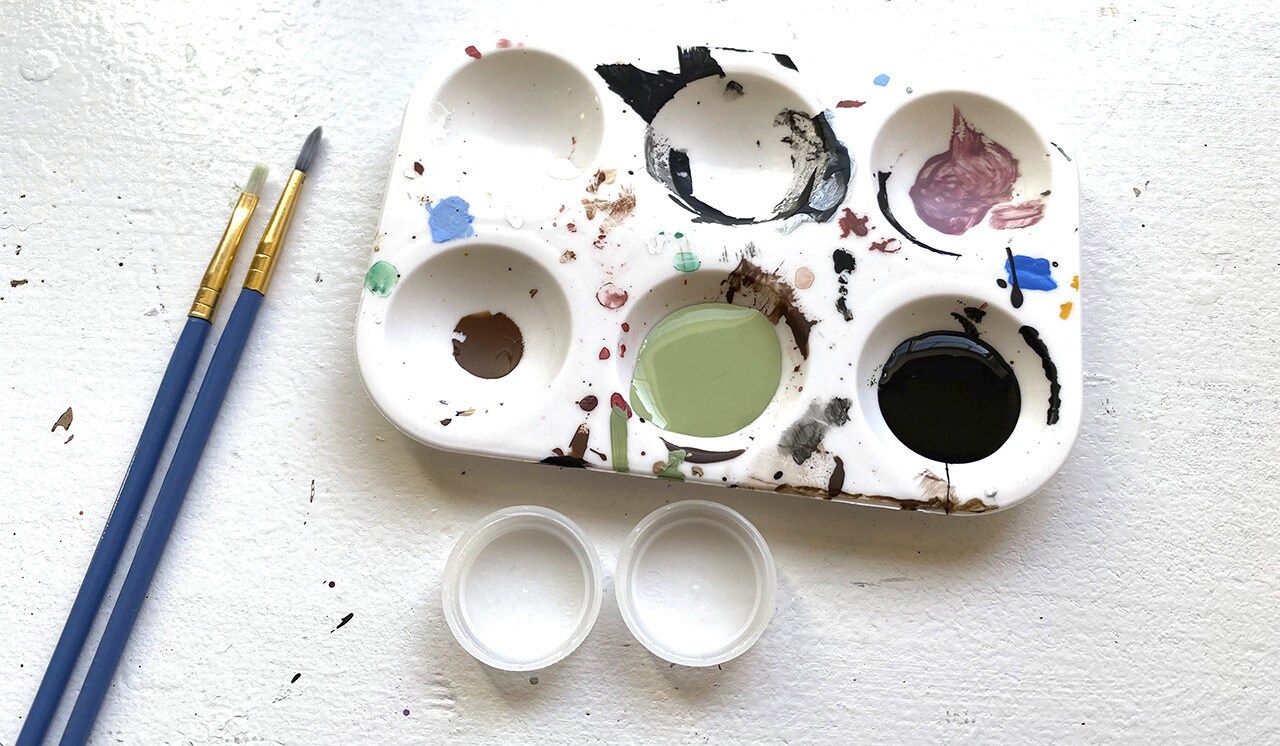
What You’ll Need
- Three plastic bottle caps
- Light green, black, silver, and red acrylic paint
- Brown and green construction paper
- Two small googly eyes
- Glue or hot glue
- Paint brushes
- Pencil
- Ruler
- Scissors
- Three magnets
This Is the Way
Jawa
Step 1: Paint the inside of one bottle cap with the black paint and let dry.
Step 2: Trace the bottle cap on the brown construction paper.
Step 3: Draw a rounded triangle shape around the circle you traced to make the Jawa’s hood.
Step 4: Cut out the hood shape with the circle in the middle slightly smaller than the one you traced so that there’s space to glue it to the cap.
Step 5: Glue the hood to the bottle cap. If you’re using school glue, flip it over as it dries so that any extra glue drips on to the paper and not into the cap. Let dry completely.
Step 6: Dot two red eyes in the middle of the Jawa’s face and let dry.
Step 7: Glue or hot glue the magnet to the unpainted side of the bottle cap, and your magnet is complete!
The Child
Step 1: Paint the inside of one bottle cap with the light green paint and let dry.
Step 2: Trace the bottle cap on the green paper.
Step 3: Draw a straight line through the middle of the circle you traced. This will be the top of the ears.
Step 4: Draw two half-circles below the line on both sides of the circle to finish the ears.
Step 5: Cut out the two ear shapes.
Step 6: Glue the two ears to opposite sides of the painted bottle cap.
Tip: Hot glue is more effective for gluing on the ears, but younger crafters may want to use school glue. It will require patience!
Step 7: Once dry or cooled, paint over the ears with the same color you used to paint the bottle cap. Let dry.
Step 8: Glue the two small googly eyes to the middle of the bottle cap and let dry.
Step 9: Glue or hot glue the magnet to the back side of the bottle cap, and your magnet is complete!
The Mandalorian
Step 1: Paint the inside of one bottle cap with the silver paint and let dry.
Step 2: Using the black paint, paint a thin curved line across the middle of the bottle cap. Paint a line perpendicular below it, and let the paint dry.
Step 3: Mix the silver and black paint to make a darker silver, and paint both sides next to the perpendicular black line. (Leave the top of the helmet the original silver.)
Step 4: Cut a small, thin strip of paper. Continue to trim it so that it fits on the top part of the helmet above the black visor you painted. Cut the top of the strip in a rounded shape.
Step 5: Glue the strip of paper to the top of the helmet and let dry.
Step 6: Paint another layer of the original silver paint on the top to cover the strip you glued.
Step 7: Glue or hot glue the magnet to the back side of the bottle cap, and your Mando magnet is complete!
Watch The Mandalorian, streaming now on Disney+.
Kelly Knox is a Seattle-based freelance writer who loves creating Star Wars crafts with her daughter. Follow her on Twitter at @kelly_knox.