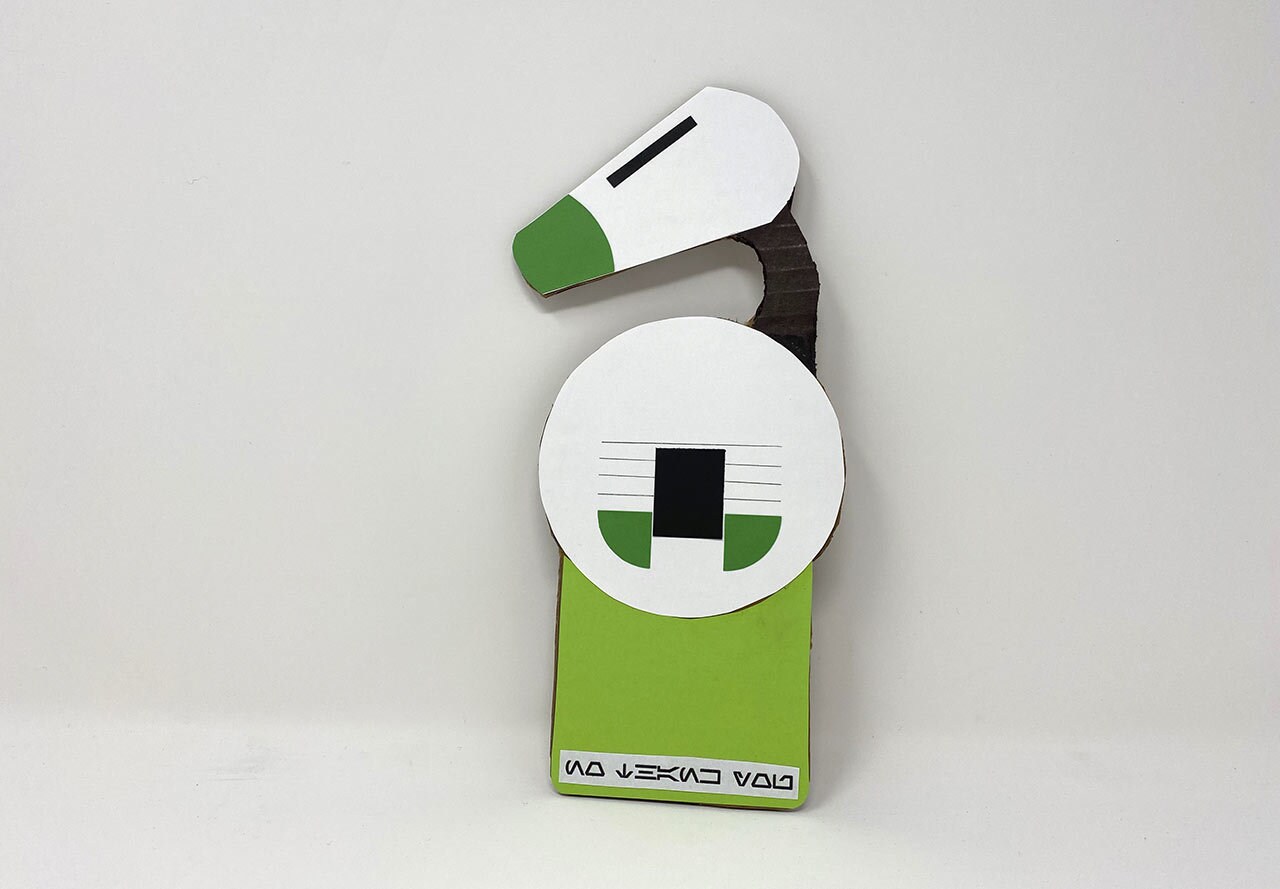
D-O, our newest favorite droid, made a big impression in Star Wars: The Rise of Skywalker with just three little words: “No, thank you!” This is definitely a droid who prefers his personal space.
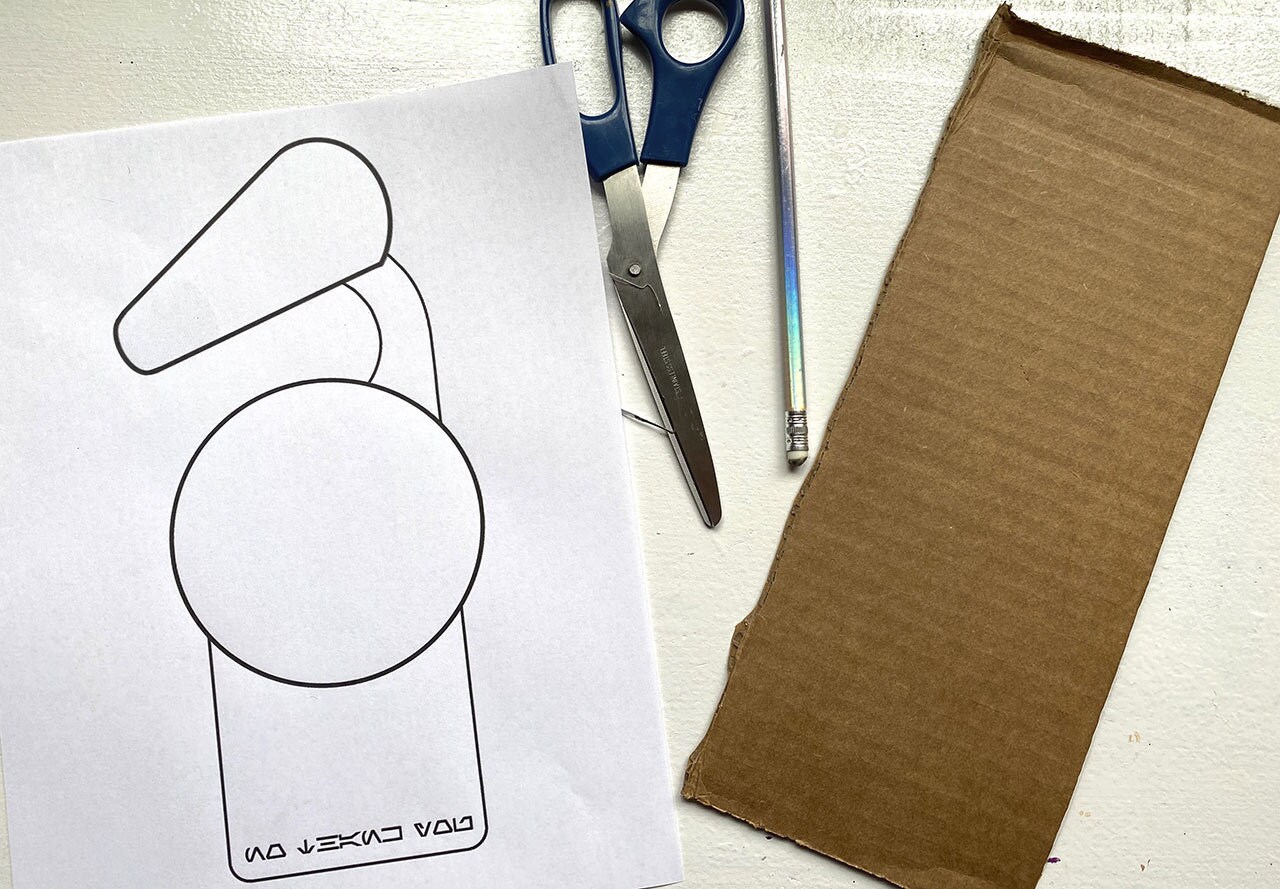
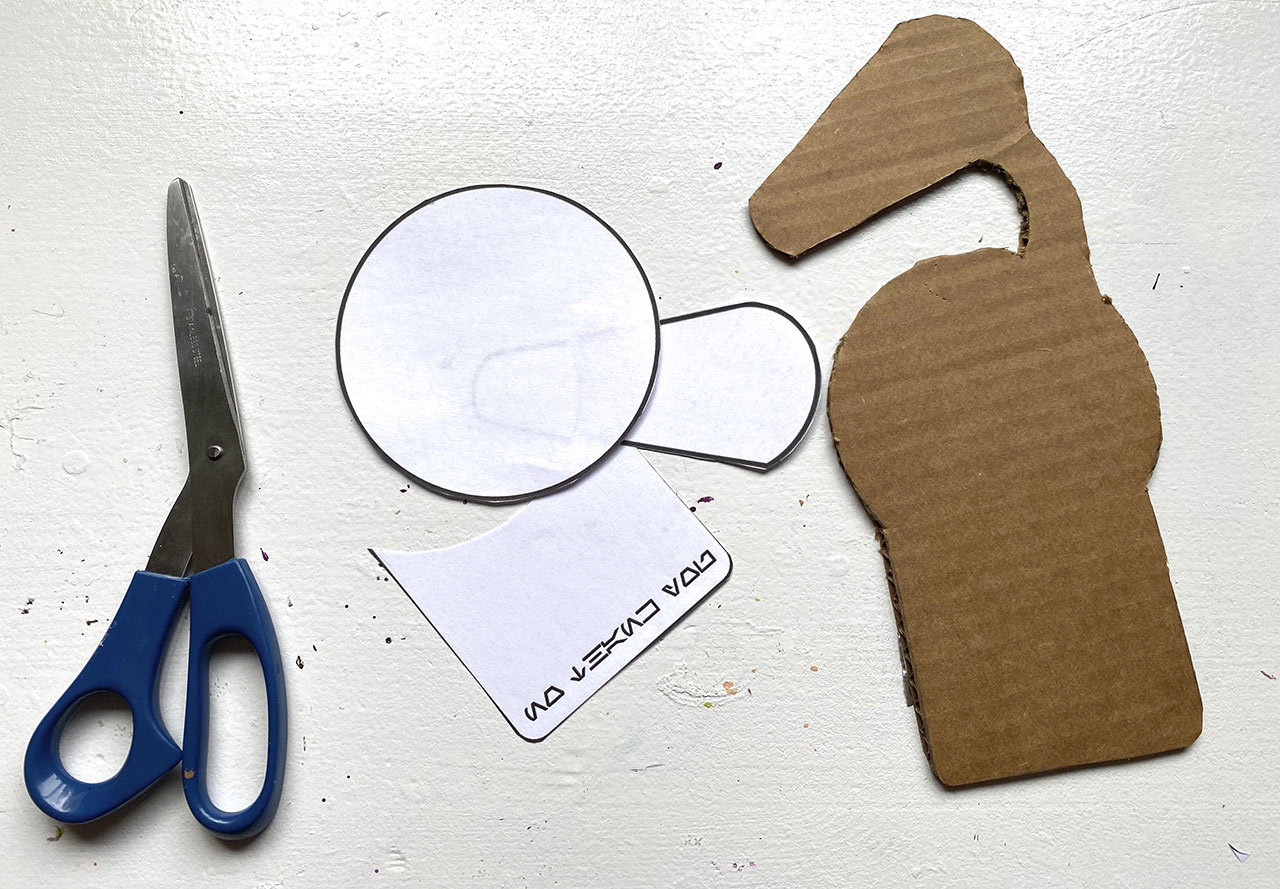
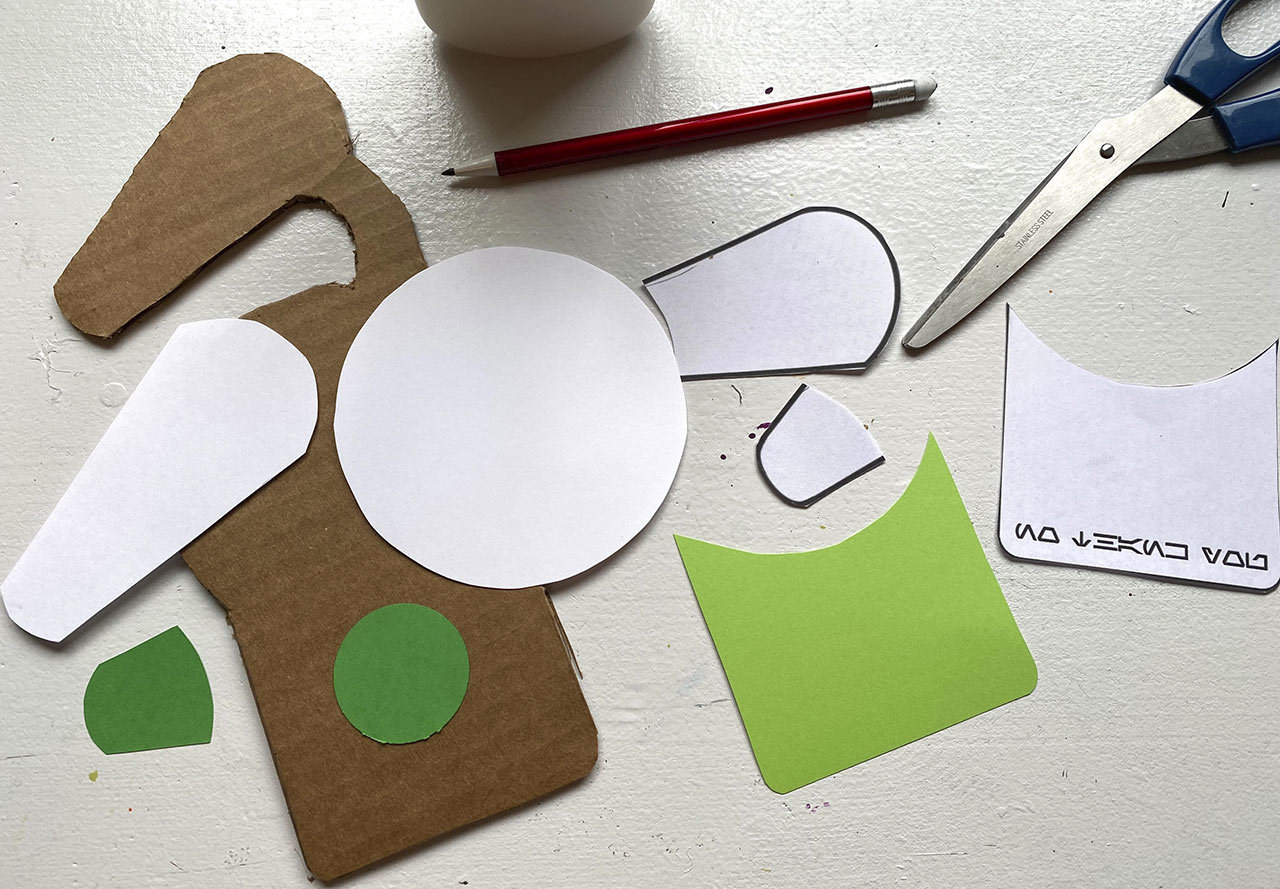
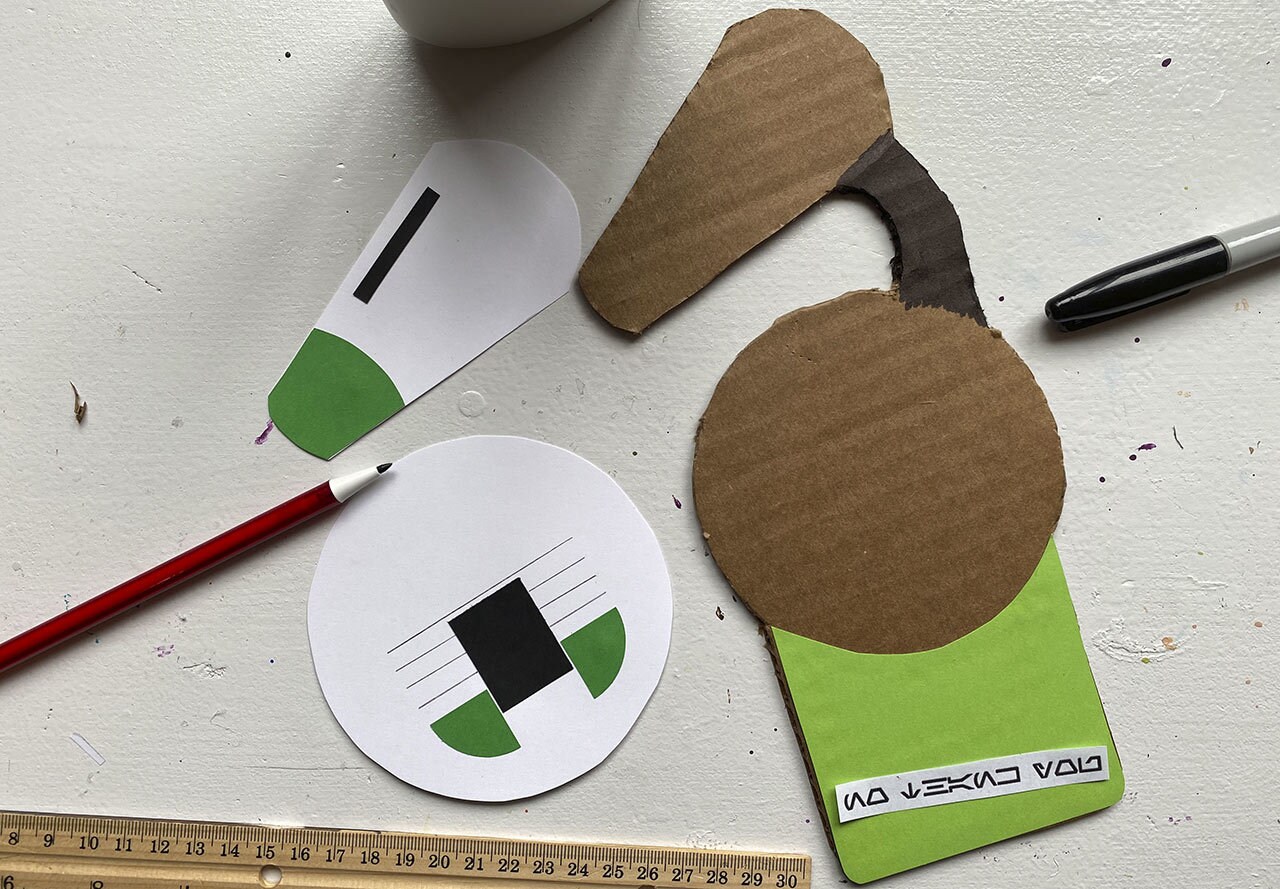
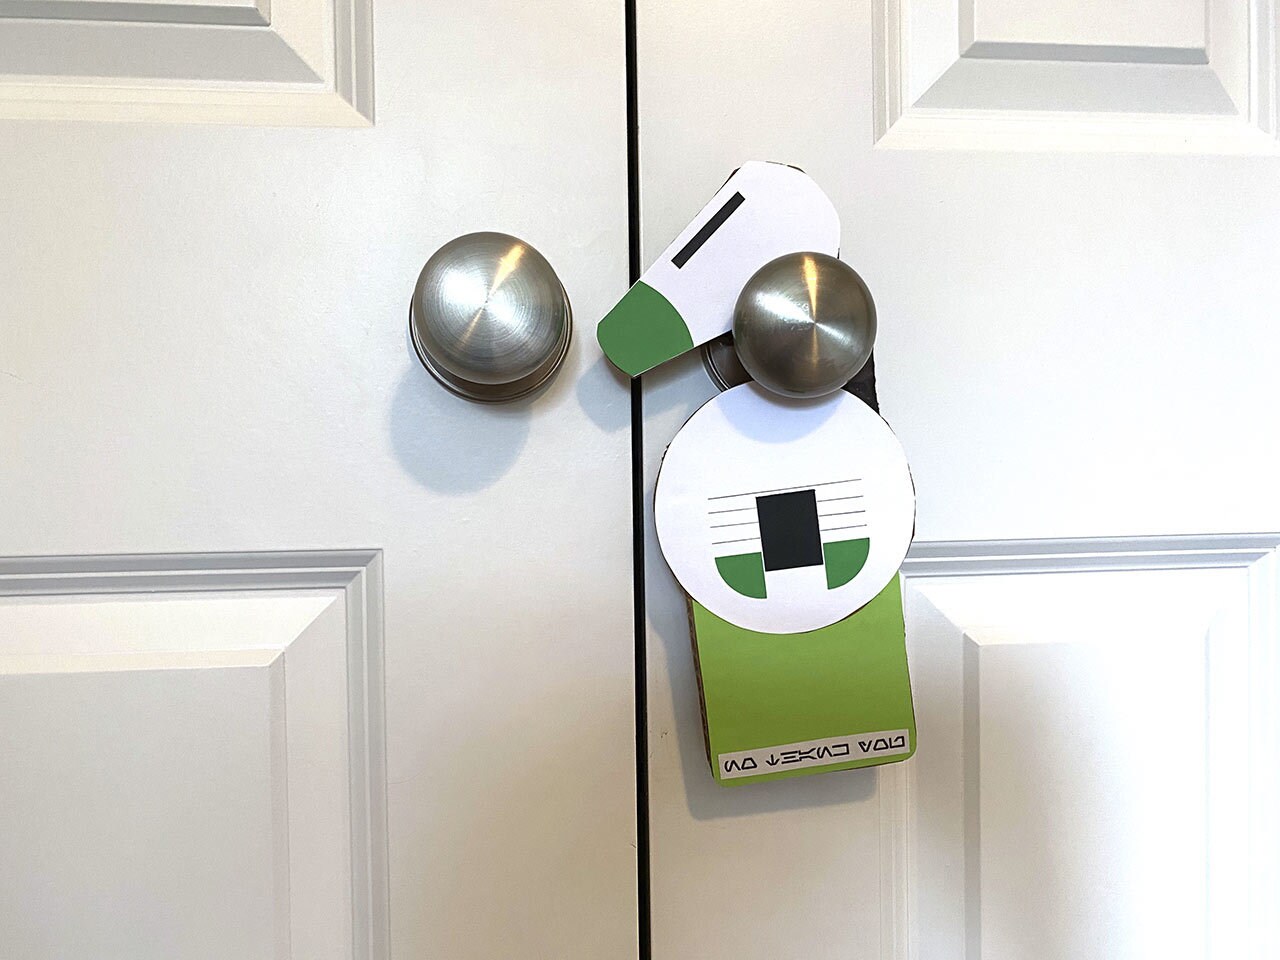
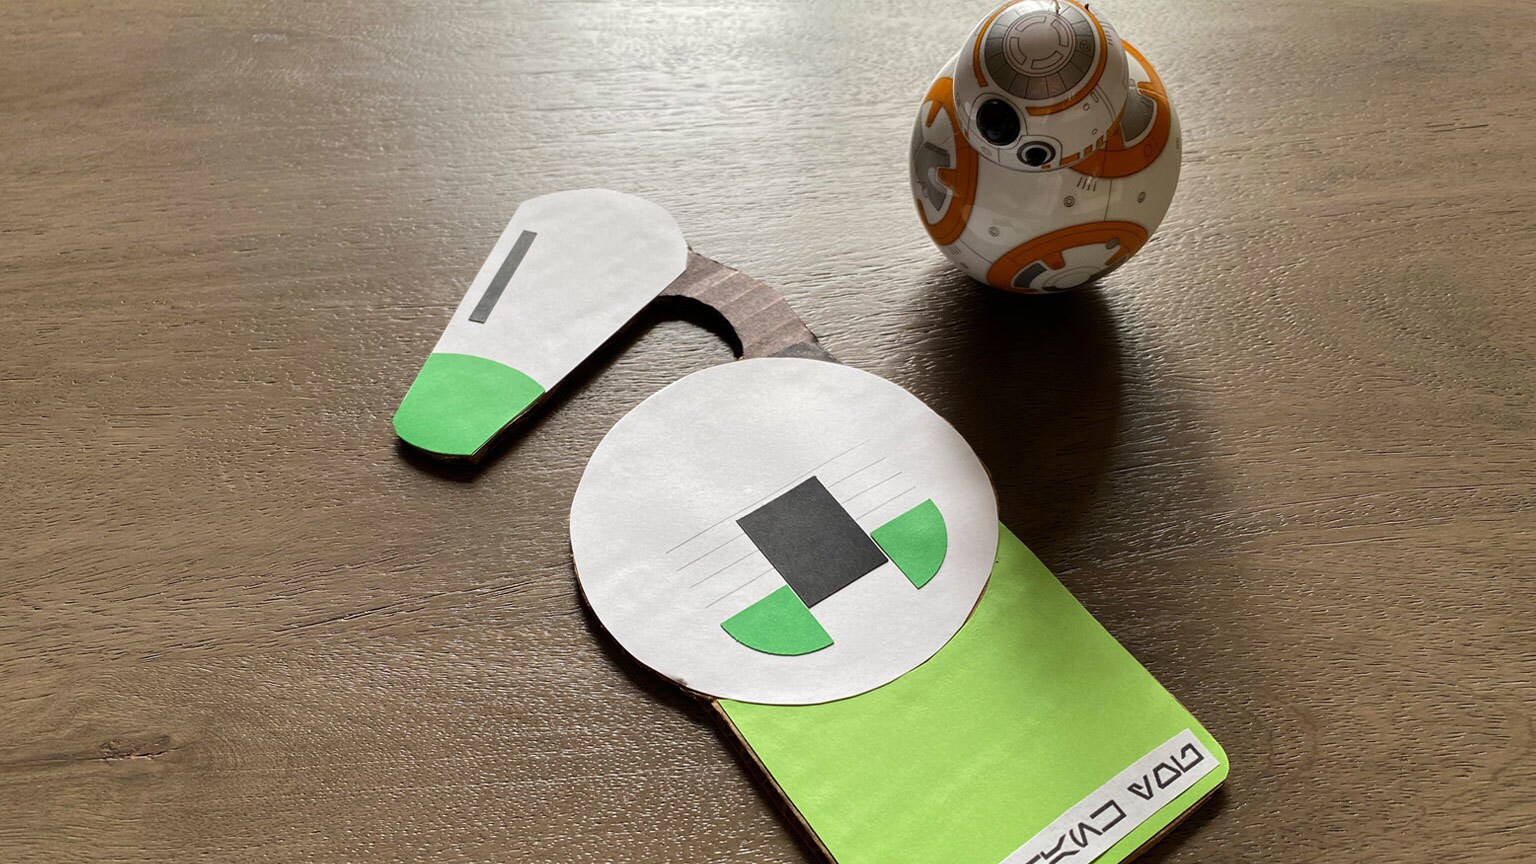
If you and the kids want to work on a quick craft that makes their own spaces unique, look no further. Make a DIY D-O door hanger with this template and just colorful paper, glue, scissors, and a black marker.
What You’ll Need*
- D-O template
- Green, white, and black cardstock or construction paper
- Other color of construction paper (your choice)
- Piece of cardboard at least 12 inches long and 4.5 inches wide
- Black marker
- Scissors
- Glue
- Ruler
- Pencil
*The activities in this article should only be done with adult supervision.
No Materials? No Problem!
For a simplified activity for a young Star Wars fan, simply print the D-O door hanger template. (The thicker the paper, the better!) Use markers or crayons to make D-O’s design or design your own, write your name, and cut out the door hanger. D-O is ready to roll.
Get Started!
Step 1: Begin by printing the D-O template and cut it out in one piece. (The Aurebesh text reads “No Thank You.”)
Step 2: Next, trace the cut-out template on the piece of cardboard. Cut it out.
Step 3: Cut the original template again, cutting out the large circle for D-O’s body and his head. Save all pieces!
Step 4: Trace the large circle and D-O’s head on the white construction paper and cut them out.
Step 5: Cut the “nose” from D-O’s head template and trace it on the green paper. Cut it out.
Step 6: Cut a small circle from the green paper.
Step 7: Next, cut the small green circle into four quarters. Glue two of them in the bottom half of the white circle, spaced about an inch and a half apart.
Step 8: Cut a strip of black construction paper the same width and glue it between the two green shapes.
Step 9: Use the ruler and pencil to draw straight lines, evenly spaced apart, around the black strip.
Step 10: Next, glue the green nose to D-O’s head. Cut a small strip of black paper and glue it parallel to the top edge of the head.
Step 11: Trace the remaining piece of the template, the bottom, on the extra construction paper you picked out. Cut it out and glue it to the bottom edge of the cardboard.
Step 12: Cut the Aurebesh lettering from the same piece of the template and glue it to the bottom of the cardboard.
Step 13: Write your name above the “No Thank You” if you’d like!
Step 14: Use the black marker to color in the curved part of the cardboard for D-O’s “neck.”
Step 15: Glue the droid’s body to the middle of the cardboard, and his head on top.
Let all glue dry, and your one-of-a-kind droid is complete!
Star Wars: The Rise of Skywalker is available now on Digital, 4K Ultra HD, and via Movies Anywhere, and on 4K Ultra HD, Blu-ray, and DVD on March 31.
Kelly Knox is a Seattle-based freelance writer who loves creating Star Wars crafts with her daughter. Follow her on Twitter at @kelly_knox.
Site tags: #StarWarsBlog, #TheRiseOfSkywalker