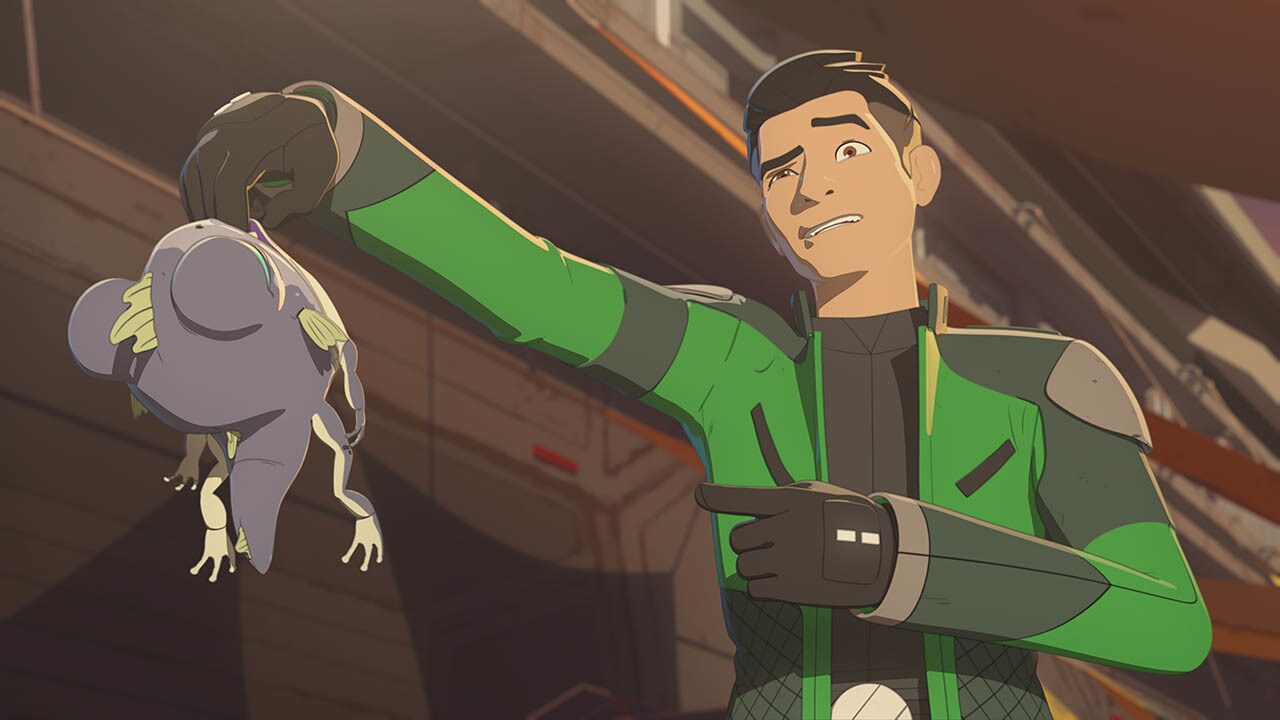
From Tatooine to Castilon, everyone knows gorgs make excellent gifts.
Gorgs are delicious treats both on Star Wars Resistance’s Colossus station and in real life. But did you know they also make a perfect holiday decoration? Papier-mâché, wooden beads, clay, paint, and a splash of glitter combine to add a little personality to your holiday decorations, kids’ playrooms, or refueling station.
What You’ll Need*
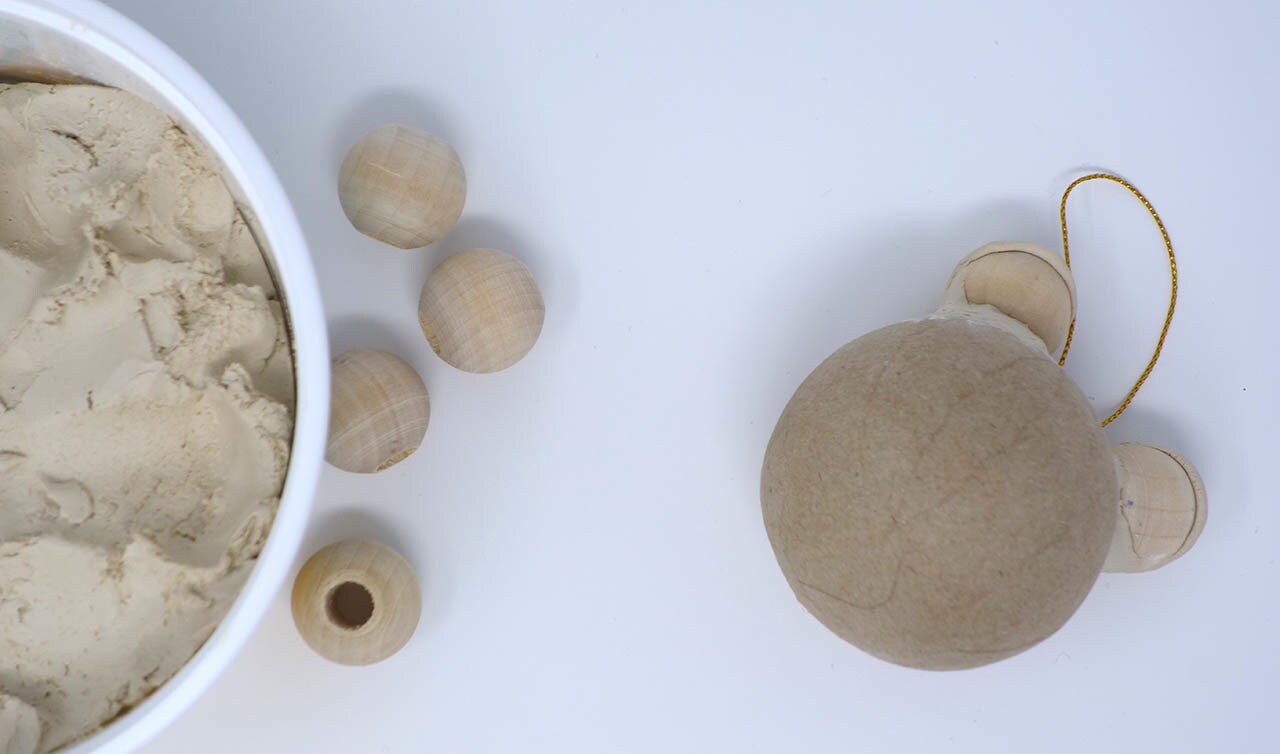
- Round papier-mâché ornament
- Two large wooden beads
- Air-dry clay
- Model Magic clay
- Cream, grey, turquoise, pale green, and black acrylic paint
- Craft knife
- Hot glue gun
- Paint brushes
- Glitter
*The activities in this article should only be done with adult supervision.
Get Started!
Step 1: Begin by hot gluing the two wooden beads on top of the ornament on either side of the hanging string, opening side down. Let cool.
Step 2: Fill in the openings on the top of the beads with the air-dry clay and let dry.
Step 3: Next, use the air-dry clay to fill in around the sides of the bead, making the eyes look attached to the gorg’s body (the ornament).
Step 4: Shape eyelids for the gorg with the air-dry clay, and gently press the clay to the top of the wooden bead. Blend as needed and let all clay dry completely, preferably overnight.
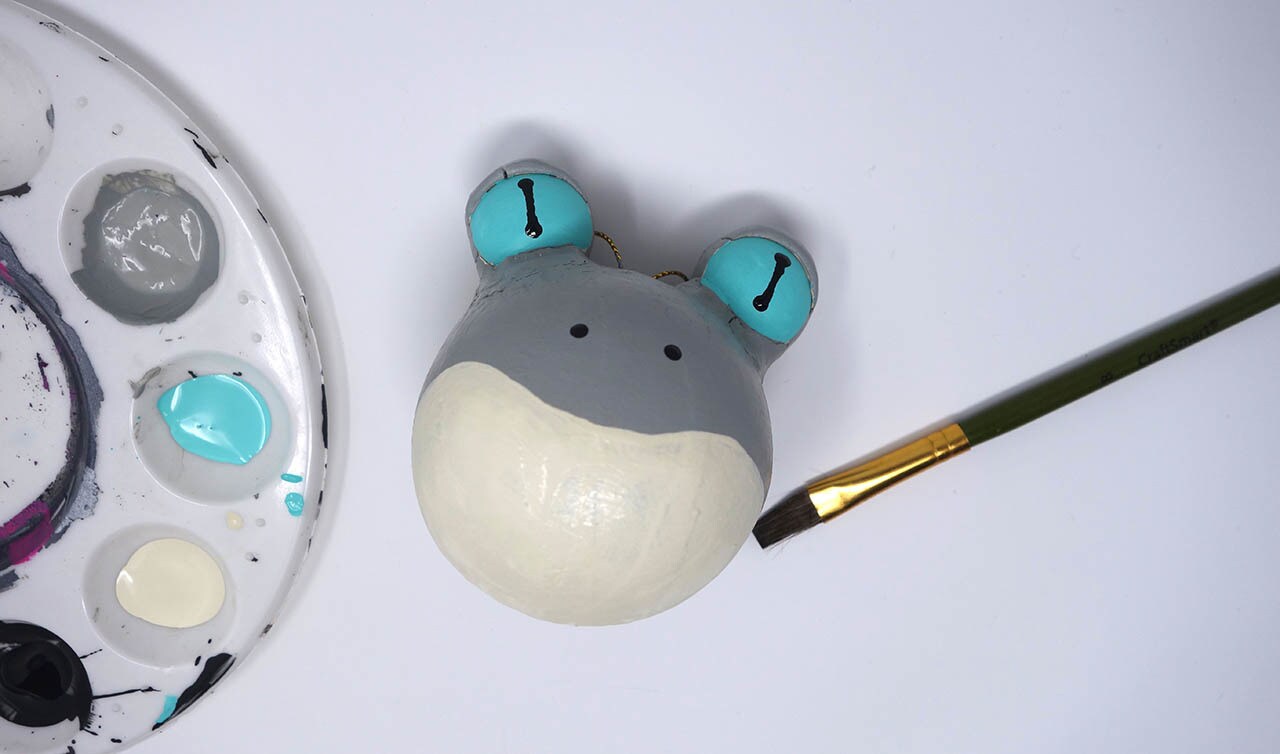
Step 5: Paint the belly of the gorg with the cream-colored acrylic paint. Paint the body and the eyelids with the grey paint and let all paint dry.
Step 6: Paint the gorg’s eyes turquoise and let dry before adding the pupils with the black paint. If you’re having trouble with the small dots in the pupils, dip the other end of the paint brush in the black paint and gently dot it on the wooden bead.
Step 7: Add two black dots on the front of the ornament for the gorg’s nose. Let all paint dry completely.
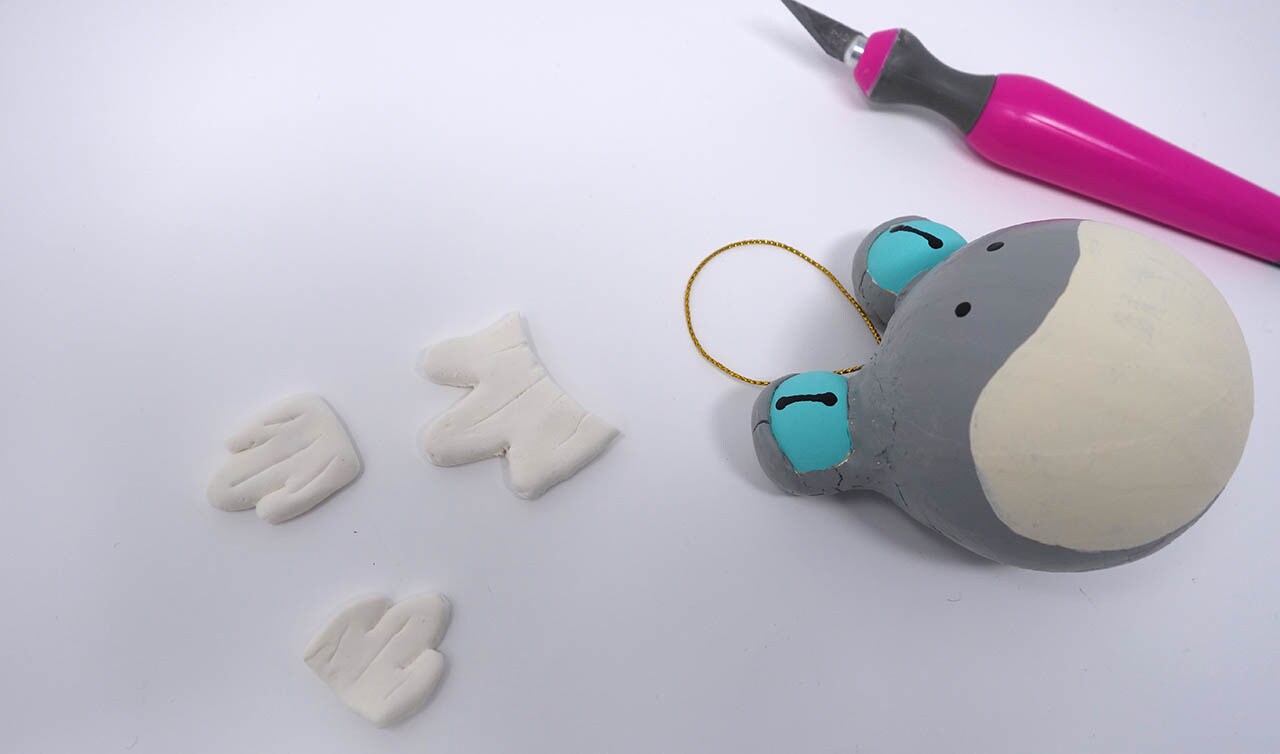
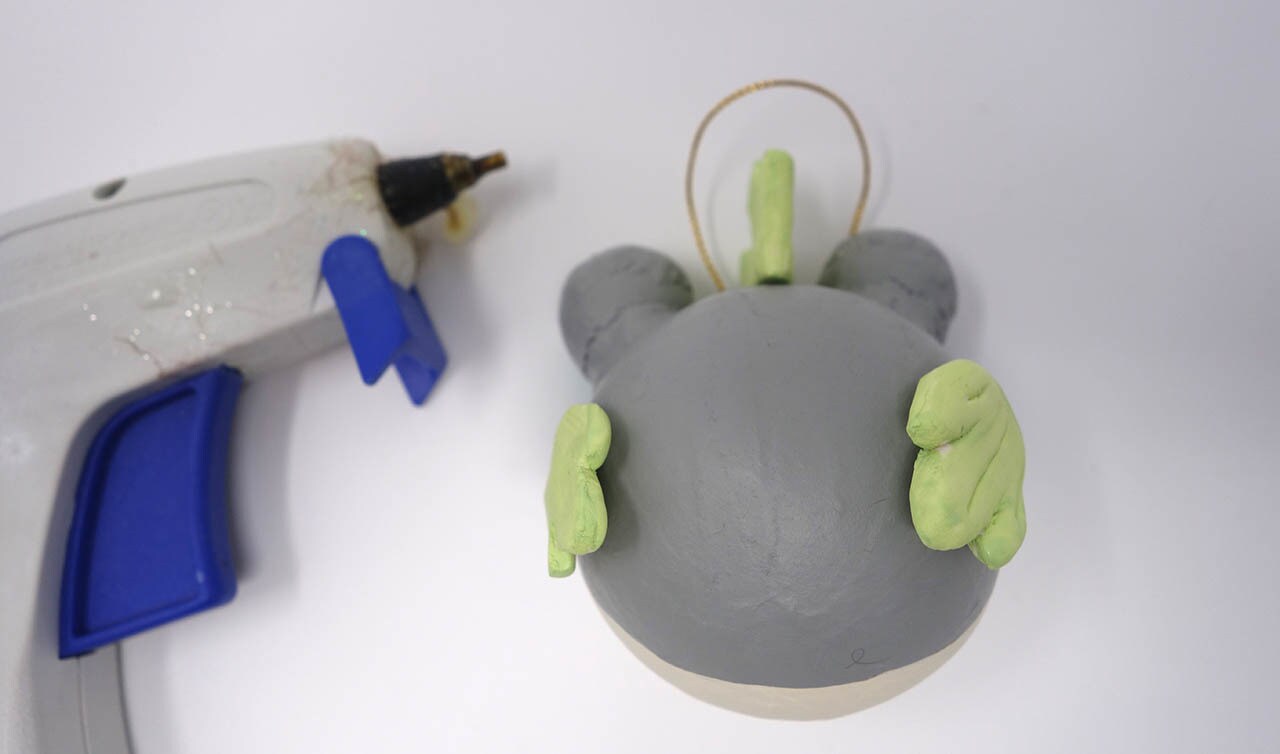
Step 8: Use the Model Magic clay to make three small fin shapes. One will be the larger fin on top of the gorg’s head, and the other two will be smaller fins for the back of the ornament. Let the clay dry overnight.
Step 9: Paint the fins a pale green and let dry.
Step 10: Hot glue the larger fin to the top of the ornament, and the two smaller fins on the back side.
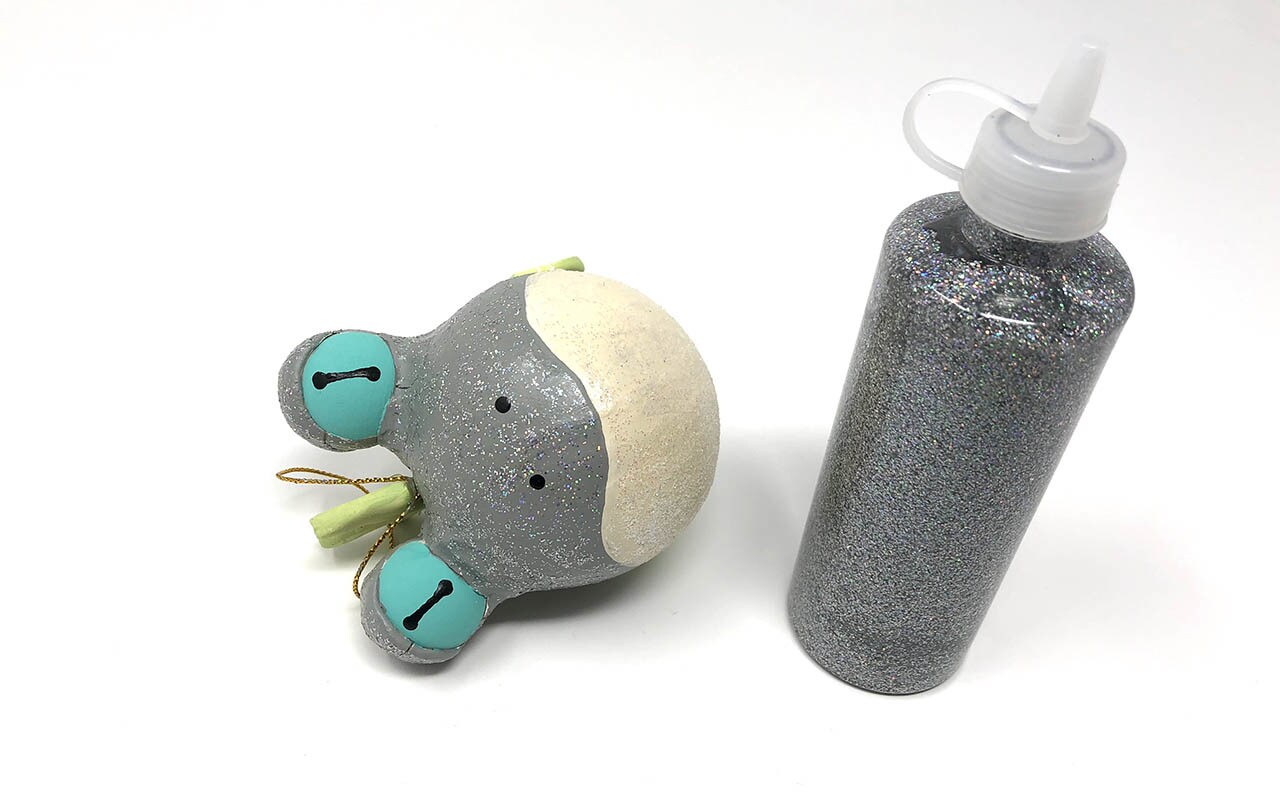
Step 11: Use silver or holographic glitter glue over the dry grey paint and let the glitter dry completely. Repeat on the belly with a white glitter, and let dry.
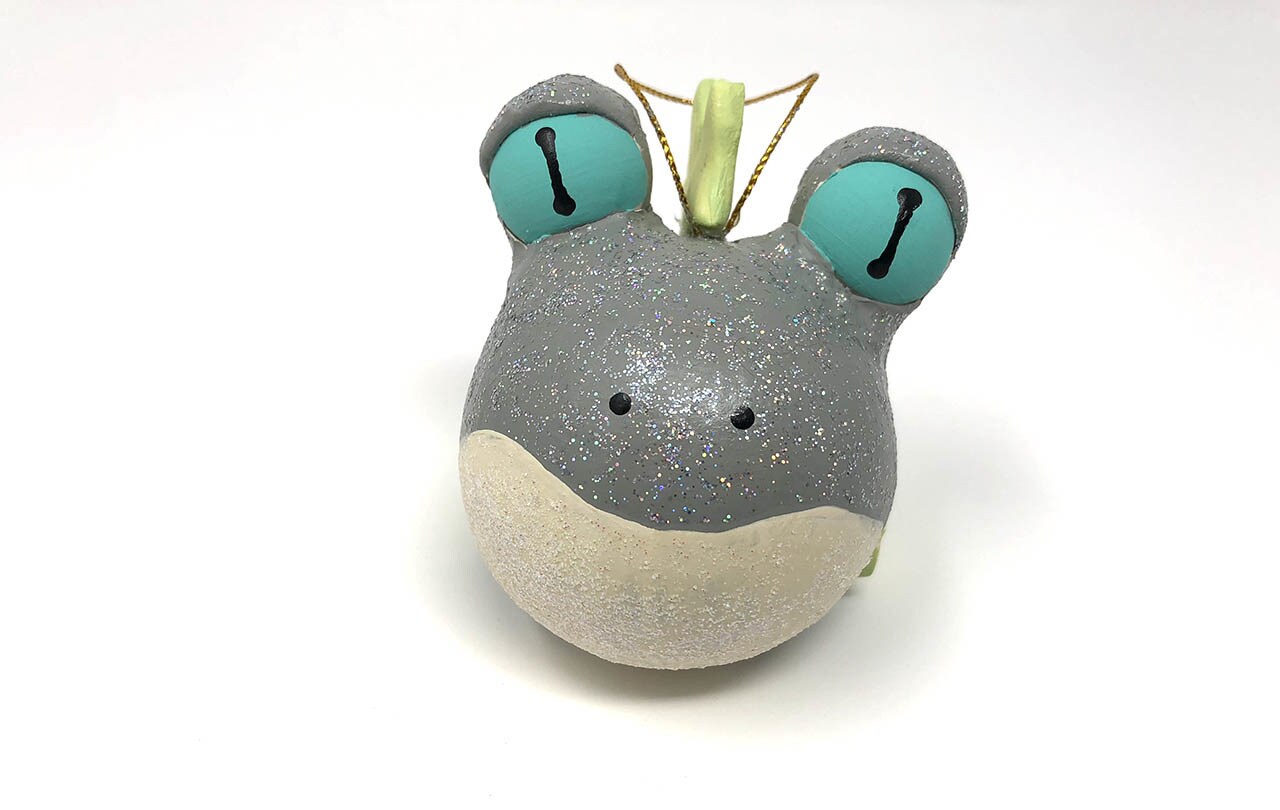
Your gorg ornament (or, if you prefer, gorg-ament) is complete! Make it together with your kids to celebrate Star Wars Resistance and the holidays this winter.
Kelly Knox is a freelance writer who loves creating Star Wars crafts with her daughter. Follow her on Twitter at @kelly_knox.
Site tags: #StarWarsBlog, #StarWarsParentingBlogs


