
-
![Adria Arjona]()
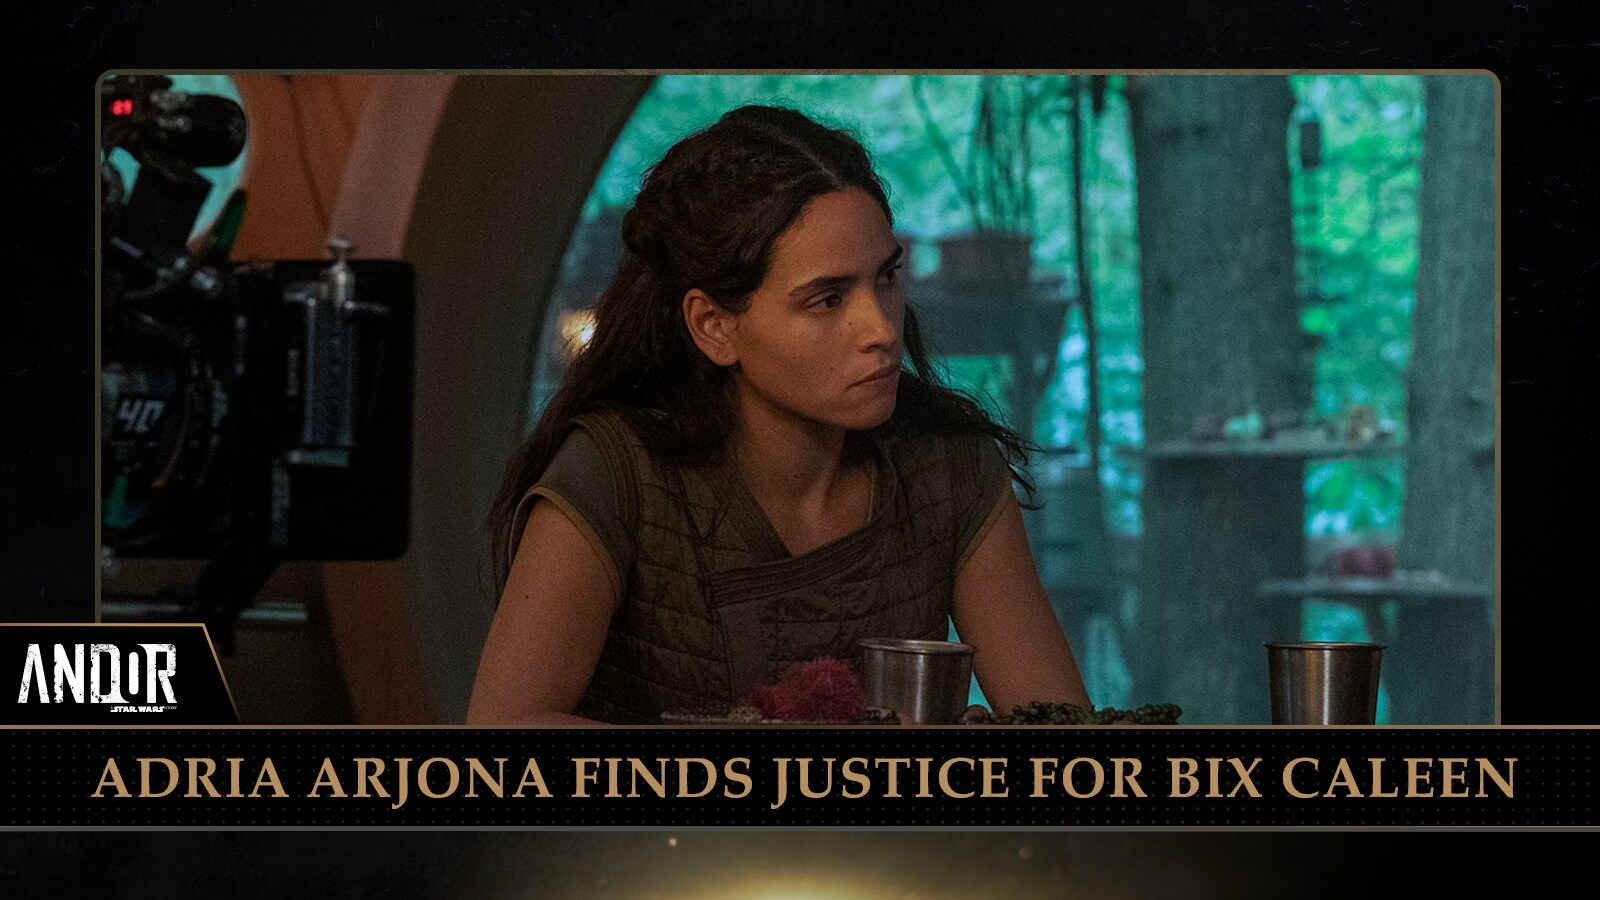
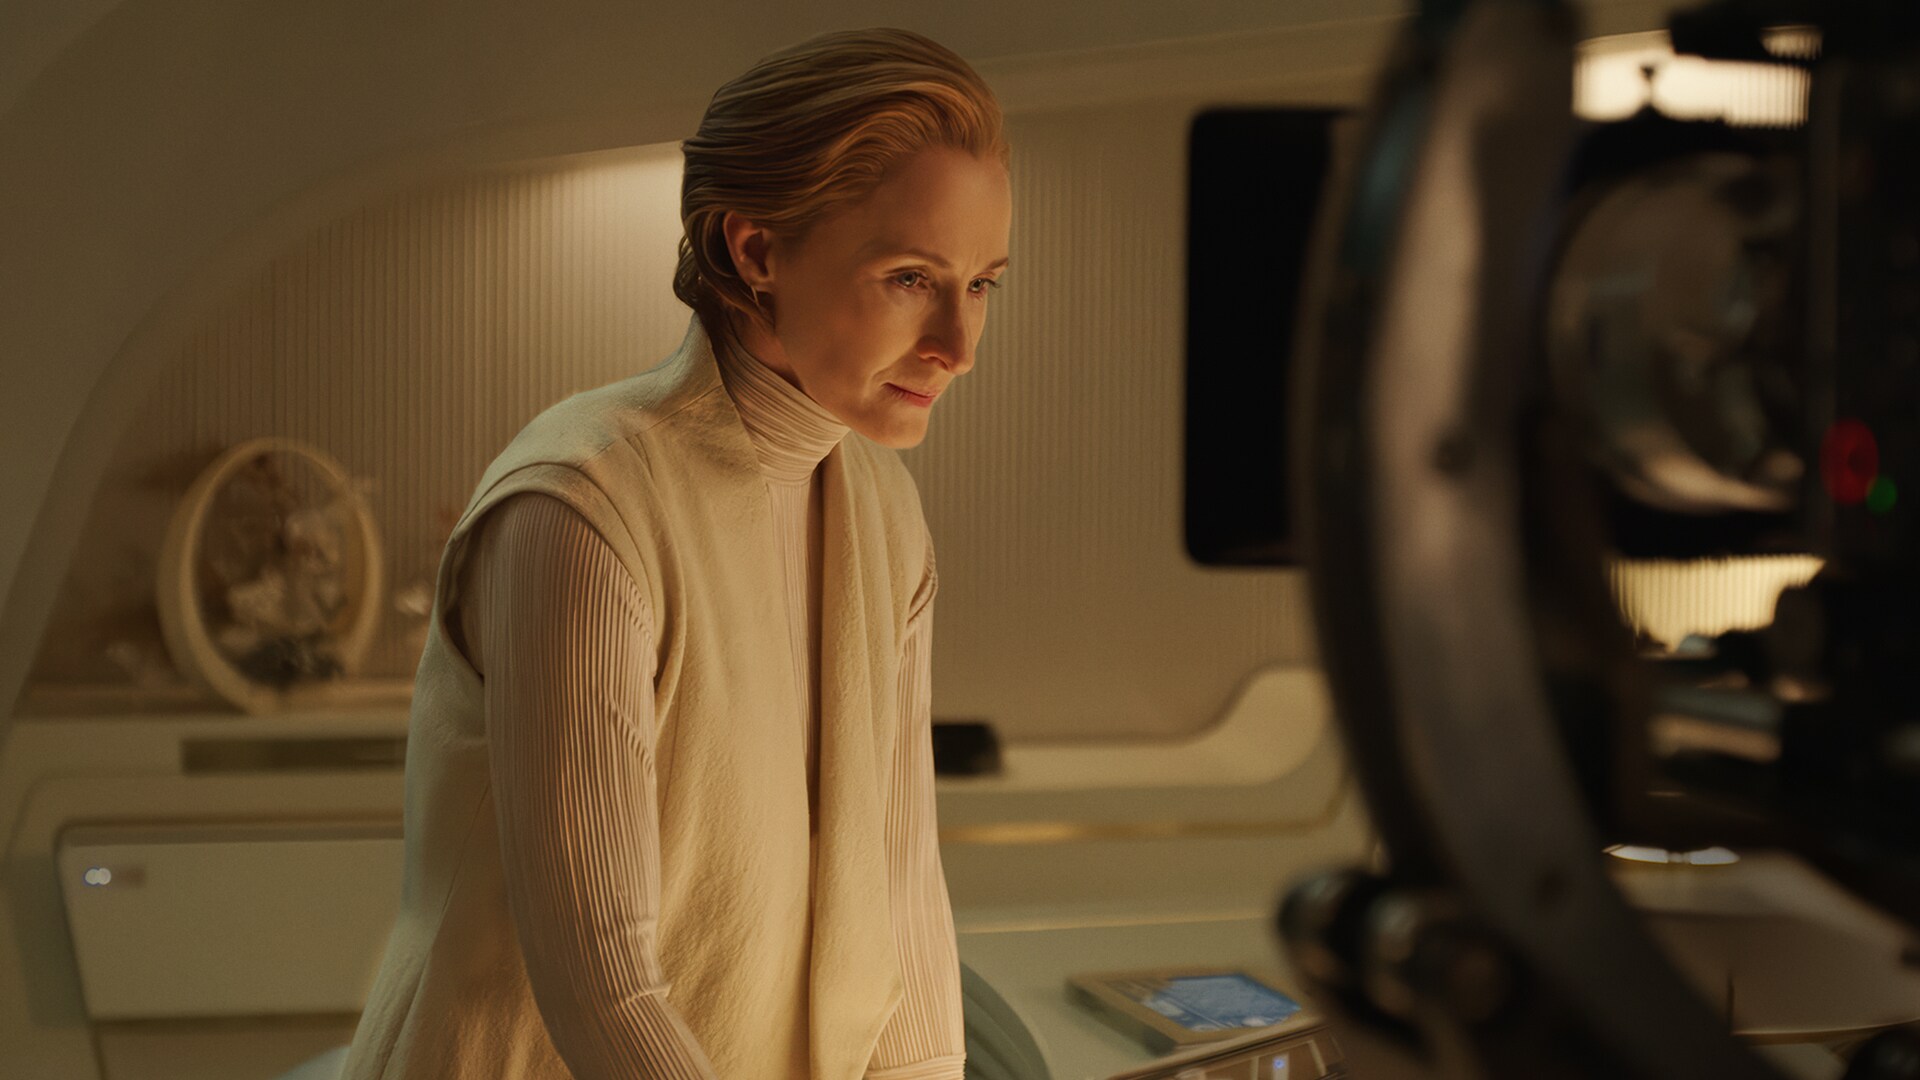
Adria Arjona Finds Justice for Bix Caleen
The actor looks back on the emotional journey of filming Andor season 2.
-
![Luthen Rael’s Gallery]()
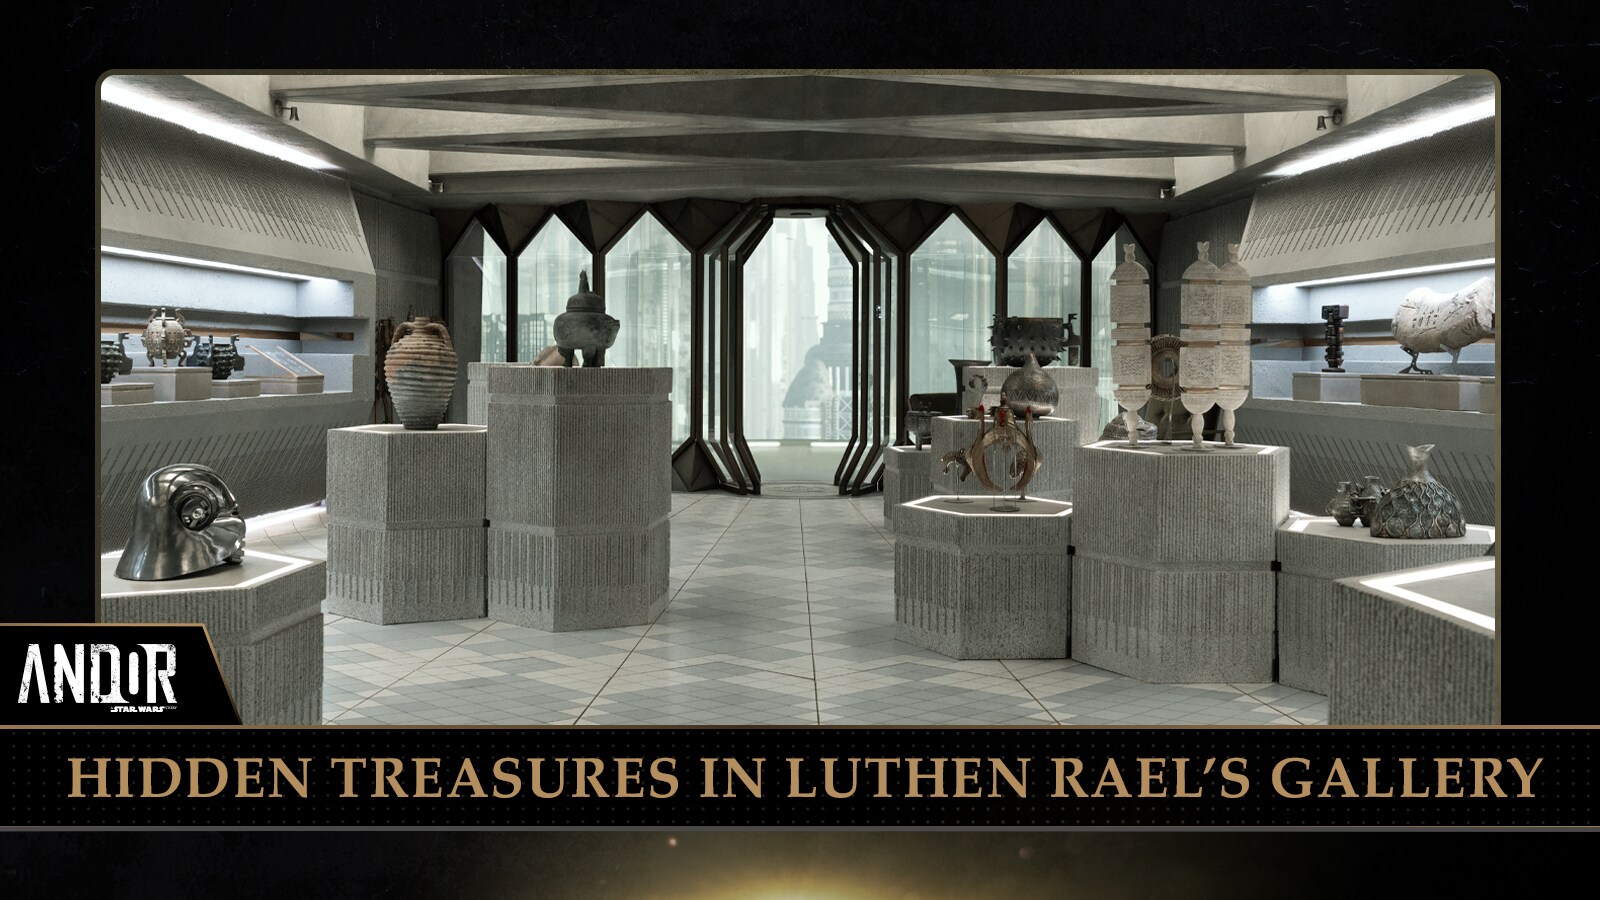
Hidden Treasures in Luthen Rael’s Gallery
The Coruscant shop is filled with artifacts that connect to the larger Star Wars saga and beyond.
-
![Motion Banner | Andor Concept to Screen - Avenger]()
Taking Andor from Concept to Screen
Get an up-close look at how the Andor creative team designed a rebellion.
-
![Tony Gilroy at Lucasfilm]()
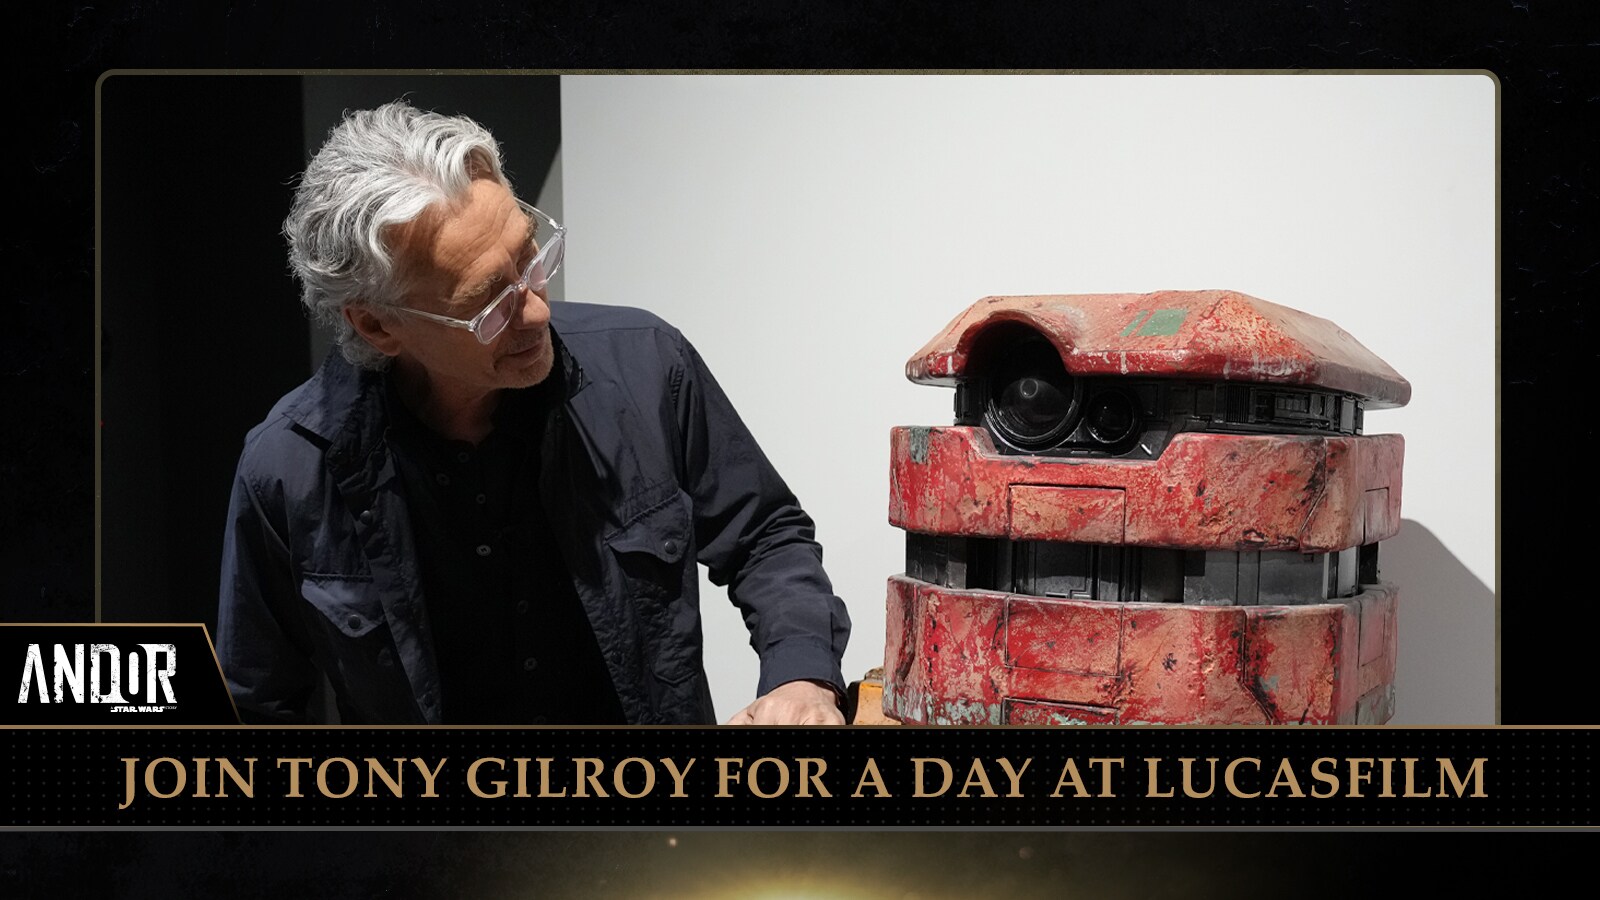
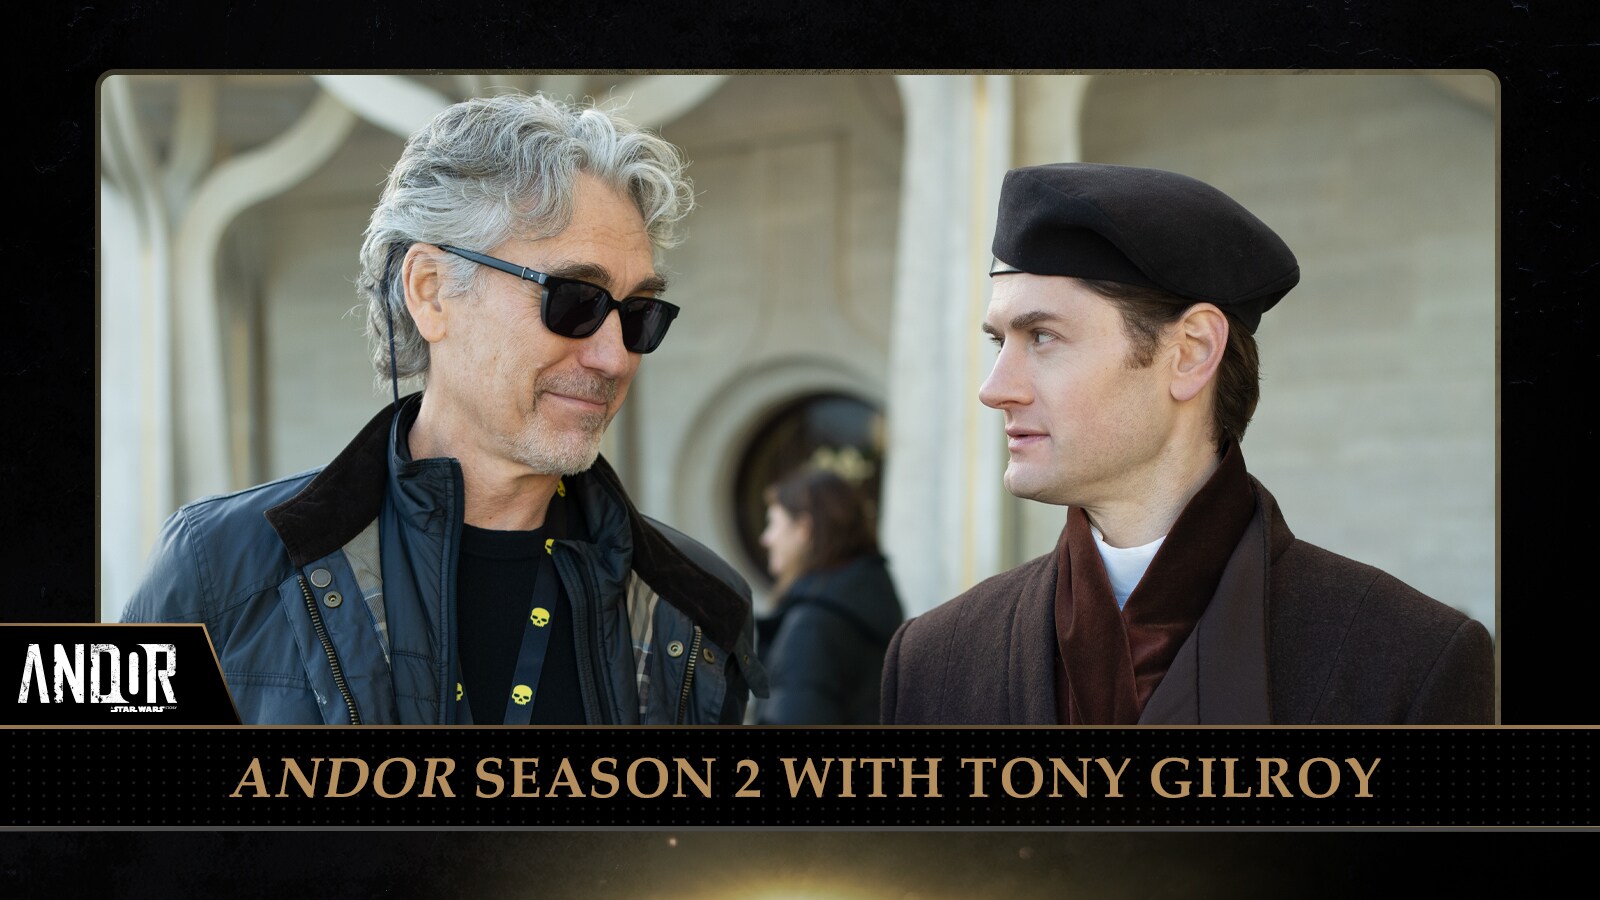
Andor Creator Tony Gilroy Visits Lucasfilm
The Andor showrunner was joined by fellow cast and crew members at the company's San Francisco headquarters.
-
![Jyn and Cassian in Rogue One: A Star Wars Story]()
![]()
Watch the next chapter in the story of the Rebellion in Rogue One. Stream now, only on Disney+.
-
![Asajj Ventress in Star Wars: Tales of the Underworld.]()
Quiz: Which Bounty Hunter Are You?
Are you more like the Force-wielding Asajj Ventress or the fearsome Boba Fett?


Adria Arjona Finds Justice for Bix Caleen
Hidden Treasures in Luthen Rael’s Gallery
Taking Andor from Concept to Screen
Tony Gilroy Visits Lucasfilm
Rogue One: A Star Wars Story
Which Bounty Hunter Are You?


of


Latest Video
View All


TM & © Lucasfilm Ltd. All Rights Reserved