
-
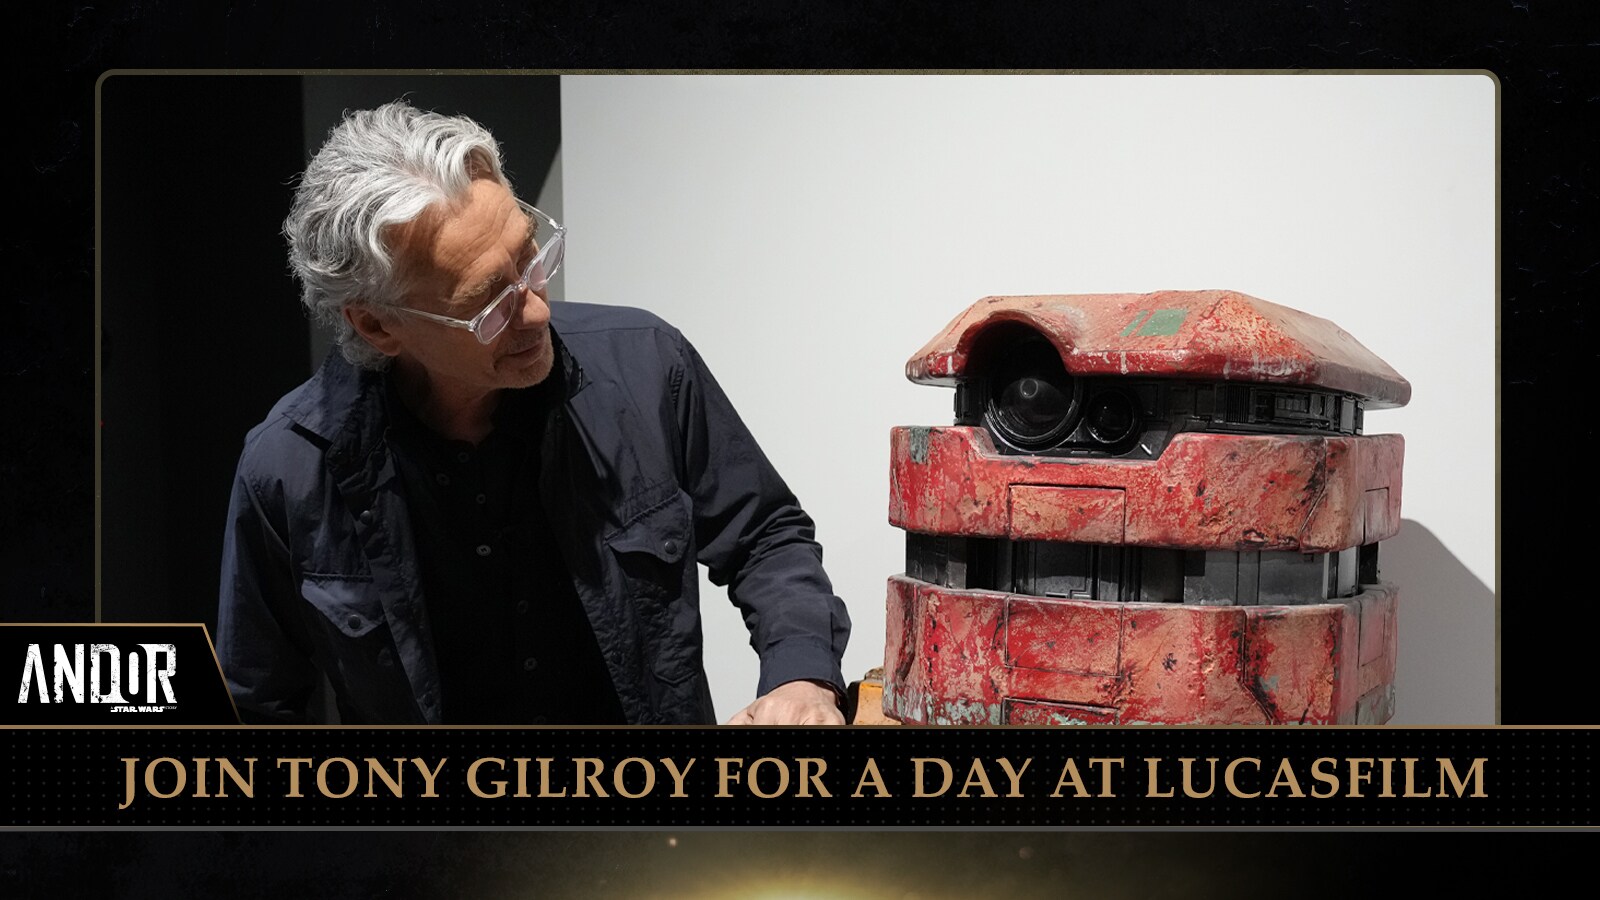
![Tony Gilroy at Lucasfilm]()
Andor Creator Tony Gilroy Visits Lucasfilm
The Andor showrunner was joined by fellow cast and crew members at the company's San Francisco headquarters.
-
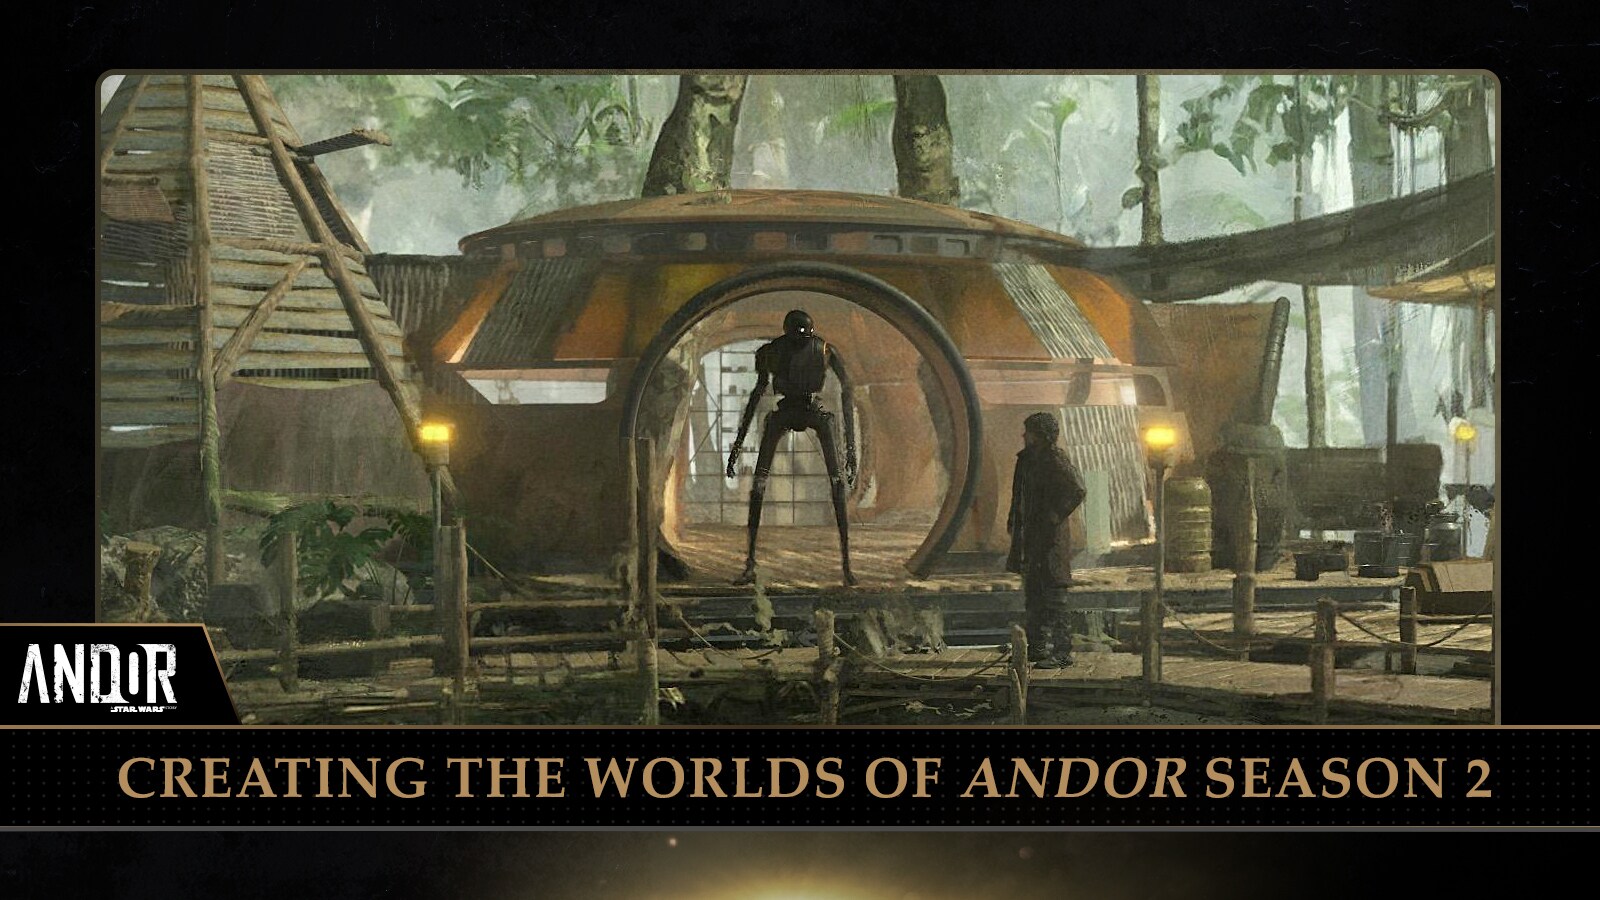
![Motion Banner | Andor Concept to Screen - Safehouse]()
Taking Andor from Concept to Screen
Get an up-close look at how the Andor creative team designed a rebellion.
-
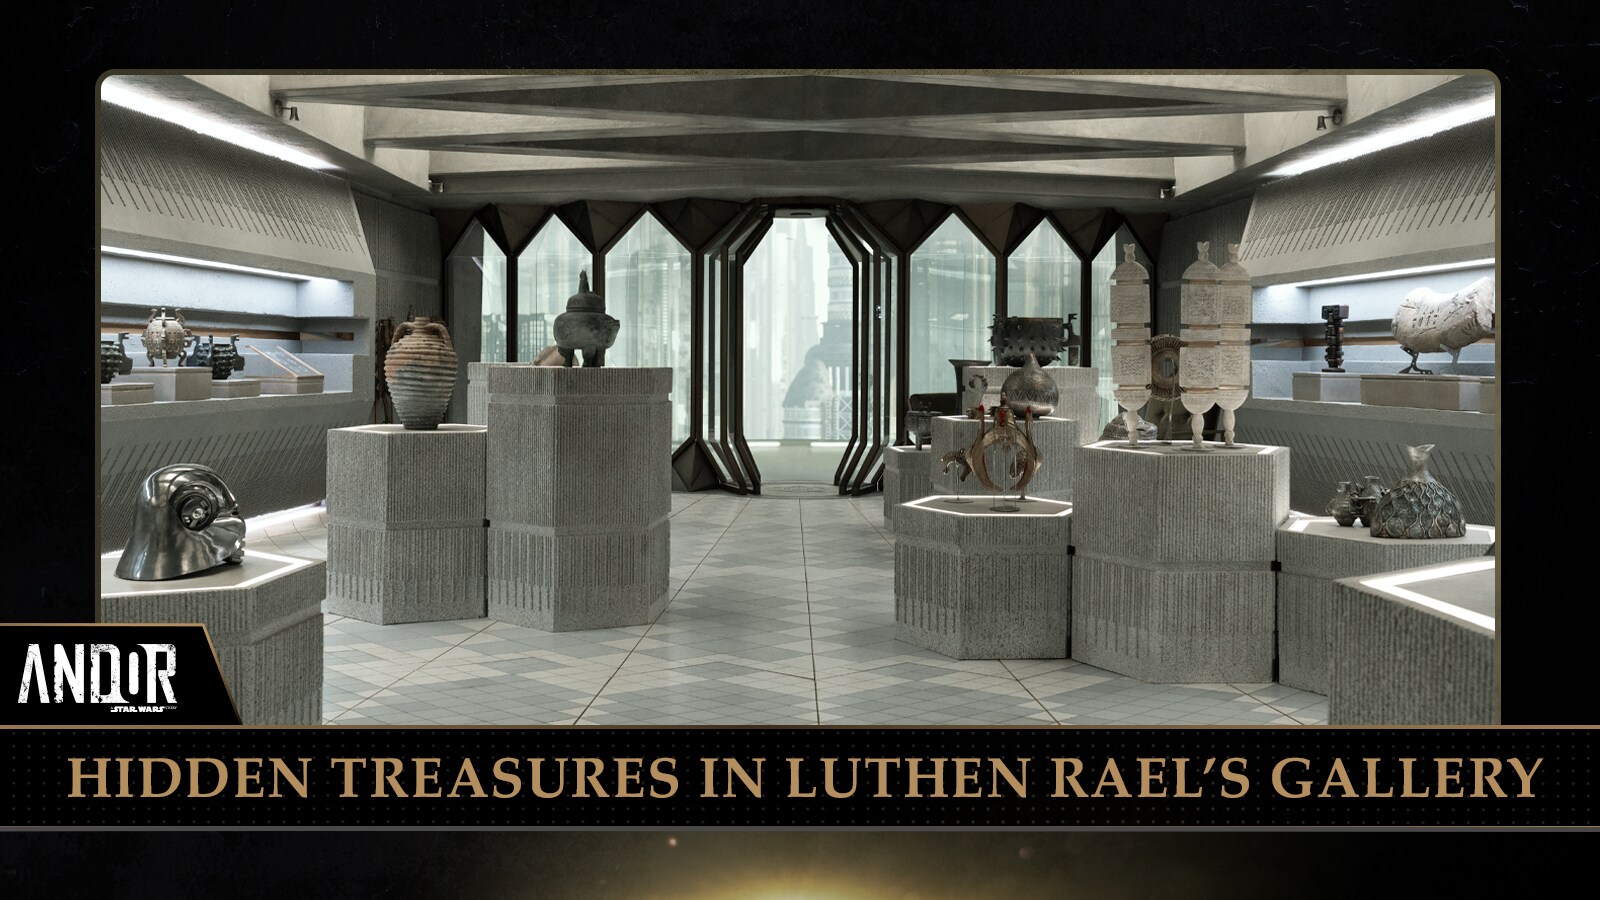
![Luthen Rael’s Gallery]()
Hidden Treasures in Luthen Rael’s Gallery
The Coruscant shop is filled with artifacts that connect to the larger Star Wars saga and beyond.
-
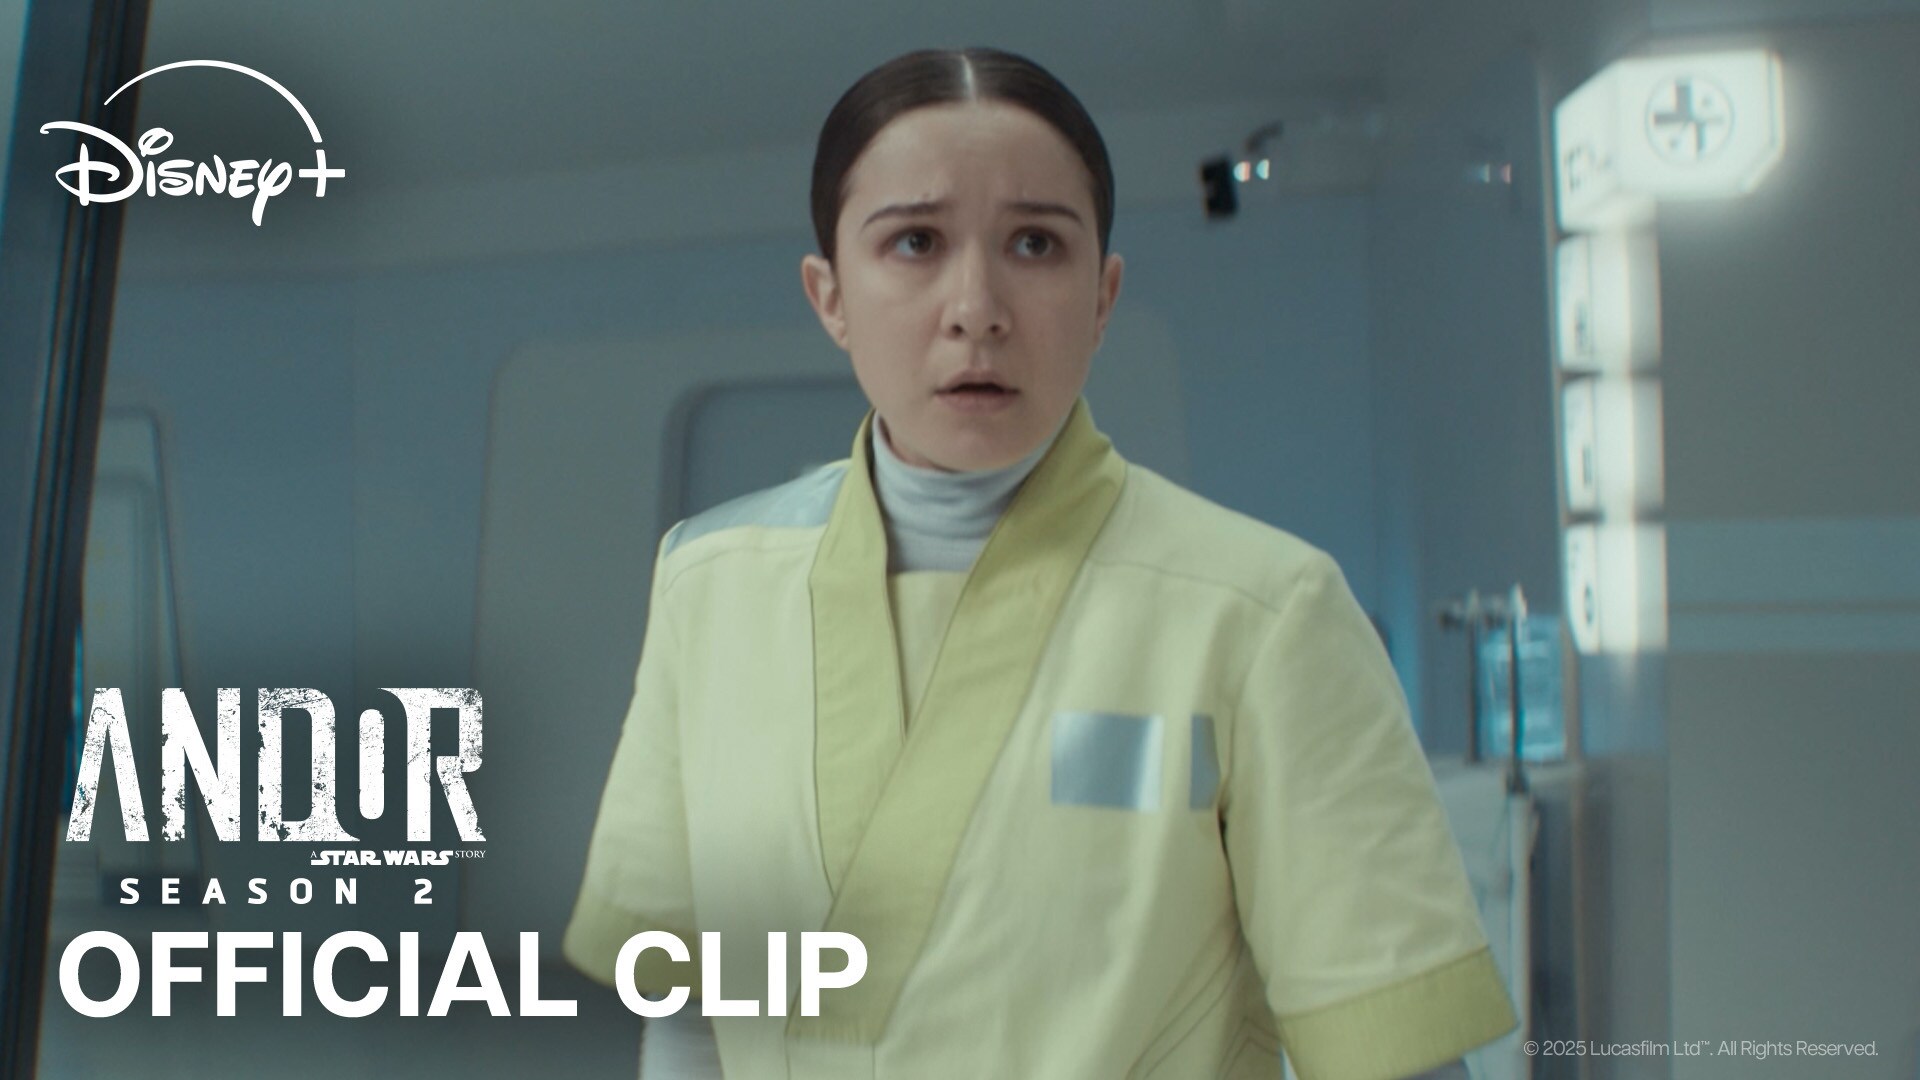
![Jyn and Cassian in Rogue One: A Star Wars Story]()
![]()
Watch the next chapter in the story of the Rebellion in Rogue One. Stream now, only on Disney+.
-
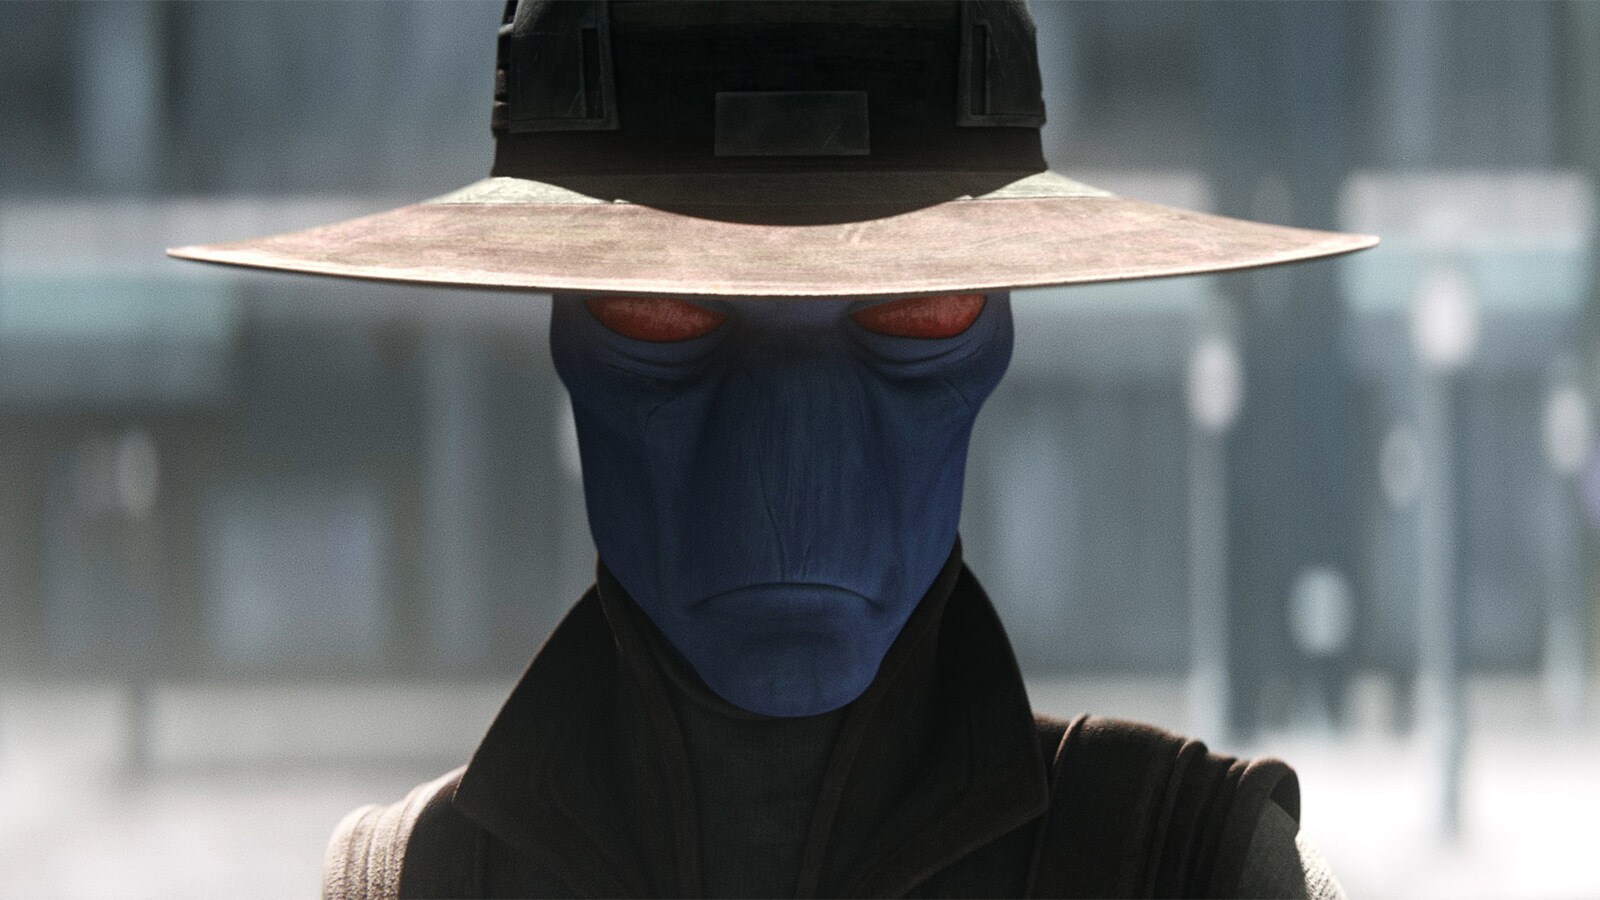
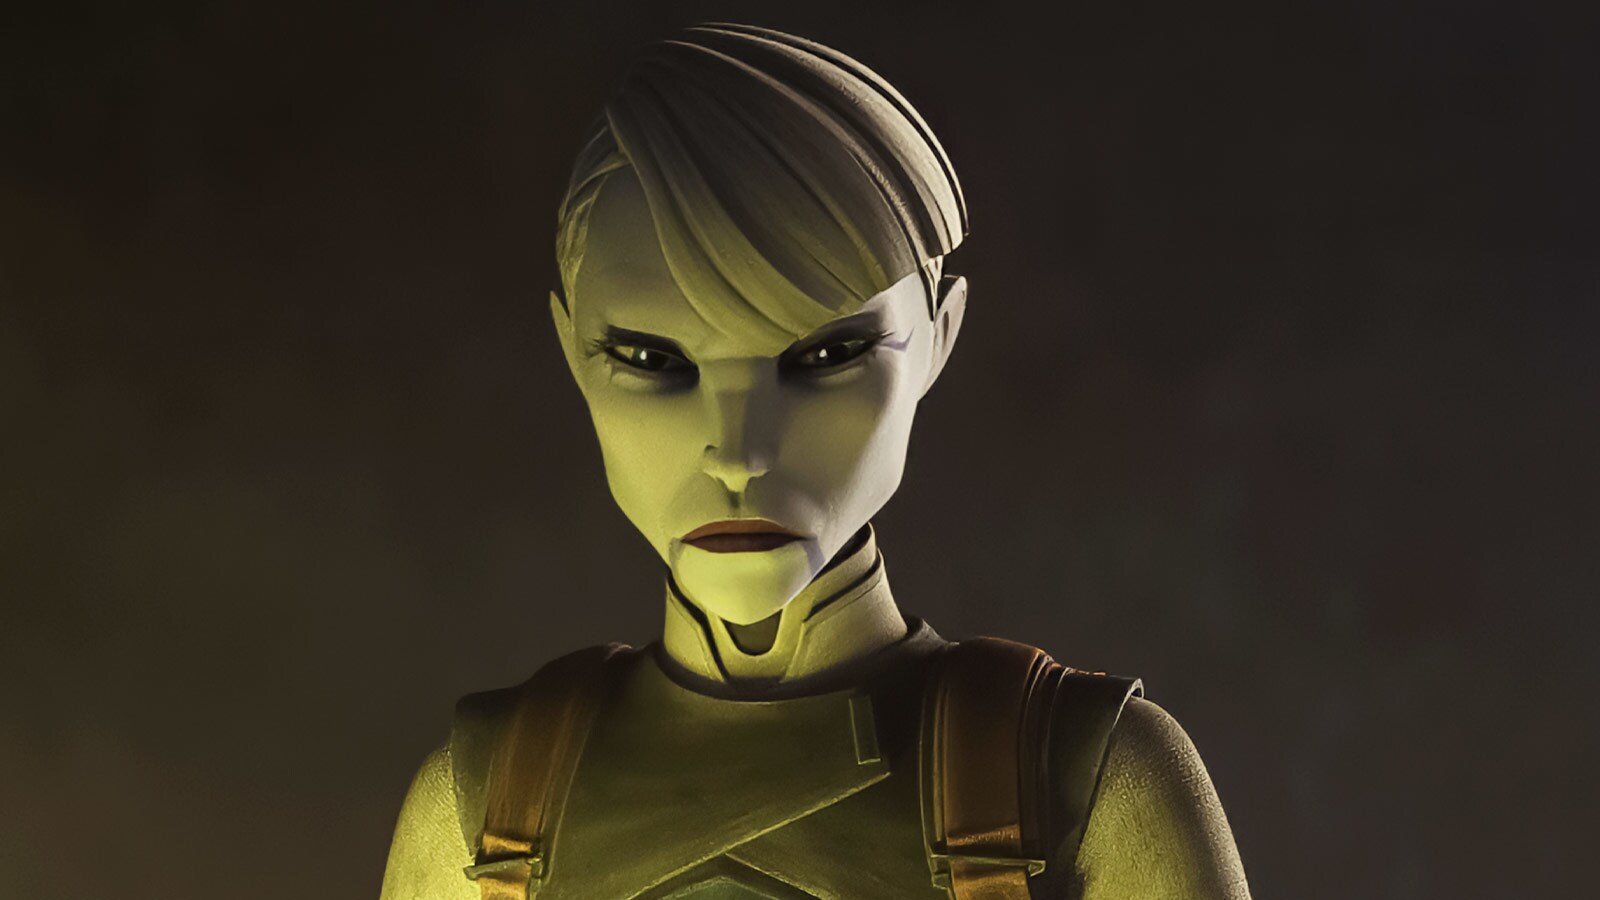
![Asajj Ventress in Star Wars: Tales of the Underworld.]()
Quiz: Which Bounty Hunter Are You?
Are you more like the Force-wielding Asajj Ventress or the fearsome Boba Fett?
-
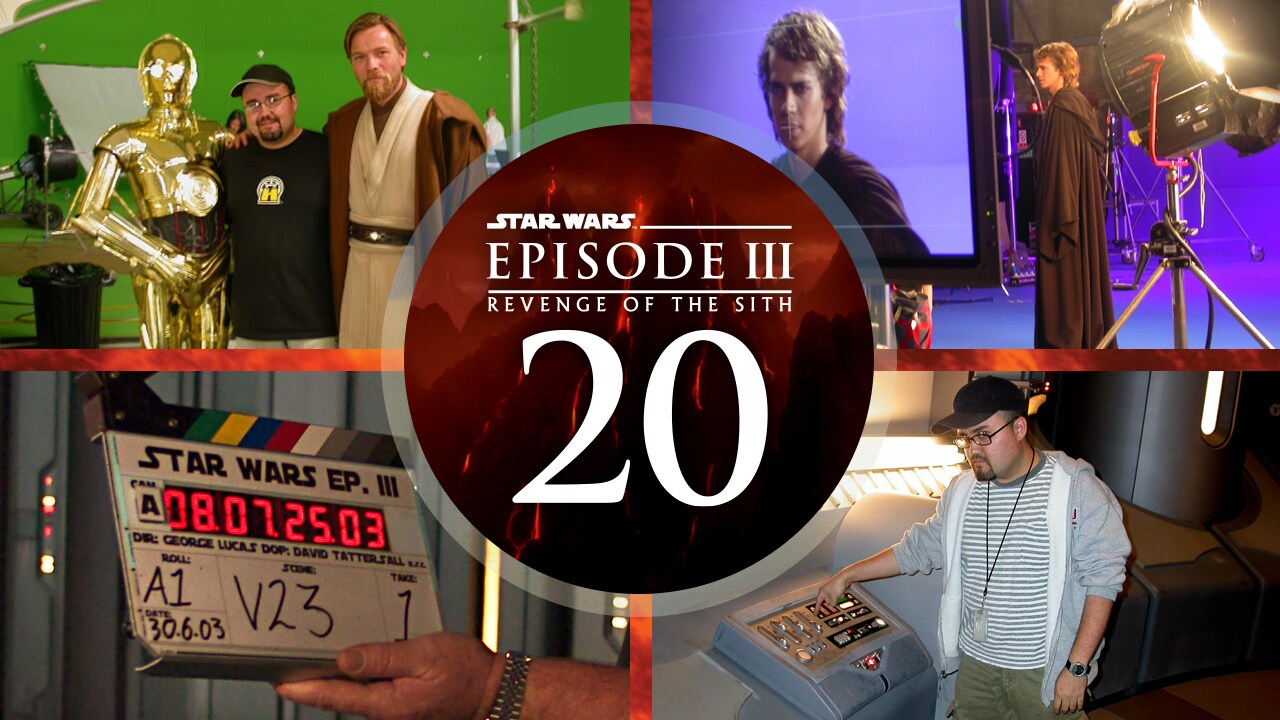
![Yoda in Revenge of the Sith]()
Revenge of the Sith at 20
Rewatch the deleted scenes from Episode 3 available as extras on Disney+!


Tony Gilroy Visits Lucasfilm
Taking Andor from Concept to Screen
Hidden Treasures in Luthen Rael’s Gallery
Rogue One: A Star Wars Story
Which Bounty Hunter Are You?
Revenge of the Sith Cut Scenes


of


Latest Video
View All


TM & © Lucasfilm Ltd. All Rights Reserved