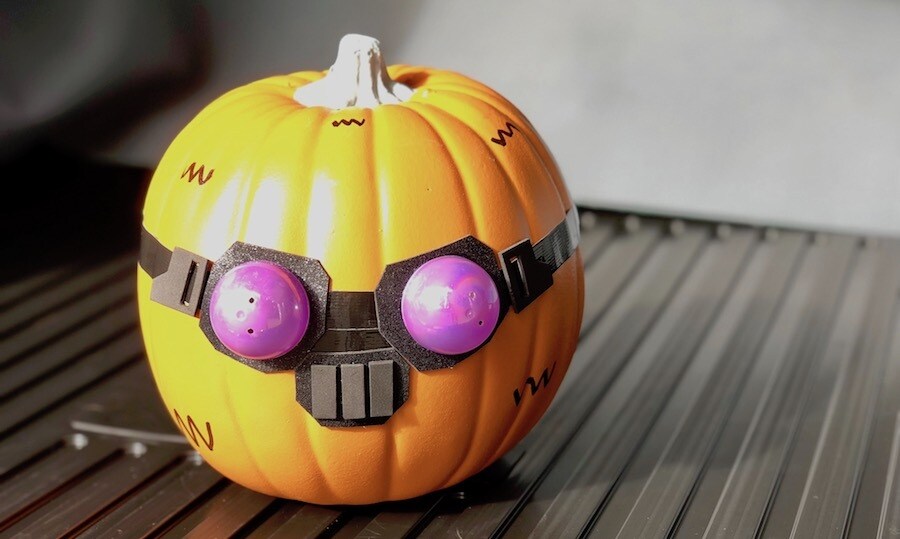
Here's an Opeepit pumpkin. Because Opeepit.
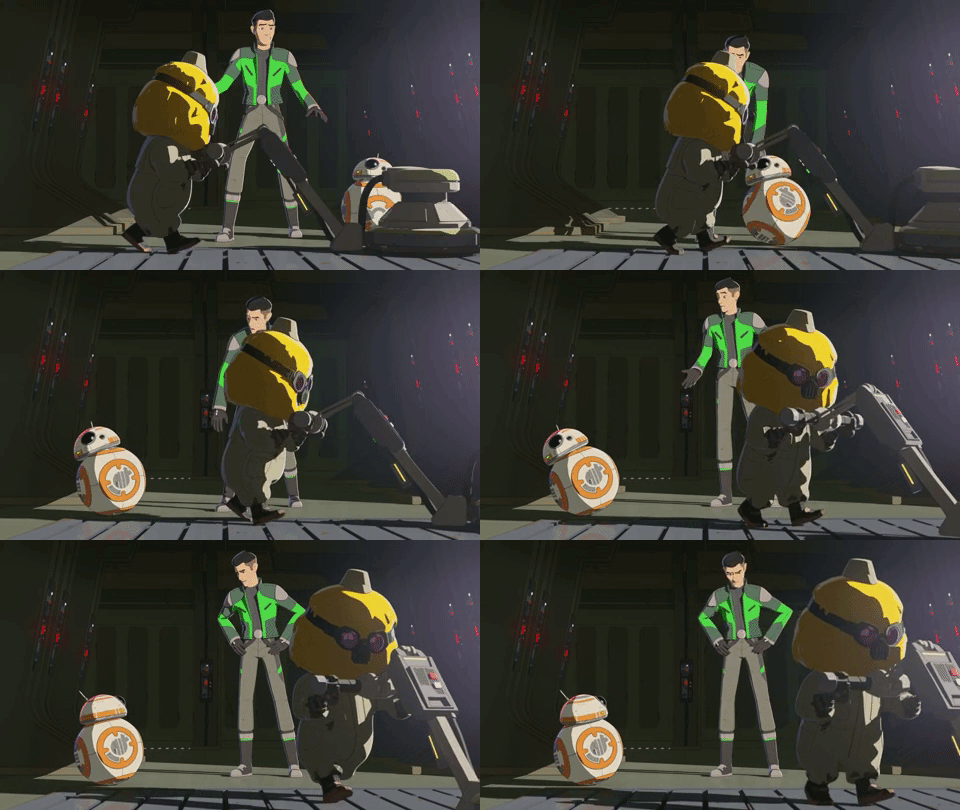
The Colossus platform in Star Wars Resistance may be filled with hotshot pilots and brilliant mechanics, but there’s one crew member who goes largely unnoticed and unappreciated -- until now!
Opeepit, the humble Frigosian maintenance worker, is definitely keeping an eye on Kaz. And if you need someone to keep a watchful eye on unruly trick-or-treaters, you can make a pumpkin that looks just like the hardworking hero to make sure things don’t get too out of hand this Halloween.
What You’ll Need*
- Printed Frigosian pumpkin template
- Medium orange craft pumpkin
- Black glitter craft foam (adhesive backing)
- Plain black craft foam
- Black tape
- Purple plastic Easter eggs
- Gray acrylic paint
- Black permanent marker
- Battery-powered LED light
- Pumpkin carving knife
- Clear glue
- Scissors
- Craft knife
- Pencil
- Chalk
- Paint brush
*The activities in this article should only be done with adult supervision.
Get Started!
Step 1: Paint the stem of the craft pumpkin with the acrylic gray paint. Let dry completely.
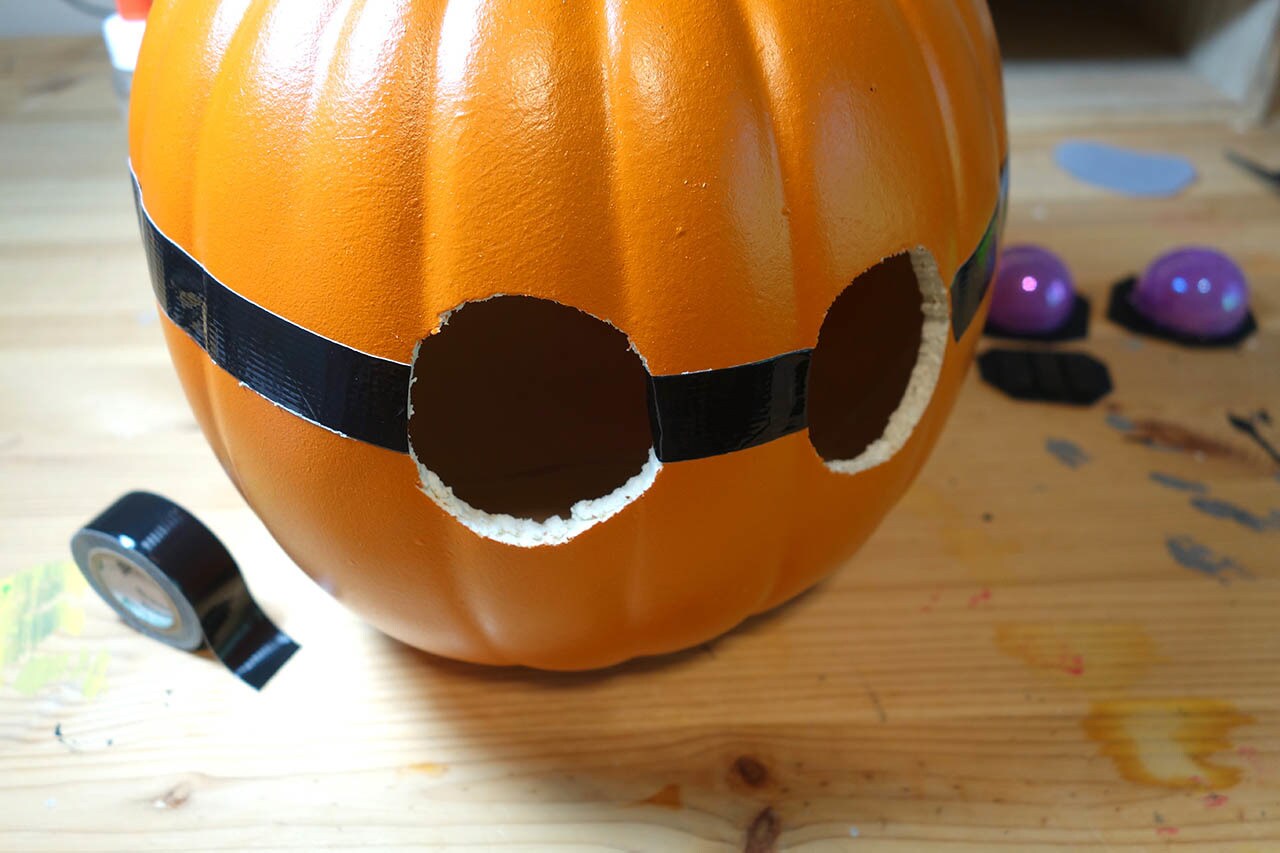
Step 2: Separate the top and bottoms of the Easter eggs and discard the tops. Trace the bottom of one egg with the chalk on the middle of the pumpkin, making two circles for Opeepit’s eyes about two inches apart. Cut out the circles, and one small circle in the bottom of the pumpkin (for adding and removing the LED light) with the pumpkin carving knife.
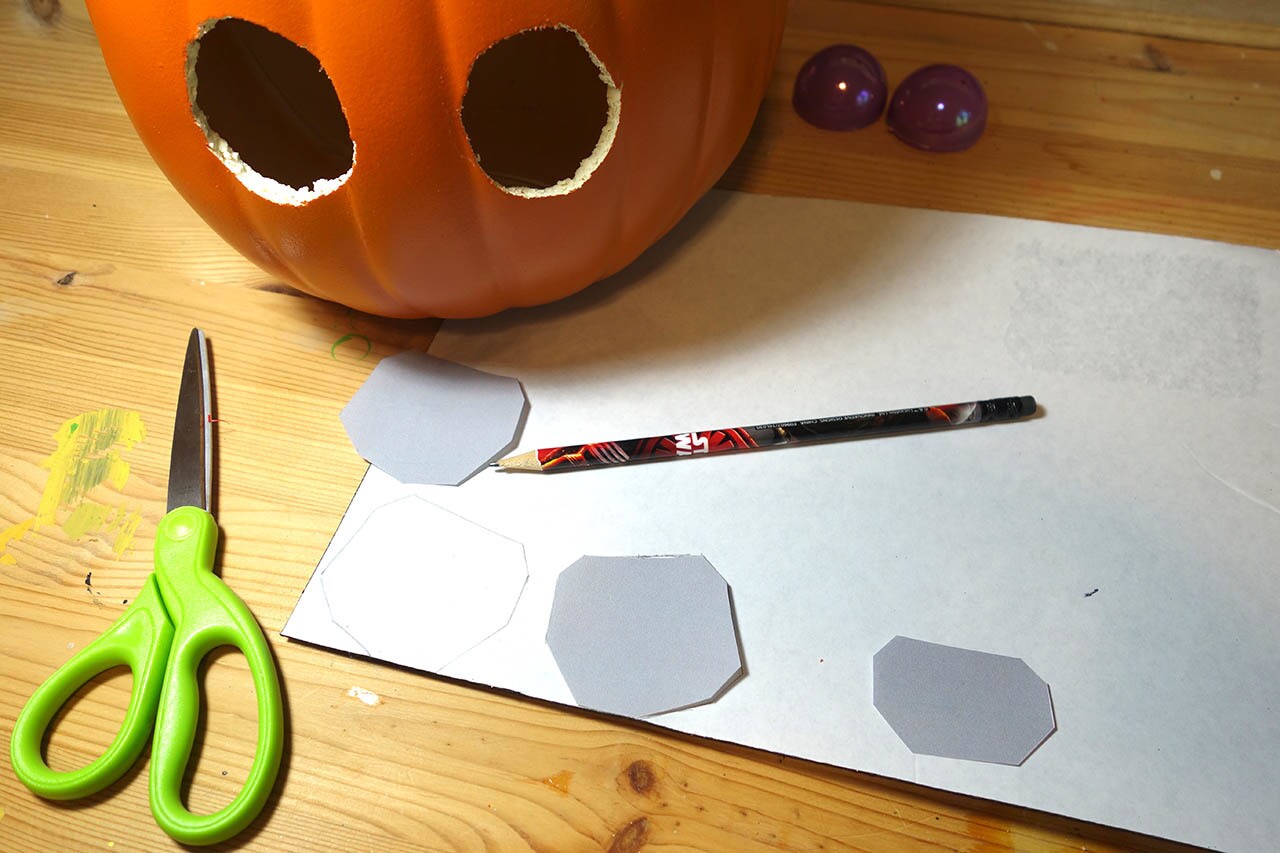
Step 3: Print and cut out the shapes on the provided template. Trace the L and R eyes, and the larger shape below them, on the backing of the black glitter craft foam. Cut out the shapes.
Step 4: Cut three strips of the plain black craft foam, about a quarter of an inch wide and one inch long. Glue them in the middle of the nose glitter foam shape and let dry.
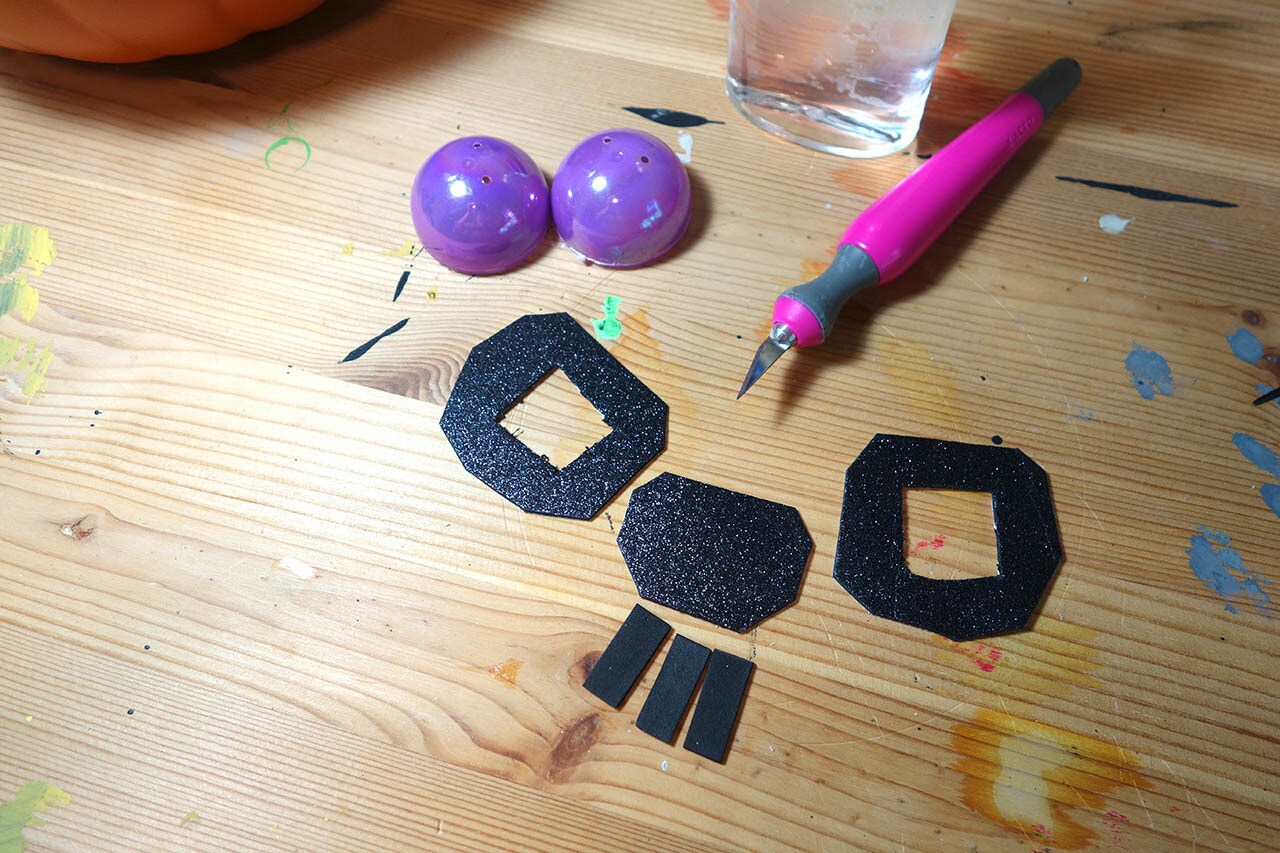
Step 5: Next, use the craft knife to cut small openings in the middle of the L and R eye craft foam shapes. Make sure the cut-out shapes are small enough to be hidden by the Easter eggs.
Step 6: Cut several pieces of black tape. Place two between the eyes, and then make a “strap” for Opeepit's goggles going all the way around the pumpkin. (Smaller pieces of tape are easier to work with, but one long piece will also do the job.)
Step 7: Glue the Easter eggs to the L and R eye shapes and let dry completely.
Step 8: Trace and cut out the two buckle shapes on the plain craft foam. Use the craft knife to cut two small rectangles out of each.
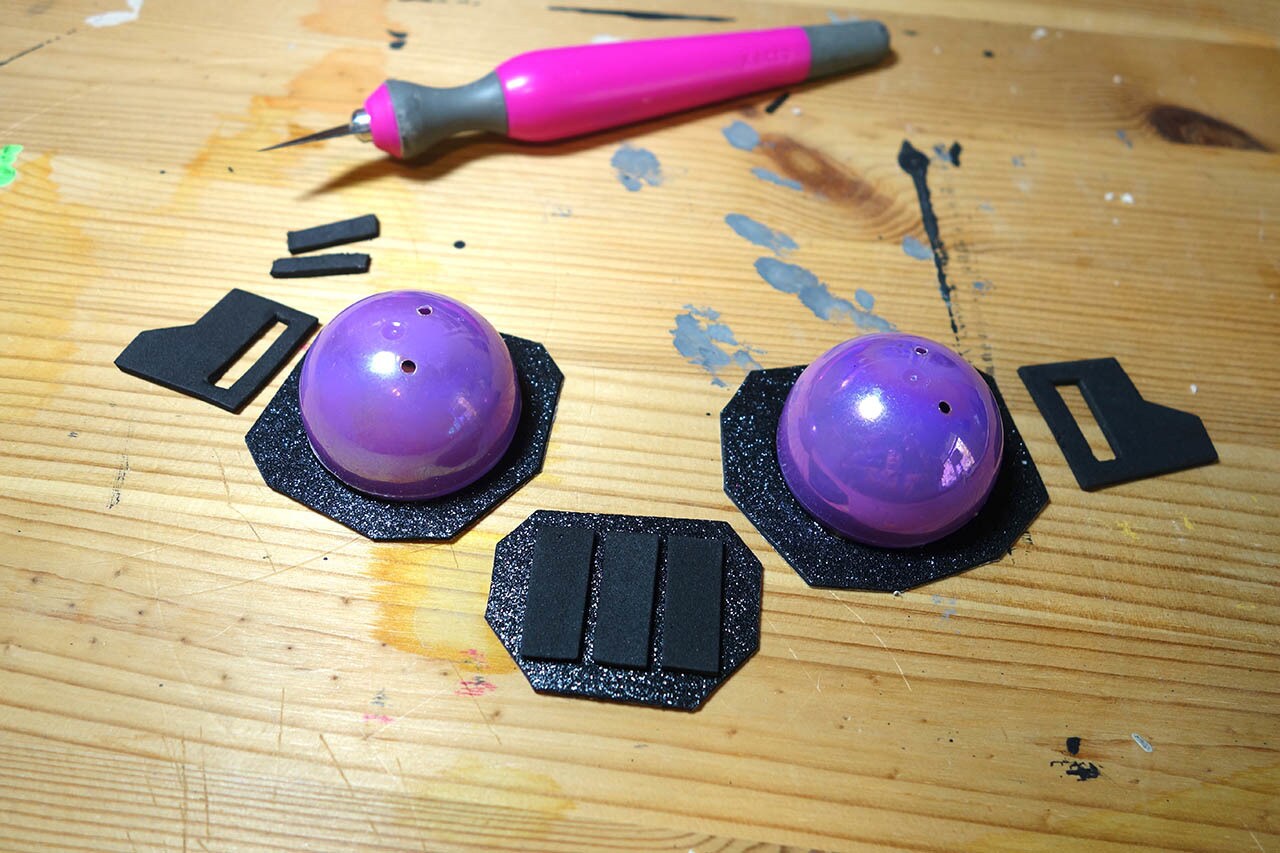
Step 9: It’s time to assemble Opeepit! Remove the adhesive backing from the foam pieces and stick the eyes and nose to the pumpkin, completely covering the two circles you cut in the pumpkin previously. Glue the two buckle pieces on either side of the eyes. Let the glue dry.
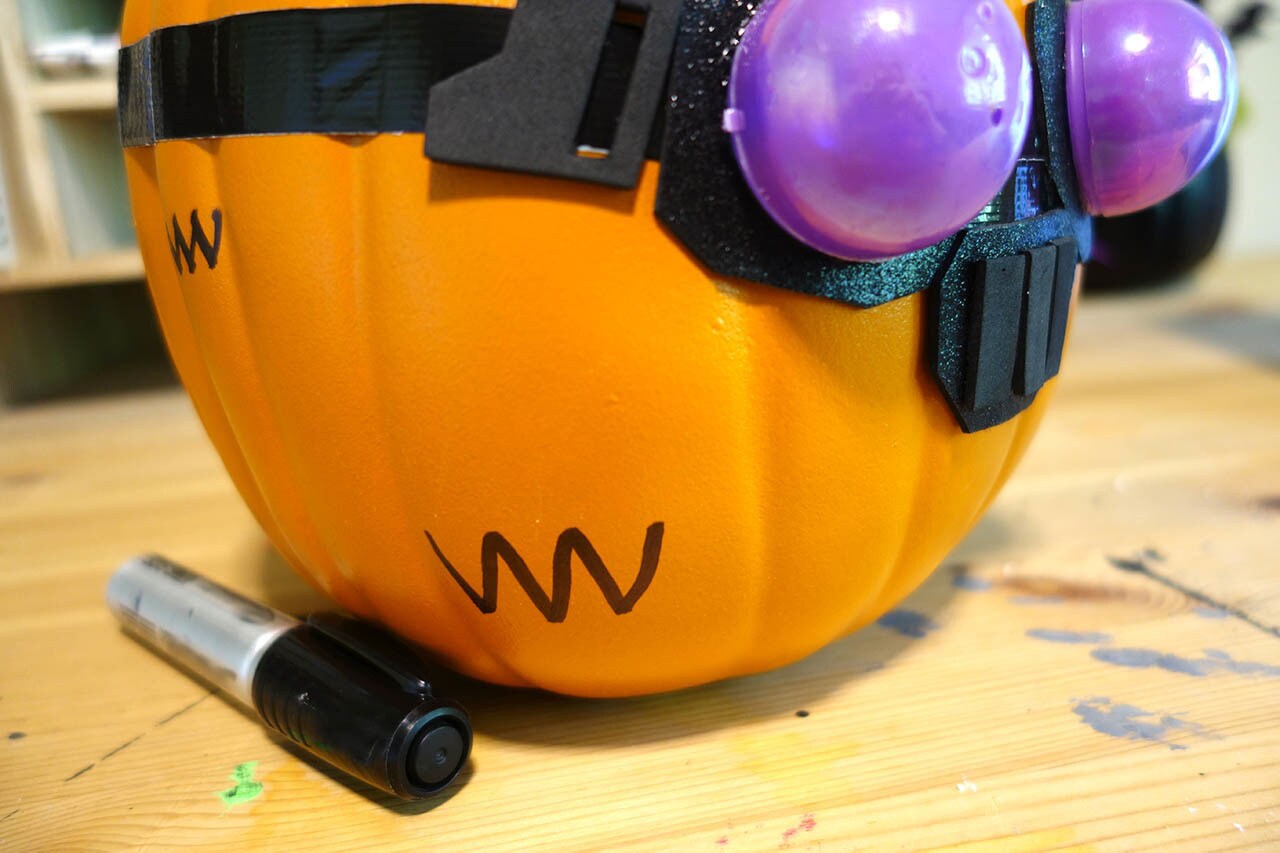
Step 10: Finally, use the black permanent marker to draw fur shapes all around the pumpkin. (Did you know Frigosians are actually quite fuzzy?) Your Star Wars Resistance pumpkin is complete.
Slide the LED light into the pumpkin and in the dark the goggles will glower at anyone who dares make a mess!
Kelly Knox is a freelance writer who loves creating Star Wars crafts with her daughter. Follow her on Twitter at @kelly_knox.

