
-
![Luthen Rael’s Gallery]()
Hidden Treasures in Luthen Rael’s Gallery
The Coruscant shop is filled with artifacts that connect to the larger Star Wars saga and beyond.
-
![Jyn and Cassian in Rogue One: A Star Wars Story]()
![]()
Watch the next chapter in the story of the Rebellion in Rogue One. Stream now, only on Disney+.
-
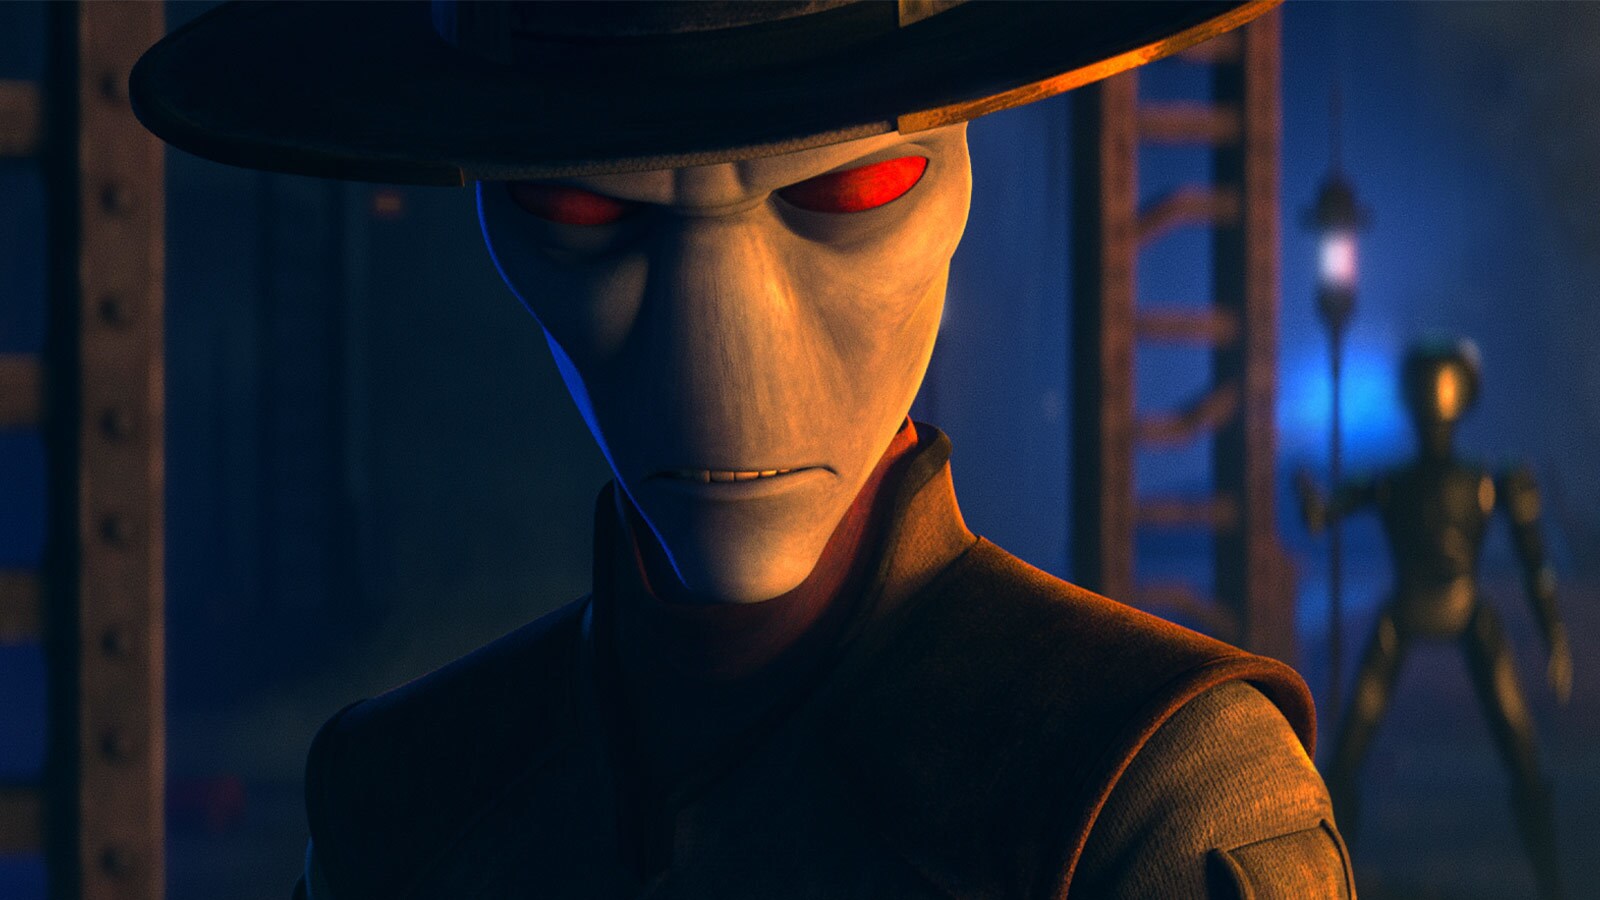
![Asajj Ventress in Star Wars: Tales of the Underworld.]()
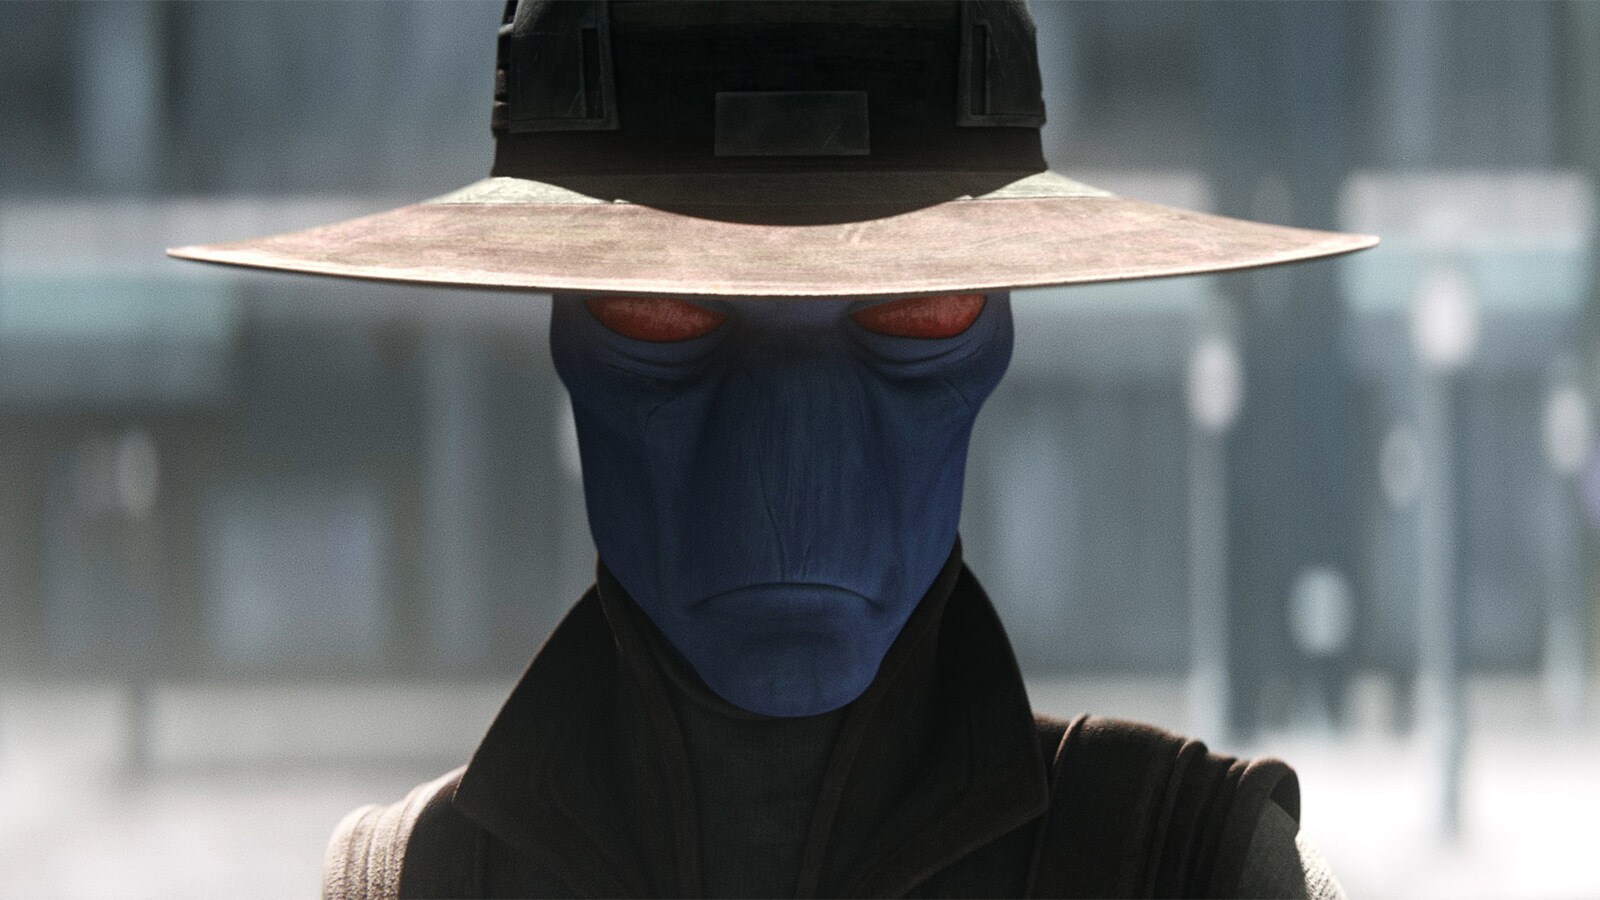
Quiz: Which Bounty Hunter Are You?
Are you more like the Force-wielding Asajj Ventress or the fearsome Boba Fett?
-
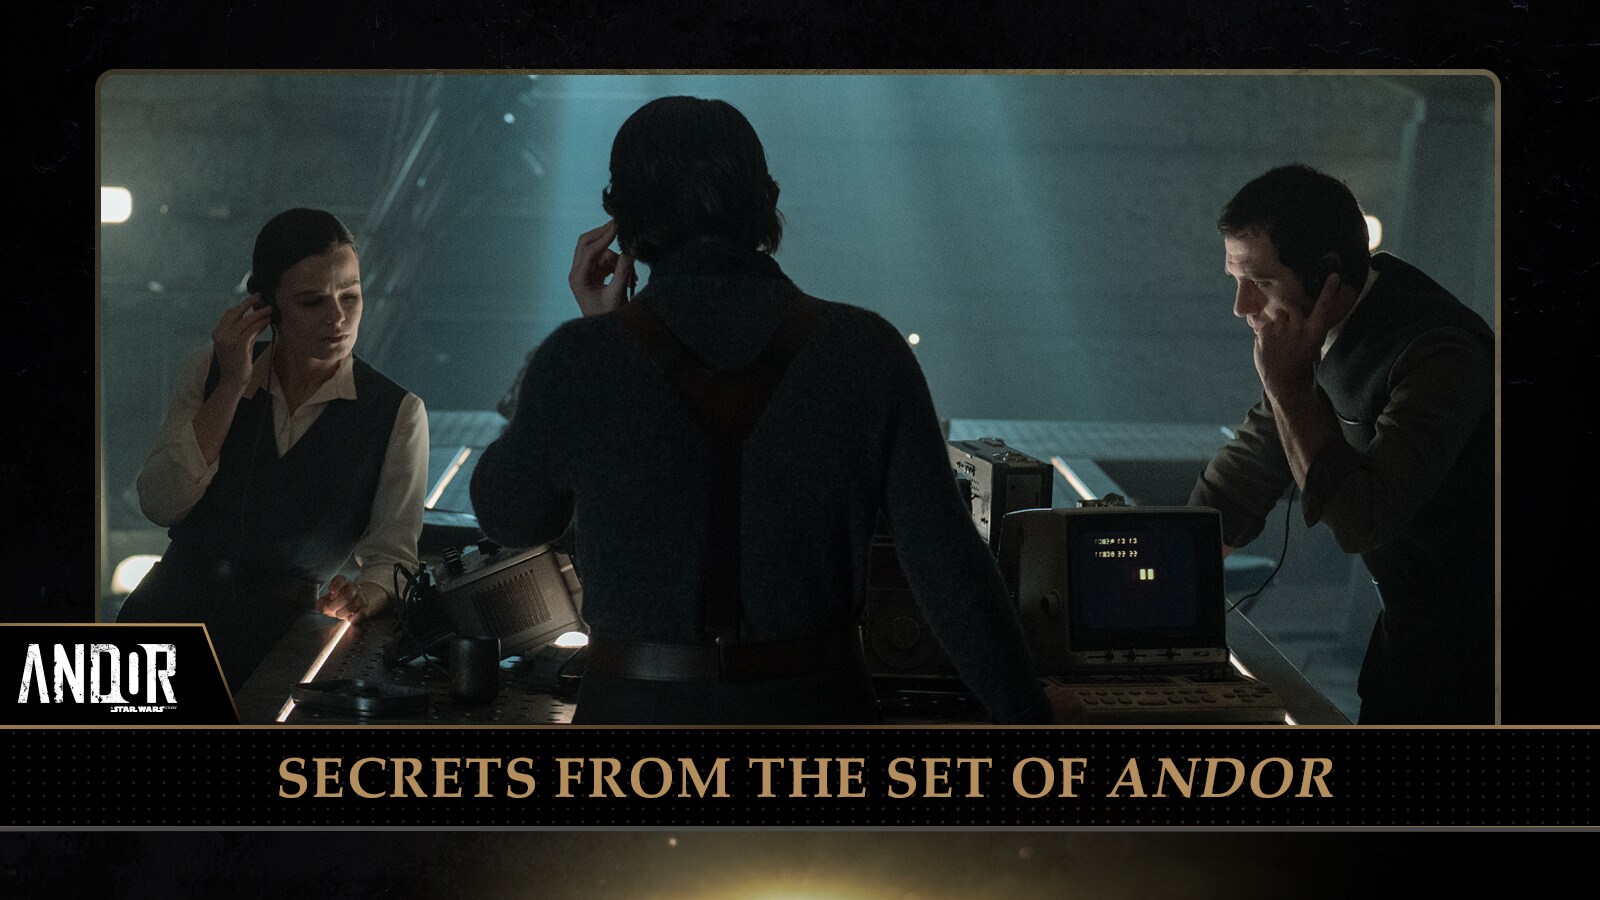
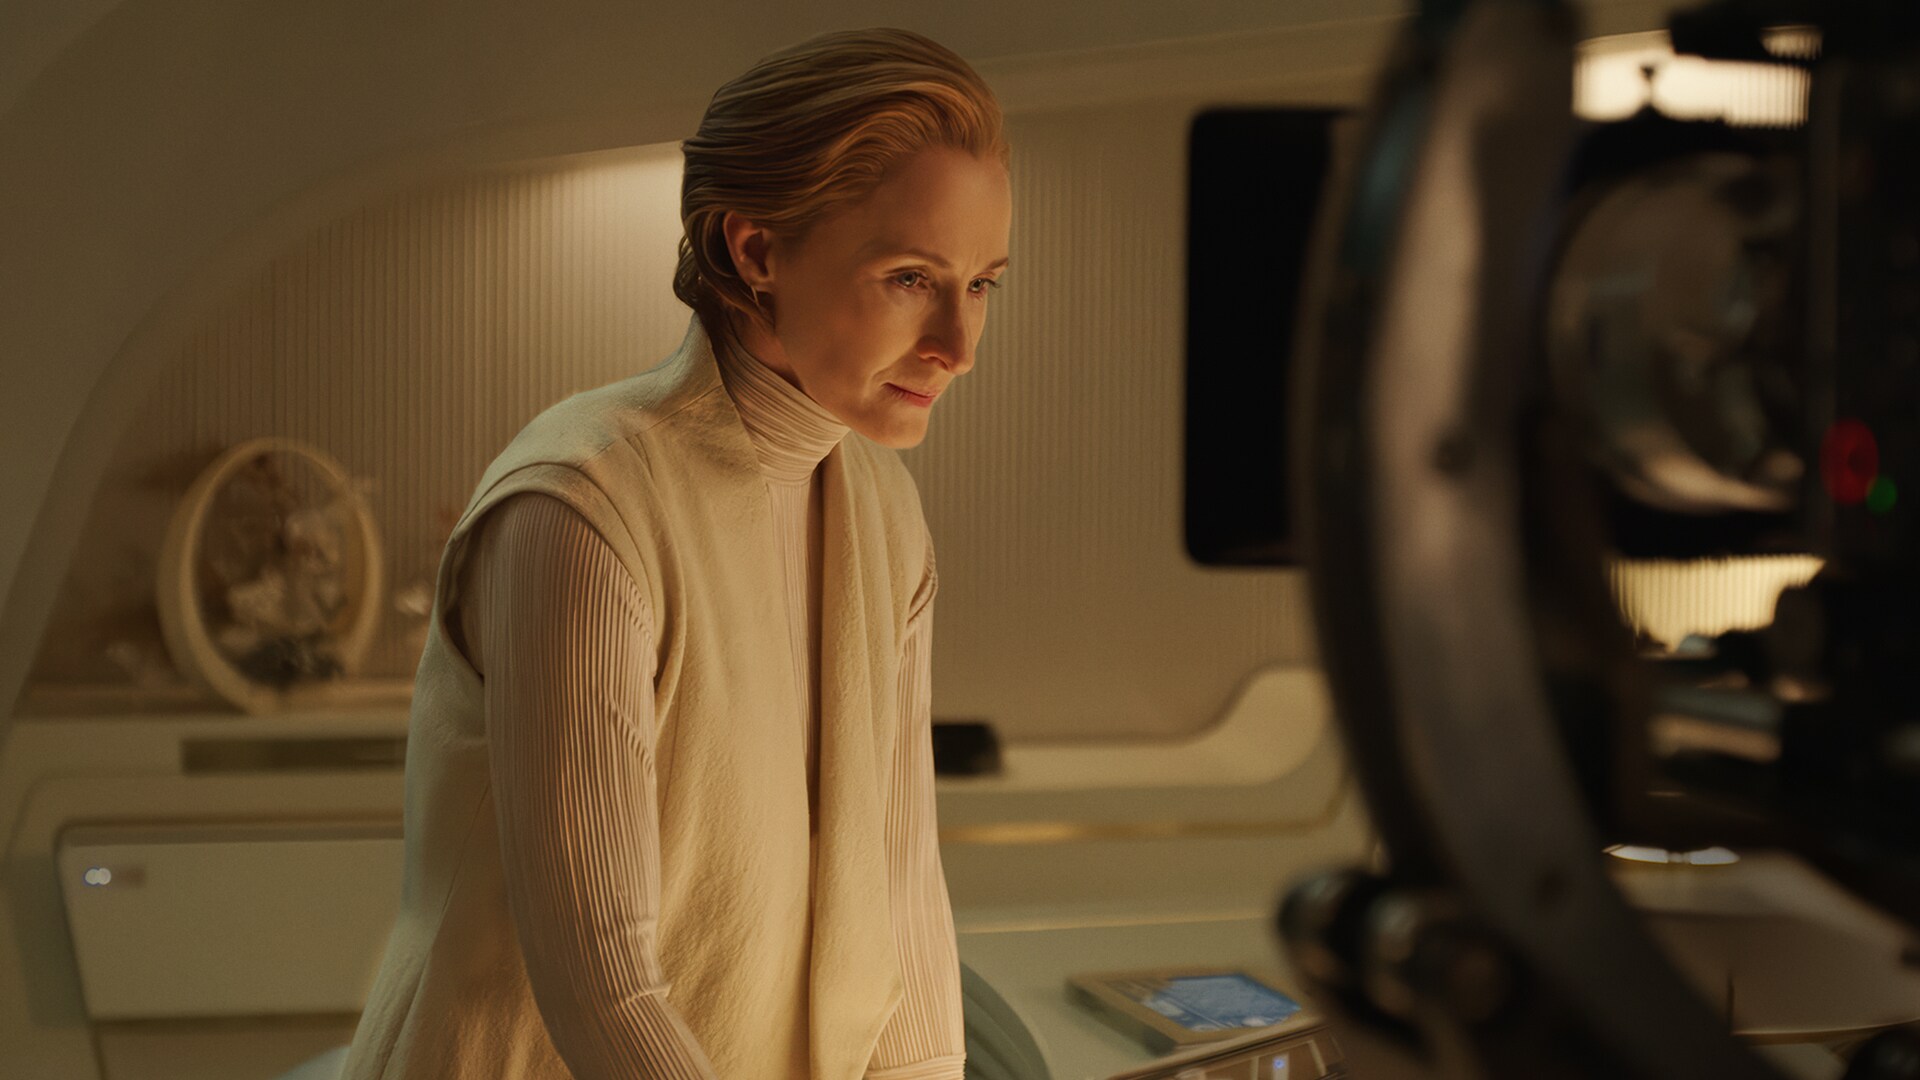
![Denise Gough and Kyle Soller]()
Andor's Strangest Power Couple
Actors Denise Gough and Kyle Soller were over the (that’s no) moon about their character’s dark arcs in the second season.
-
![Motion Banner | Andor Concept to Screen - Ghorman]()
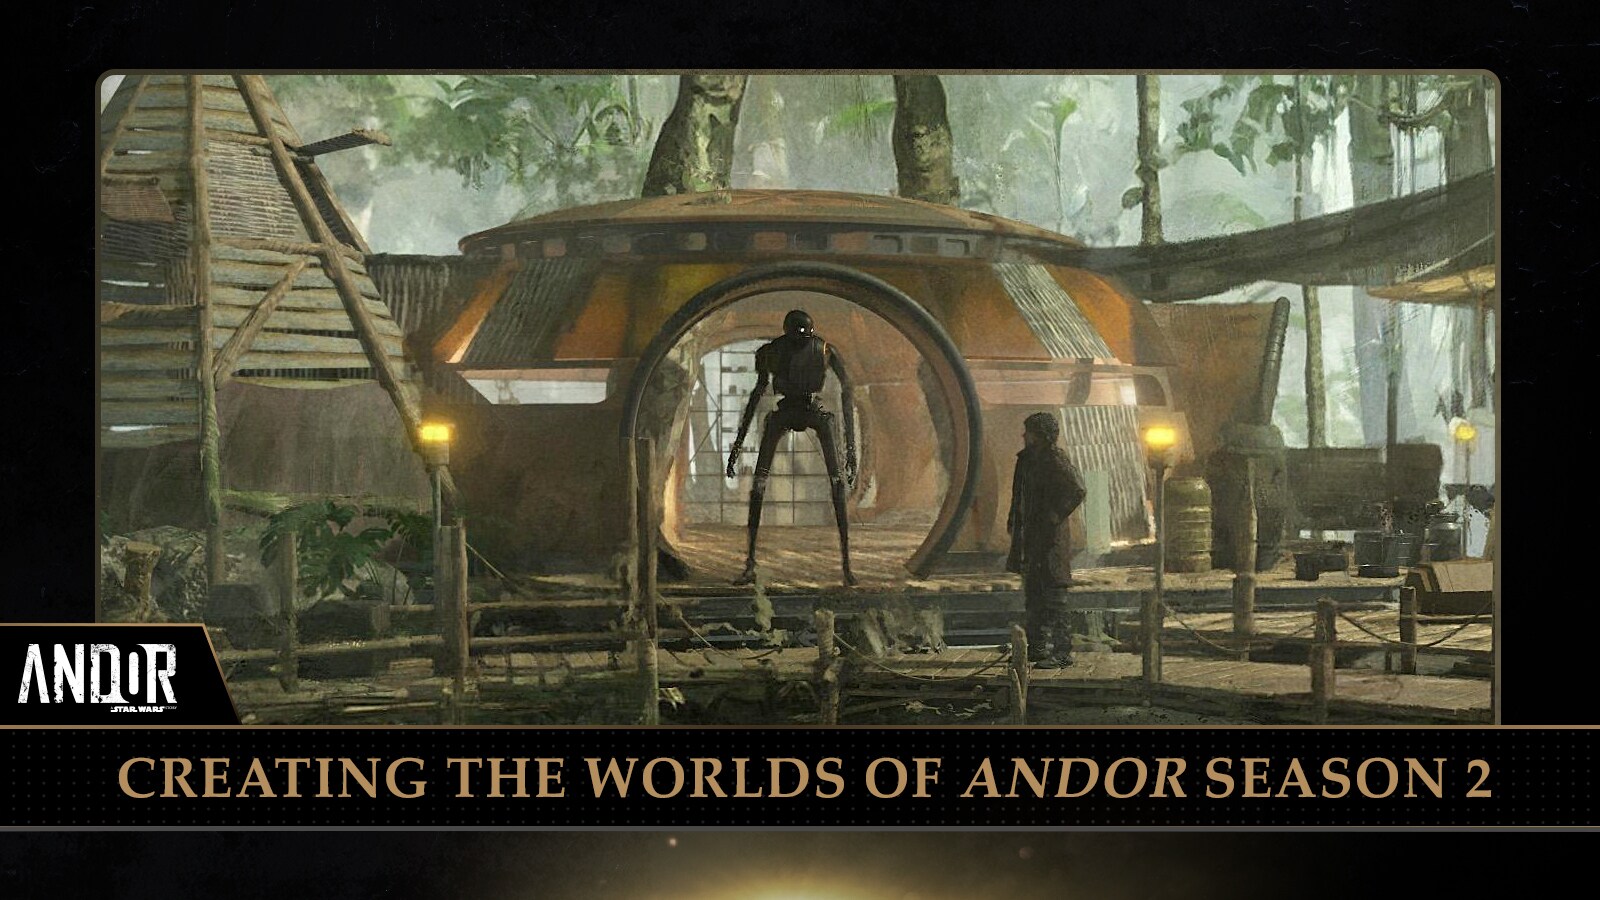
Taking Andor from Concept to Screen
Get an up-close look at how the Andor creative team designed a rebellion.
-
![Yoda in Revenge of the Sith]()
Revenge of the Sith at 20
Rewatch the deleted scenes from Episode 3 available as extras on Disney+!


Hidden Treasures in Luthen Rael’s Gallery
Rogue One: A Star Wars Story
Which Bounty Hunter Are You?
Denise Gough and Kyle Soller Interview
Taking Andor from Concept to Screen
Revenge of the Sith Cut Scenes


of


Latest Video
View All


TM & © Lucasfilm Ltd. All Rights Reserved