Let a rathtar loose...on Halloween!
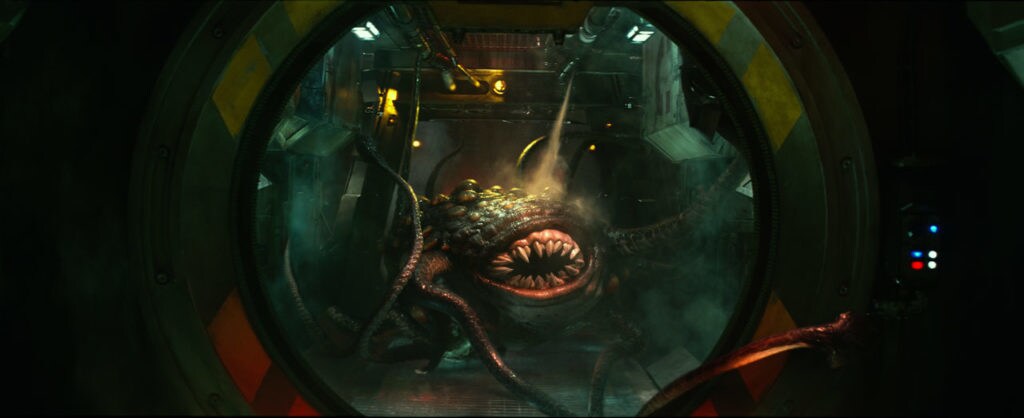
Perhaps no other creature in the Star Wars galaxy has made as explosive a debut as the rathtar in The Force Awakens. Han Solo takes a job no one else would, hauling three ravenous rathtars to an exotic pet collector, with unforgettable results.
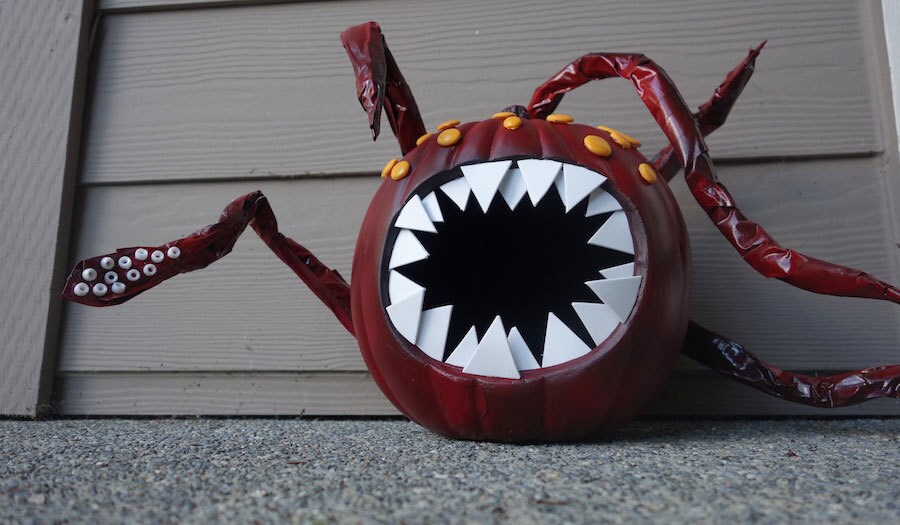
Rathtars may be big and dangerous, but you can make your own small version of the ferocious creature -- no slime required. Place it on your doorstep this Halloween to terrorize Kanjiklub and anyone else who may stop by.
What You Need*
- Black craft pumpkin with diorama
- Red spray paint
- Jumbo black chenille pipe cleaners
- Black duct tape
- White craft foam
- Small white pony beads
- Orange acrylic paint
- Hot glue gun
- Plastic wrap
- Scissors
*The activities in this article should only be done with adult supervision.
Get Started!
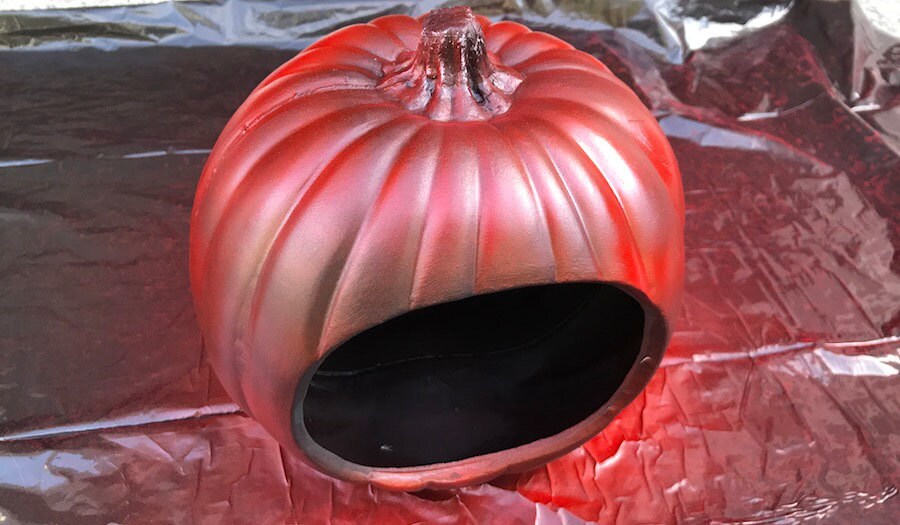
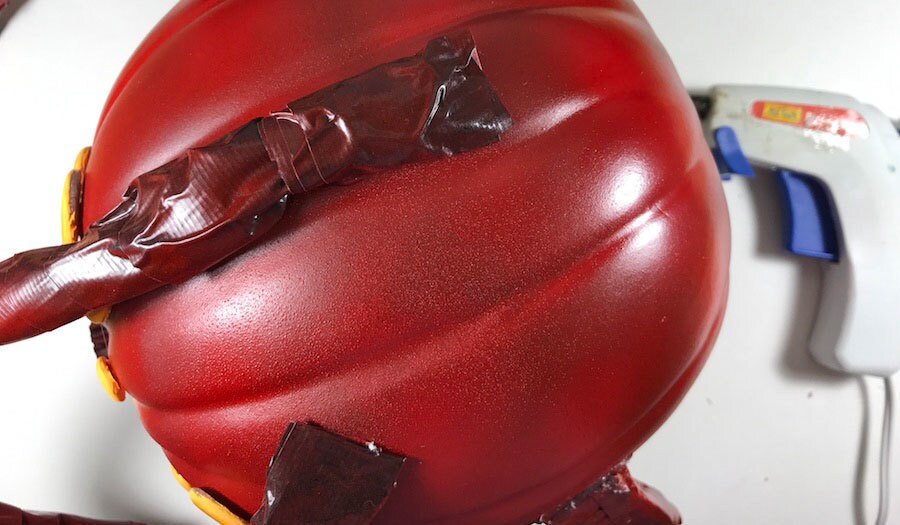
Begin by spray-painting the black pumpkin red on the outside, but leave the inside black. (If the craft pumpkin doesn’t have an opening, cut one about half the size of the front of the pumpkin.)
Spray the red paint lightly so that it looks more maroon than bright red in color in some places. Let completely dry.
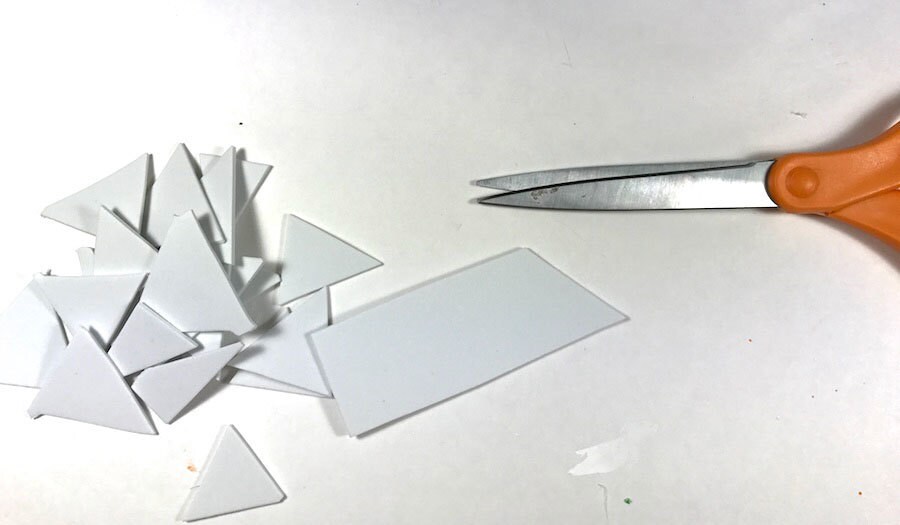
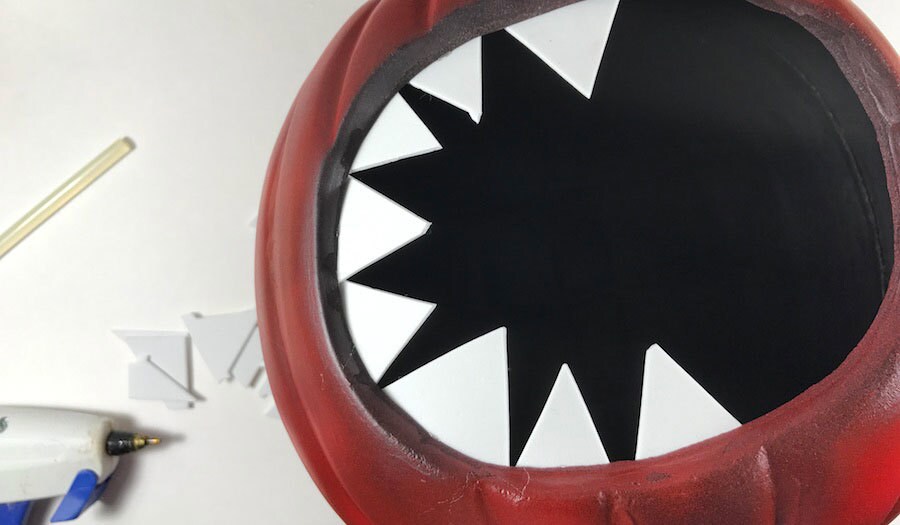
While the paint is drying, cut a number of triangles from the white craft foam that will become the rathtar’s teeth.
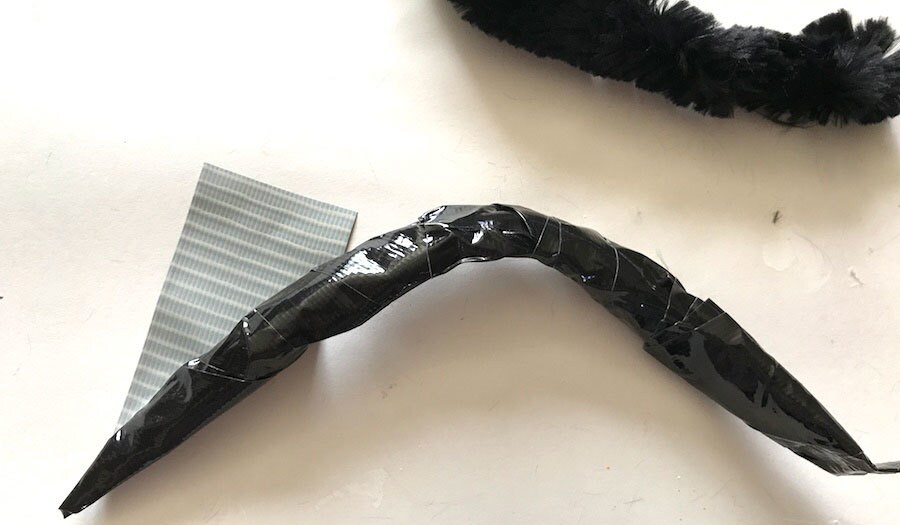
Next, take the jumbo black chenille pipe cleaners and cut them in various lengths, no longer than twelve inches.
Wrap each stem loosely with black duct tape, with one end pointed and the other flat.
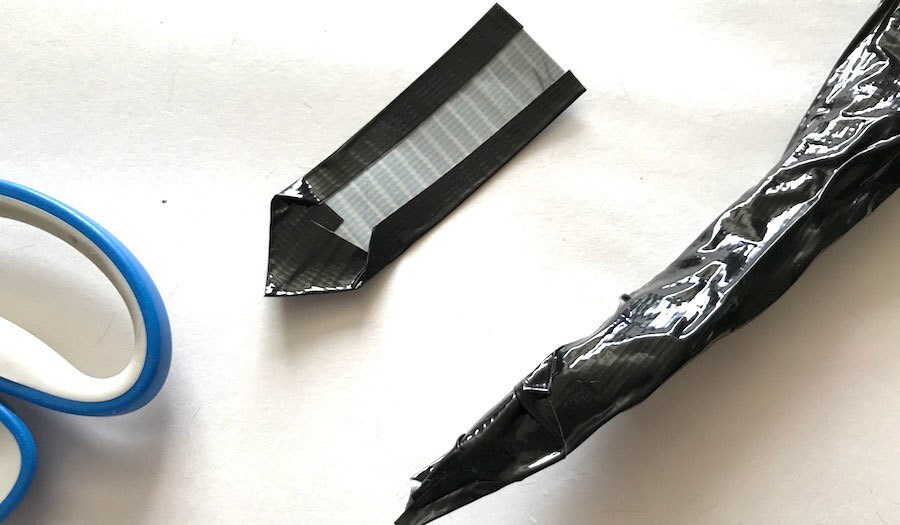
For two of the stems, fold the duct tape on one end to make a triangle shape and attach it to the pointy end as a flipper.
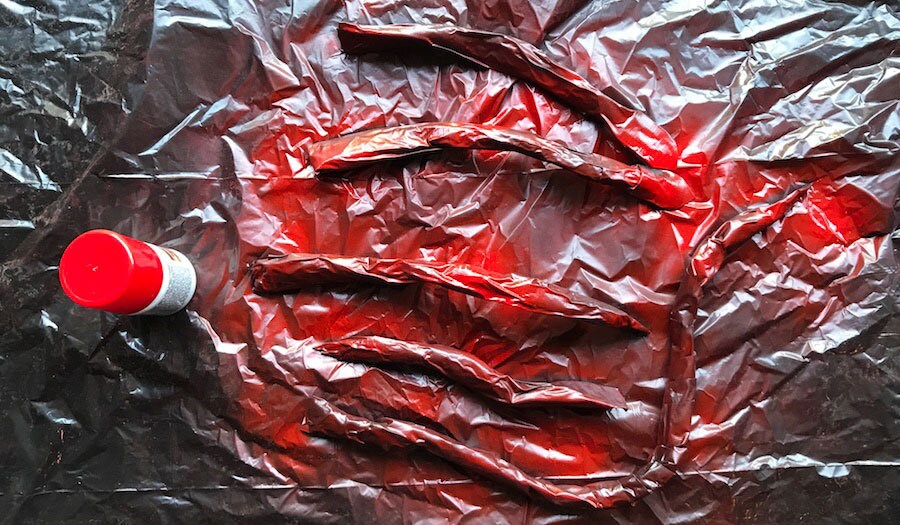
Spray paint the tentacles red, and let dry completely.
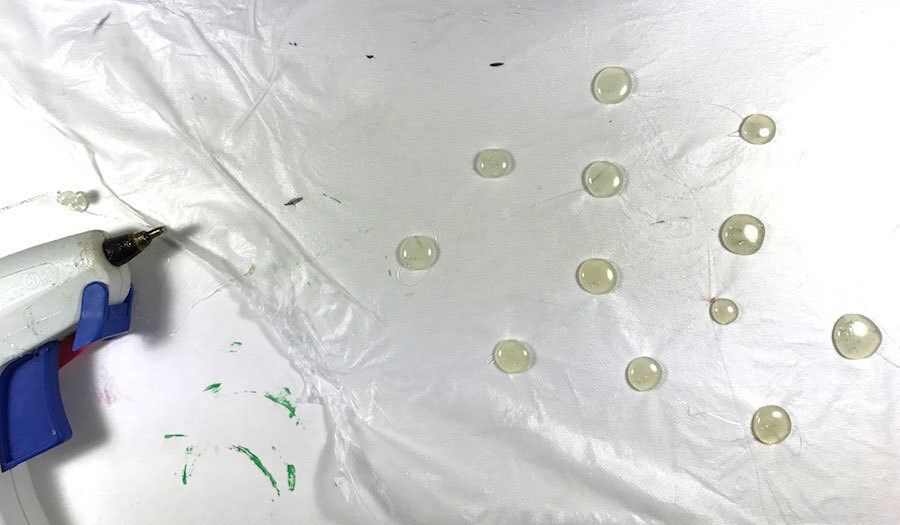
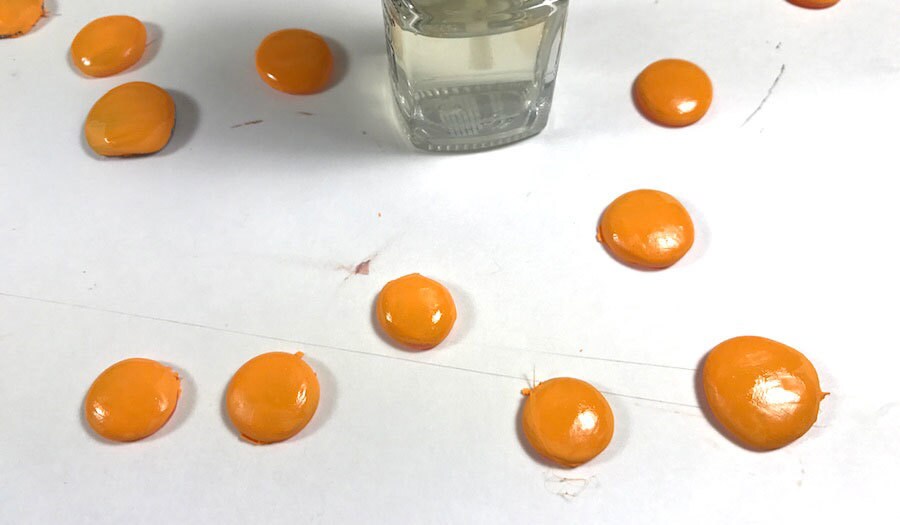
Next, lay down plastic wrap on top of a piece of paper. Heat up the glue gun, and make a number of coin-sized dots on the wrap. Let cool.
Paint the dots with the orange acrylic paint and let dry completely. If the paint dries matte, use clear nail polish to make them shiny, and let dry. Carefully peel the dots from the plastic.
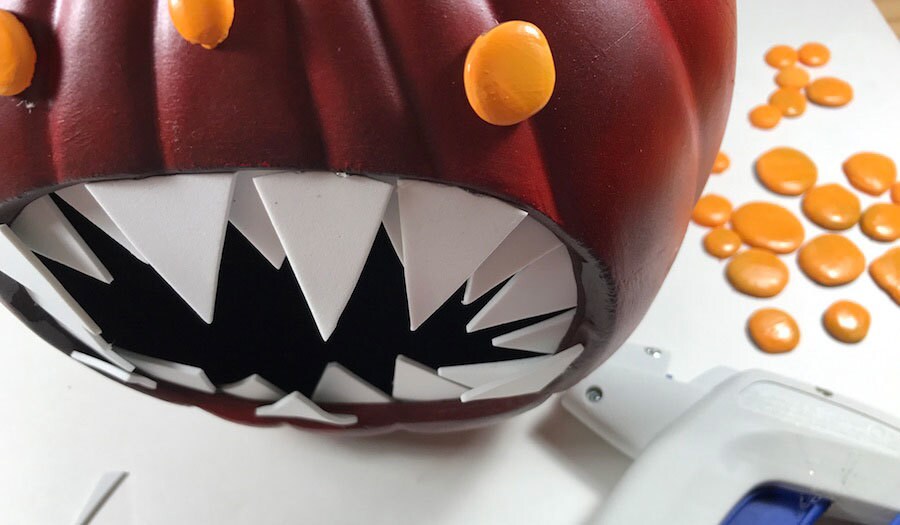
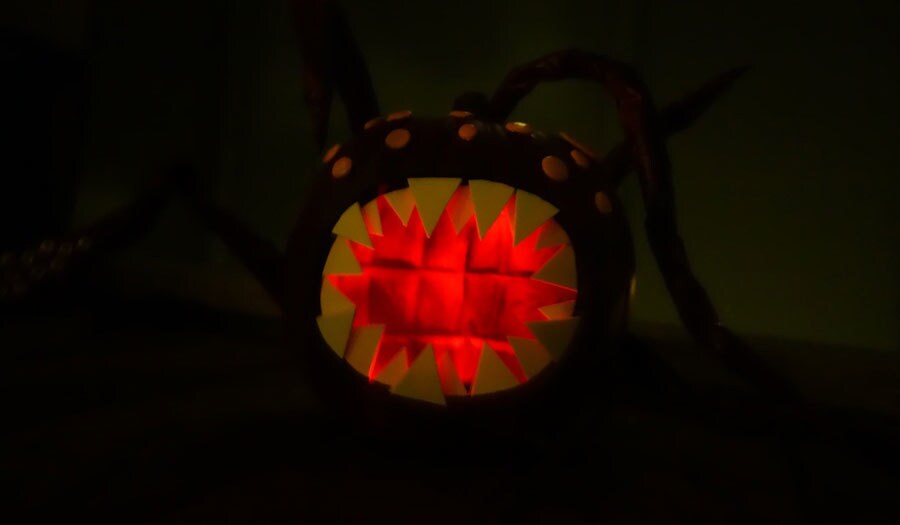
It’s time to put your rathtar together! Begin by gluing the white craft foam triangles along the inside of the diorama opening. You can add a few additional teeth as a second layer in front of the layer you just attached. Let cool.
Next, glue the orange dots around the top of the craft pumpkin.
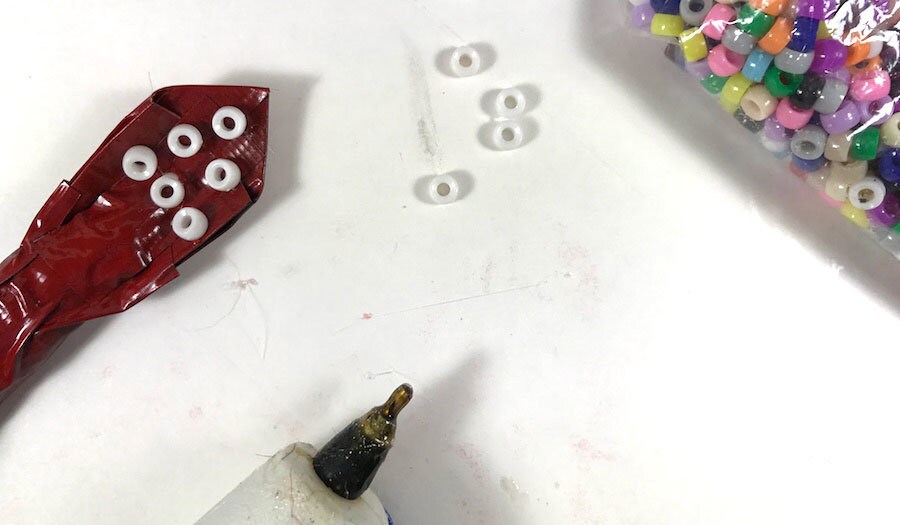
Glue the small white pony beads to the inside of the two flippers you made previously.
Finally, attach the tentacles around the back of the pumpkin, gluing the flat end of the tape and pressing firmly to the pumpkin.
Your rathtar is complete and ready to roll! Place a red LED light or a battery-powered candle (NEVER a real candle) inside the rathtar’s mouth for a complete, spooky look.
Kelly Knox is a freelance writer who loves creating crafts with her daughter. Follow her on Twitter at @kelly_knox, and take a look at her blog the st{art} button for more Star Wars art projects and craft ideas.


