
-
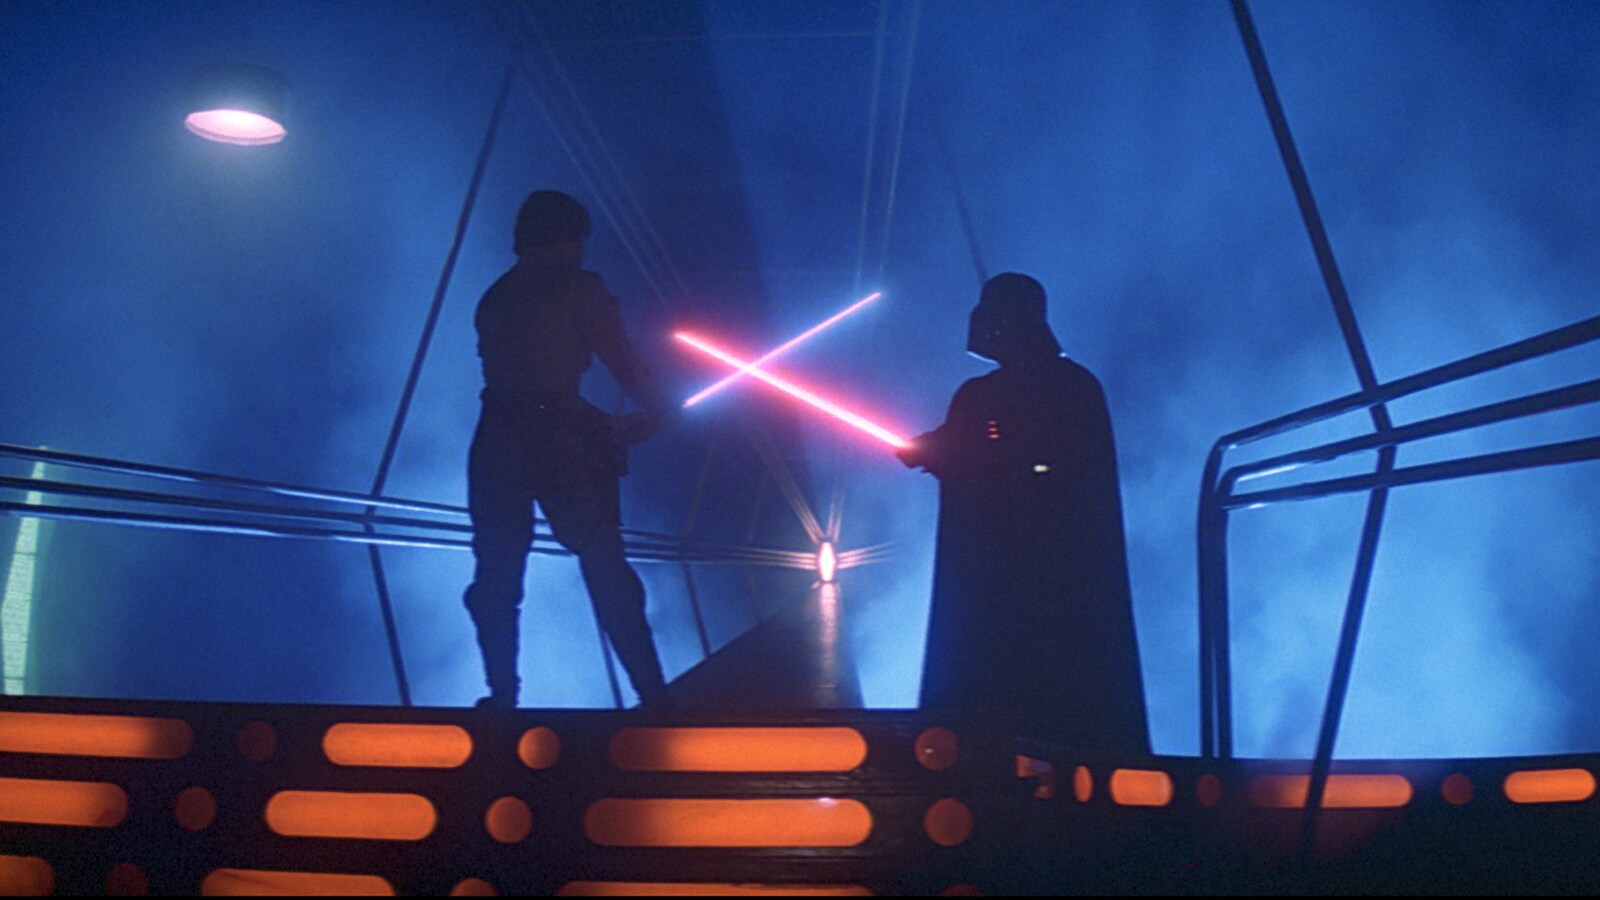
![Revenge of the Sith collage with lava background]()
![]()
Celebrate the 20th anniversary of Episode III by diving into 20 fun facts about the making of Revenge of the Sith.
-
![Denise Gough and Kyle Soller]()
Andor's Strangest Power Couple
Actors Denise Gough and Kyle Soller were over the (that’s no) moon about their character’s dark arcs in the second season.
-
![Andor "Jedha, Kyber, Erso" thumbnail]()
![Andor logo]()
Episodes 10-12: Dedra’s hunt brings Cassian back to Coruscant for one last rescue mission.
-
![Adria Arjona on the Andor Season 2 set]()
![A Day in the Life logo]()
Adria Arjona says goodbye to Bix Caleen as she takes us behind the scenes of her last day on the Andor Season 2 set.
-
![Diego Luna and Alan Tudyk]()
-
![Cassian's Yavin home concept art by Chester Carr.]()
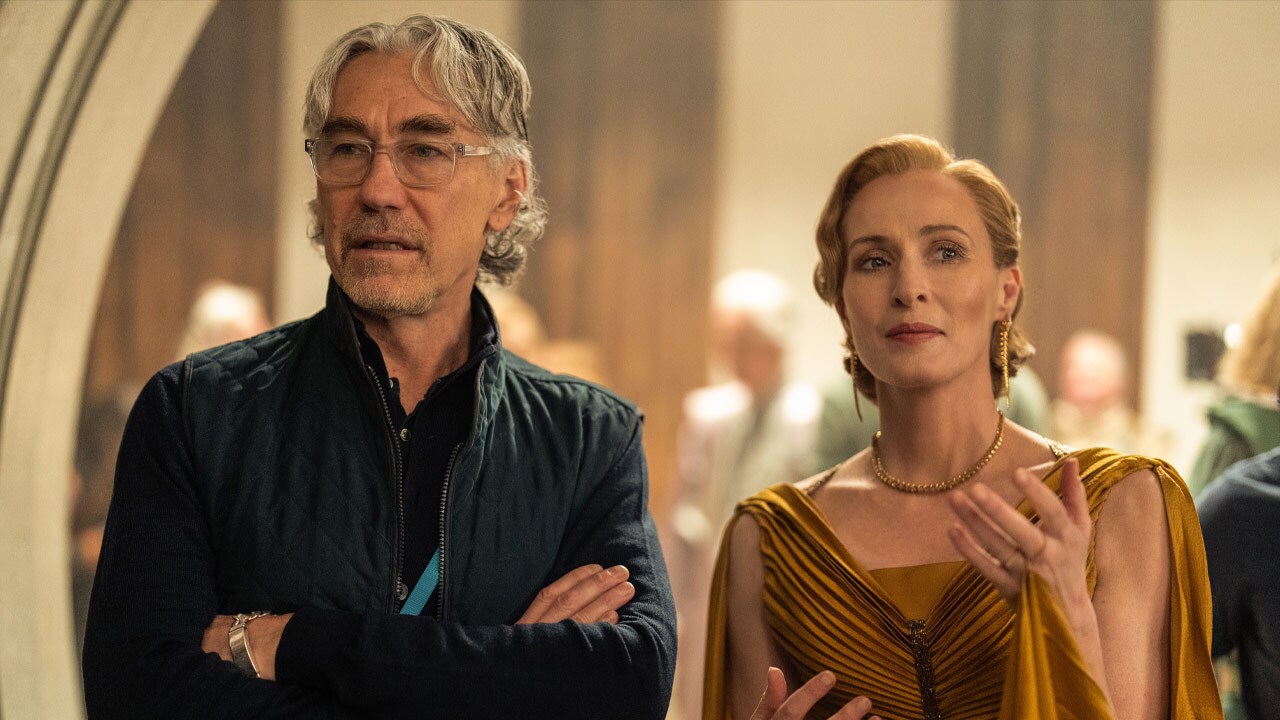
Creating the Worlds of Andor Season 2
Take a deep dive into the secrets of Yavin 4, Ghorman, Mina-Rau, and more.
-
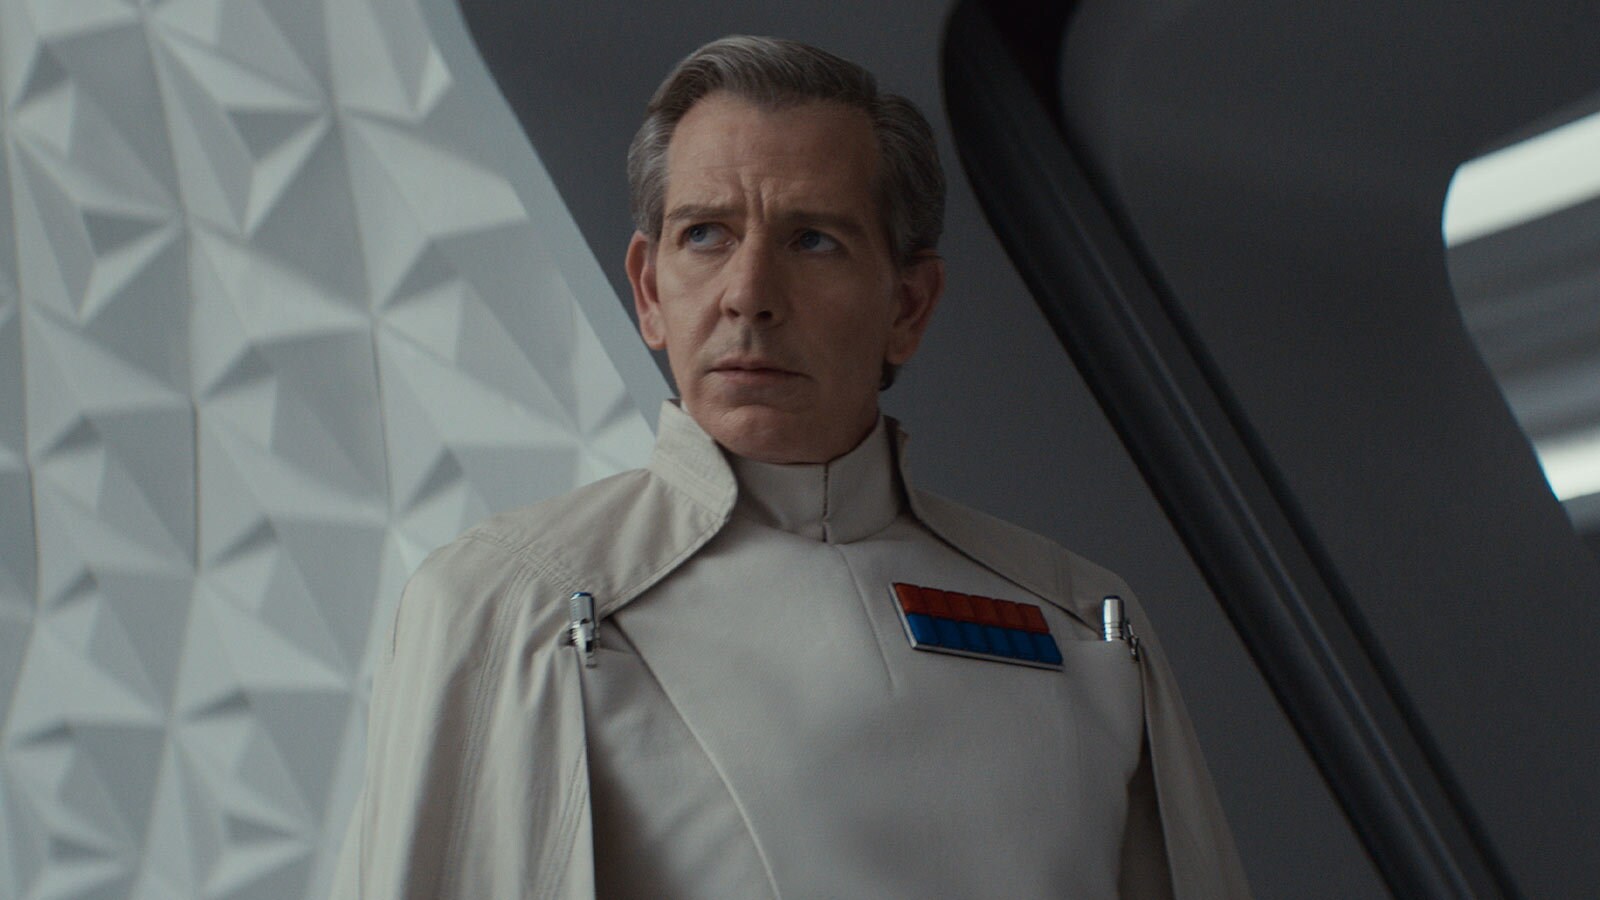
![Director Orson Krennic, Cassian, and Mon Mothma - The Costumes of Andor Season 2]()
The Costumes of Andor Season 2
Costume designer Michael Wilkinson returns to the Star Wars galaxy with insights on dressing Cassian Andor, Mon Mothma, and more.


Revenge of the Sith 20th Anniversary
Denise Gough and Kyle Soller Interview
THE ANDOR SERIES FINALE
Andor A Day in the Life - Adria Arjona
Andor Season 2 Declassified
Creating the Worlds of Andor Season 2
The Costumes of Andor Season 2


of


Latest Video
View All


TM & © Lucasfilm Ltd. All Rights Reserved