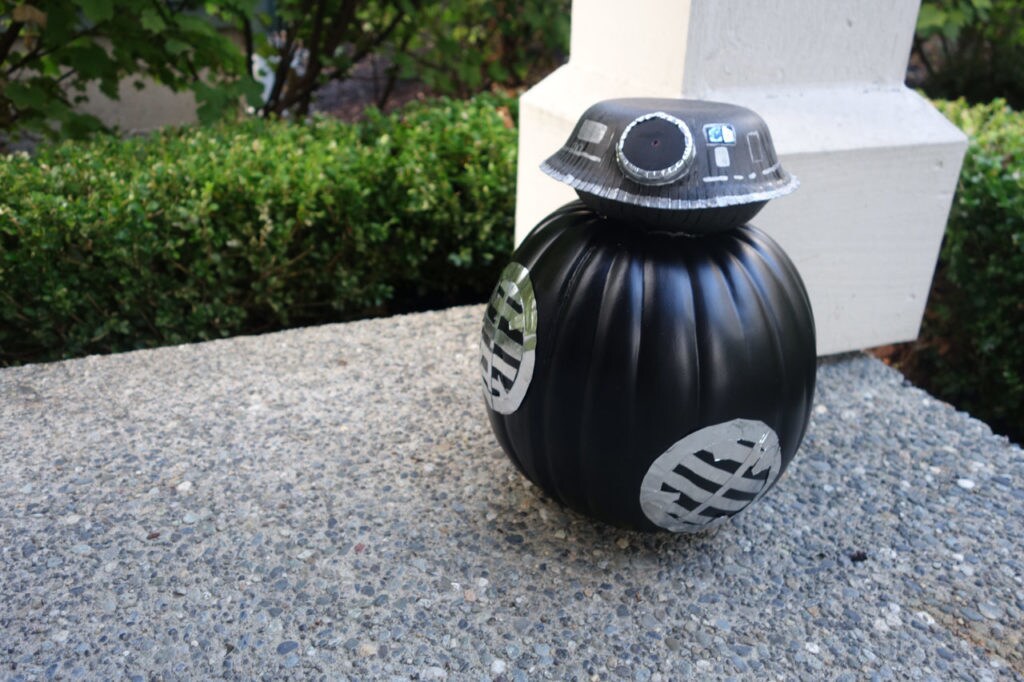
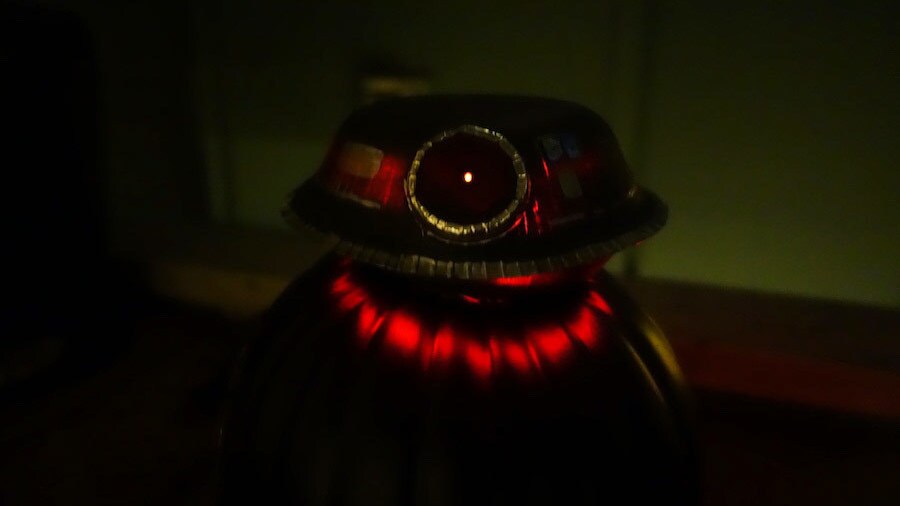
Craft a jack-o'-lantern that even Supreme Leader Snoke would love.
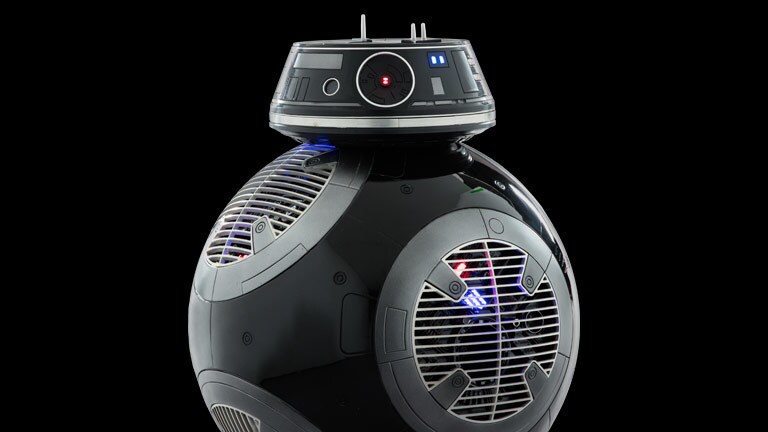
This First Order astromech droid is as severe and menacing as BB-8 is cute and spirited. BB-9E, nicknamed “BB-H8” on the set of Star Wars: The Last Jedi, is destined to be just as memorable as his Resistance counterpart.
If you’re looking for the perfect décor for your porch this Halloween that’s more spooky than spunky, make BB-9E for a darkly loyal companion this season.
What You'll Need:*
- Black craft pumpkin
- Two disposable paper bowls
- Black spray paint
- Large plastic bottle cap
- Red LED battery-powered light (optional)
- Two large light blue sequins
- Aluminum foil
- Shiny silver duct tape
- Silver acrylic paint
- Scissors
- Craft knife
- Glue
- Paint brush
- Pencil
- Ruler
*The activities in this article should only be done with adult supervision.
Get Started!
Step 1: Begin by spray painting the two paper bowls black, and let dry completely. (If you were unable to find a black craft pumpkin, you can spray an orange or white one at this time as well.)
Step 2: While the paint is drying, use the scissors (or a hammer and nail) to punch a hole in the plastic bottle cap. Next, cut the silver duct tape and wrap it around the edges of the plastic bottle cap, slightly overlapping on the top.
Step 3: Next, use the roll of duct tape as a template and trace the inside circle on the black craft pumpkin. Trace several circles around all sides of the pumpkin.
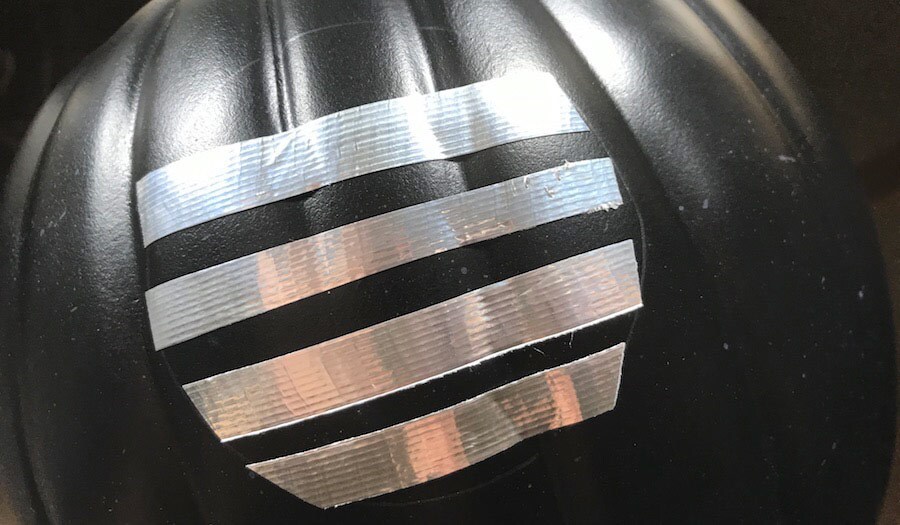
Step 4: Cut the silver duct tape into several small strips about the diameter of the circle. Make a row of horizontal stripes spaced evenly apart, cutting the tape to fit the circle.
Step 5: Place one strip of silver duct tape vertically in the middle of the circle.
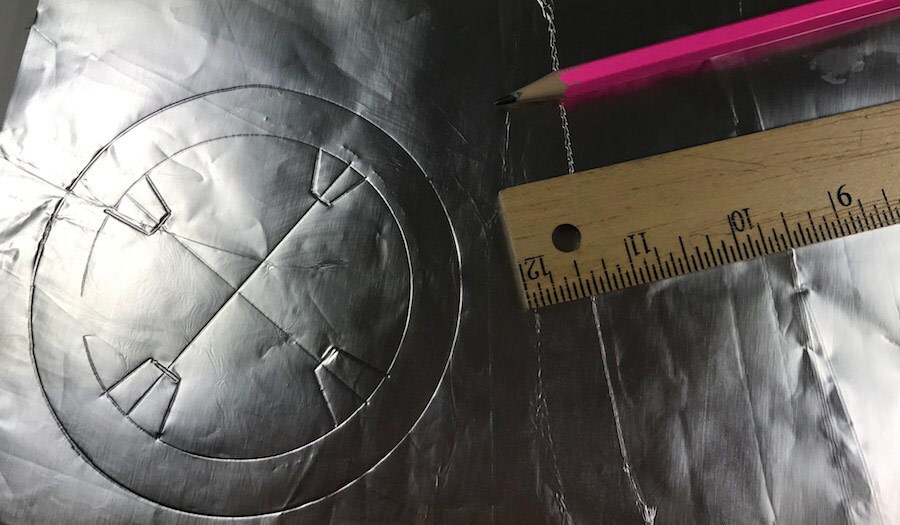
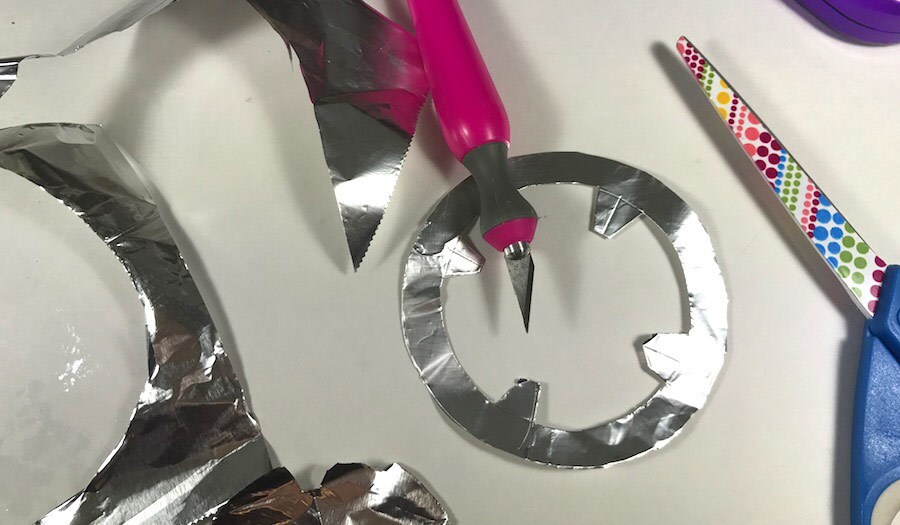
Step 6: Next, trace the inside and outside of the duct tape roll (not larger than an inch thick) on the piece of aluminum foil.
Step 7: Use the ruler to draw two lines bisecting the circle. These will serve as guides for the shapes inside the circle.
Step 8: Draw a trapezoid shape centered on the lines and touching the inner part of the circle. It doesn’t have to be exactly measured, but should be roughly ½ inch wide at the top of the shape. Repeat until you have four shapes.
Step 9: Use a craft knife to cut out the circle.
Step 10: Use the glue or tape to attach the circle on top of the silver strips you placed on the pumpkin previously.
Step 11: Repeat until all circles you traced on the pumpkin are complete.
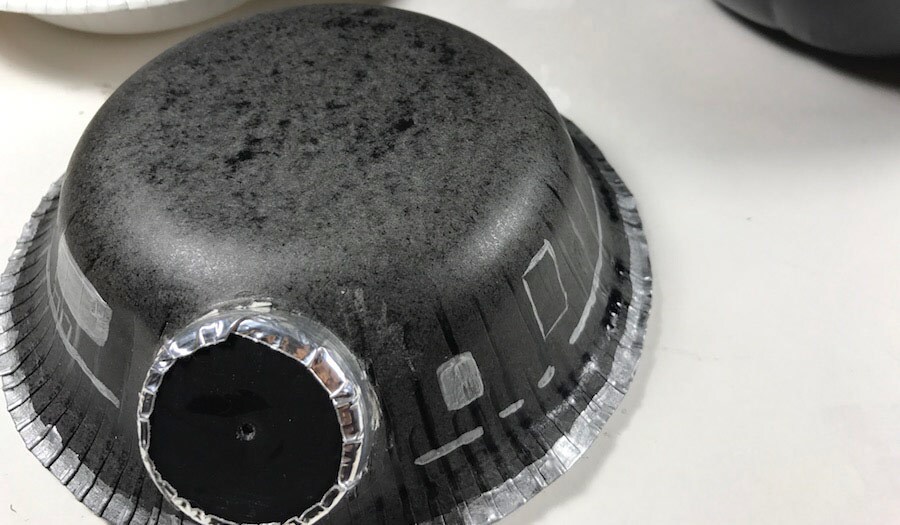
Step 12: Next, trace the bottle cap on the front of one of the paper bowls you painted. Cut it out with the craft knife, then gently push the cap through from inside the bowl so that it fits snugly. The cap should be sticking out, not concave.
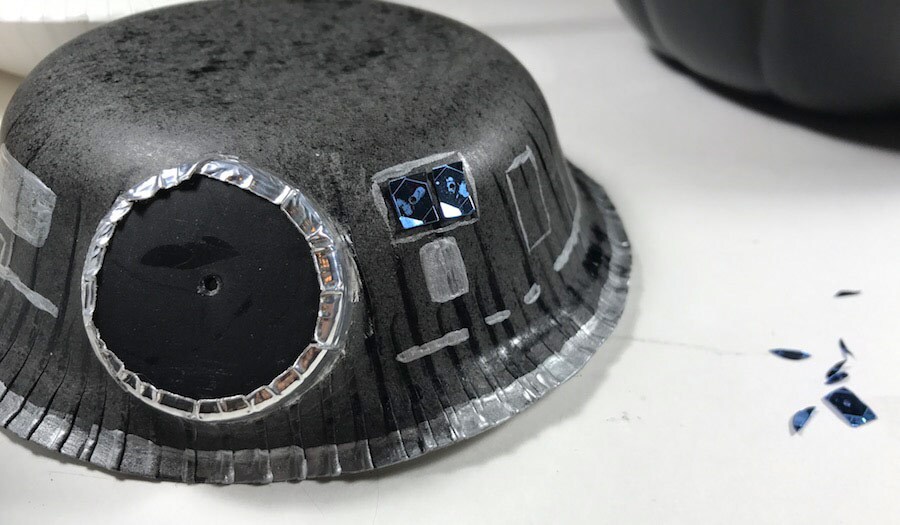
Step 13: Paint the designs of BB-9E’s head on to the bowl with the silver acrylic paint. (You can use the image at the top of this post/in the Databank for a reference.) Let dry.
Step 14: Paint a silver border along the bottom edge of the bowl, and let dry.
Step 15: Next, cut the two large blue sequins into identical rectangle shapes. Glue them onto the bowl to the right of the plastic bottle cap.
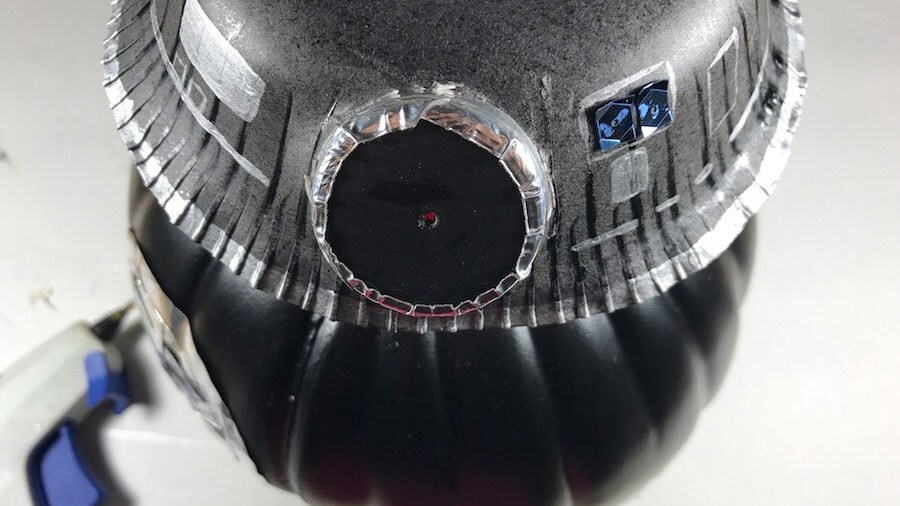
Step 16: Trim the border of the plain black bowl so that it’s shorter than the other bowl you already completed. Use the craft knife to cut a hole in the bottom of the bowl large enough to fit around the craft pumpkin’s stem.
Step 17: Hot glue the bottom bowl firmly on top of the pumpkin.


