• TikTok
  • Instagram
  • Twitter
  • Facebook
  • YouTube
  • Star Wars Kids
Star Wars Logo

Search

My Account Logout
  • More More
    • NEWS + FEATURES
      • THE LATEST
      • ANDOR
      • CELEBRATION
      • QUIZZES + POLLS
      • BOOKS + COMICS
    • VIDEO
      • ALL VIDEO
      • THIS WEEK! IN STAR WARS
    • FILMS
    • SERIES
      • All Series
      • Andor
      • Skeleton Crew
      • Ahsoka
      • The Mandalorian
    • GAMES + INTERACTIVE
      • View All
      • Star Wars Outlaws
      • Games + Apps
      • VR + Immersive
    • DATABANK
      • ALL DATABANK
      • ERAS
    • DISNEY+
      • STREAM NOW
      • EXPLORE
      • THE DISNEY BUNDLE
Local Nav | Drop-Down Phase III - 20231020
My Account Logout
  • other
  • instagram
  • twitter
  • facebook
  • youtube
  • other

© 2015 Disney

R2 Come Home Episode Gallery

  • Back to R2 Come Home
  • 7 Images
    • The explosion alerts the bounty hunters, who realize that someone is alive and active in the down...
    • Artoo jumps into the remaining starfighter -- Mace Windu's -- and attempts to raise a signal to C...
    • Artoo bobs and weaves Mace's fighter out of the Slave I's laser fire, and reaches the orbiting hy...
    • Artoo pilots the starfighter to the Jedi Temple on Coruscant and barges into a Jedi briefing room...
    • Back on Vanqor, Mace reflects upon the scorched remains of Jango Fett's helmet. A series of explo...
    • Suddenly, the drone of a Republic gunship fills the room, as Plo Koon's troops hover outside the ...
    • Anakin and Mace are placed on hovering gurneys and floated aboard a medivac gunship. They are dia...
  • The explosion alerts the bounty hunters, who realize that someone is alive and active in the downed cruiser. Aurra orders Bossk to jam all transmissions, and the hunters hurriedly board Slave I.

  • Artoo jumps into the remaining starfighter -- Mace Windu's -- and attempts to raise a signal to Coruscant, but he cannot get past the jamming. He blasts off, and Slave I immediately catches sight of the fighter. Boba recognizes its markings as Windu's fighter, and he gives pursuit.

  • Artoo bobs and weaves Mace's fighter out of the Slave I's laser fire, and reaches the orbiting hyperspace rings. The droid docks the fighter into one of the rings and escapes into hyperspace, leaving the Slave I behind. Boba is devastated, but Aurra is confident she still holds the upper hand over Mace Windu with her hostages.

  • Artoo pilots the starfighter to the Jedi Temple on Coruscant and barges into a Jedi briefing room, interrupting Plo Koon's strategy session. Ahsoka is surprised to see Anakin's droid so animated. Artoo hurriedly plugs into a holoprojector, and plays an image of the injured Anakin asking for help. Plo Koon orders his ship prepared immediately.

  • Back on Vanqor, Mace reflects upon the scorched remains of Jango Fett's helmet. A series of explosions rock the shipwreck, and it appears that time has run out for Mace and Anakin.

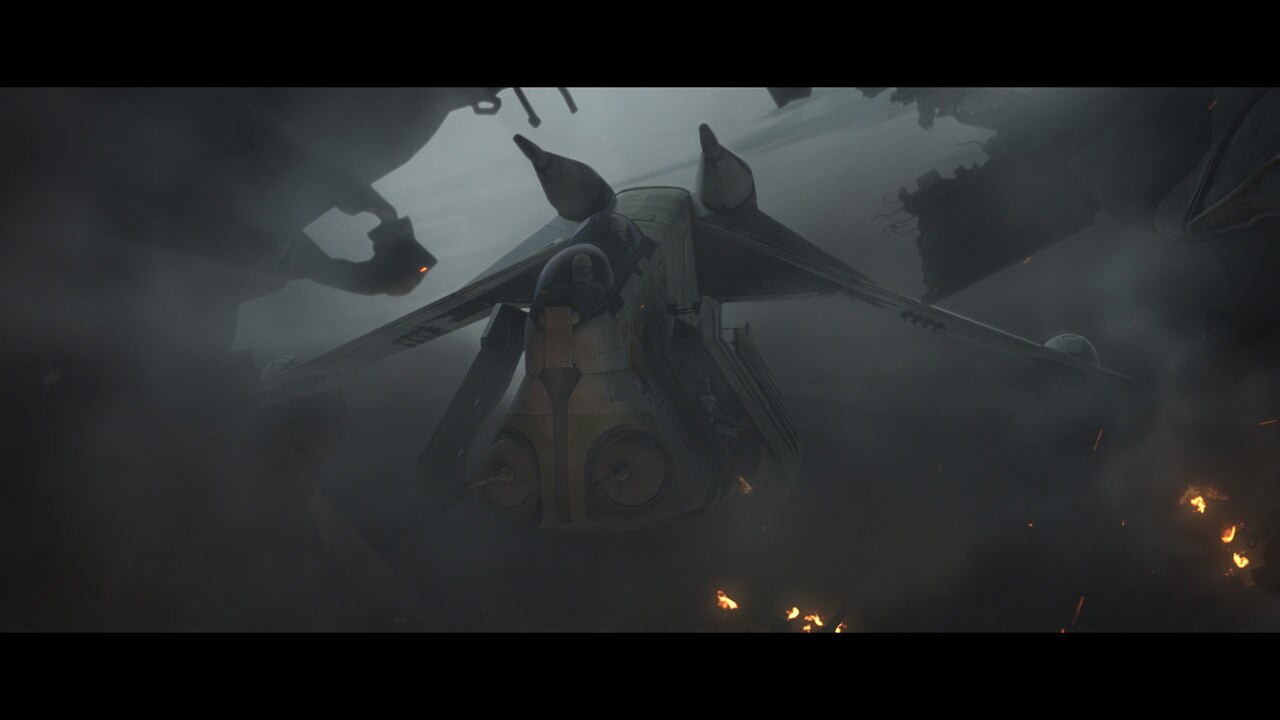
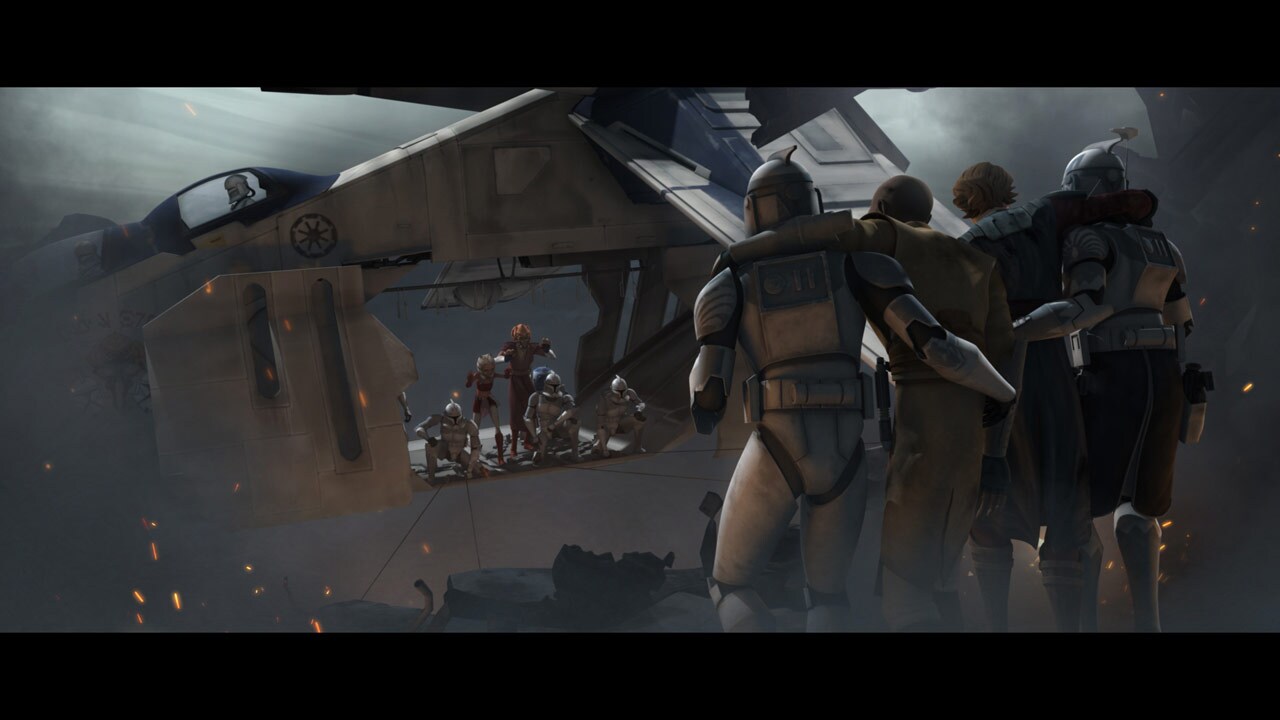
  • Suddenly, the drone of a Republic gunship fills the room, as Plo Koon's troops hover outside the damaged bridge. Aboard the gunship, Ahsoka and Plo Koon use the Force to steady the Endurance's rickety bridge while Clone Commander Wolffe and trooper Comet rappel aboard, plucking Anakin and Mace from the ruins. They leap aboard the gunship just as the bridge finally collapses.

  • Anakin and Mace are placed on hovering gurneys and floated aboard a medivac gunship. They are diagnosed with serious burns, but no permanent injuries. Mace thanks R2-D2 for his devotion to duty.

1 of 7
loading...

R2 Come Home Episode Gallery

More From Star Wars:
  • TikTok
  • Instagram
  • Twitter
  • Facebook
  • Youtube
  • SWKids
  • Terms of Use
  • Additional Content Information
  • Privacy Policy
  • Children's Online Privacy Policy
  • Your US State Privacy Rights
  • Disney Store | Star Wars
  • Star Wars Helpdesk
  • Interest-Based Ads
  • Do Not Sell or Share My Personal Information

TM & © Lucasfilm Ltd. All Rights Reserved