© 2015 Disney

Rebel Resolve Episode Gallery
- Back to Rebel Resolve
- 10 Images
-
Vizago tells Ezra that since the destruction of the communications tower, the Empire has been using courier droids. They take data from the city to the communications ship in orbit -- and may have information on Kanan. Vizago asks for nothing in return...yet.
-
After the meeting, Ezra finds a furious Hera waiting. She's angry with Ezra's recklessness, but agrees to go along with the plan.
-
The Imperials continue their torture of Kanan, and the Jedi still resists their demands for information on a unified rebellion. Tarkin suggests they move him to a new location, "one that never fails to extract a confession."
-
On Lothal, the crew goes to work. They ambush a small squad of stormtroopers, take their courier droid, and send Chopper in its place.
-
Chopper, undercover, plugs into the Imperial light cruiser. The officers see no data, but notice that Chopper is downloading communication logs, which he is not authorized to do. Before they can check him, the droid sends a signal to the Ghost.
-
Hera swoops in, while Sabine and Ezra head to their gun ports. They blast the Imperial vessel in a surprise attack, giving Chopper the chance he needs to escape.
-
The astromech speeds through the ship's corridors, and opens the airlock, bringing stormtroopers with him.
-
Chopper soars through space, in tandem with the Ghost, and finally reconnects with his friends.
-
All seems well. But when Zeb suggests that they keep the Imperial droid, Chopper disagrees...in a rather harsh way.
-
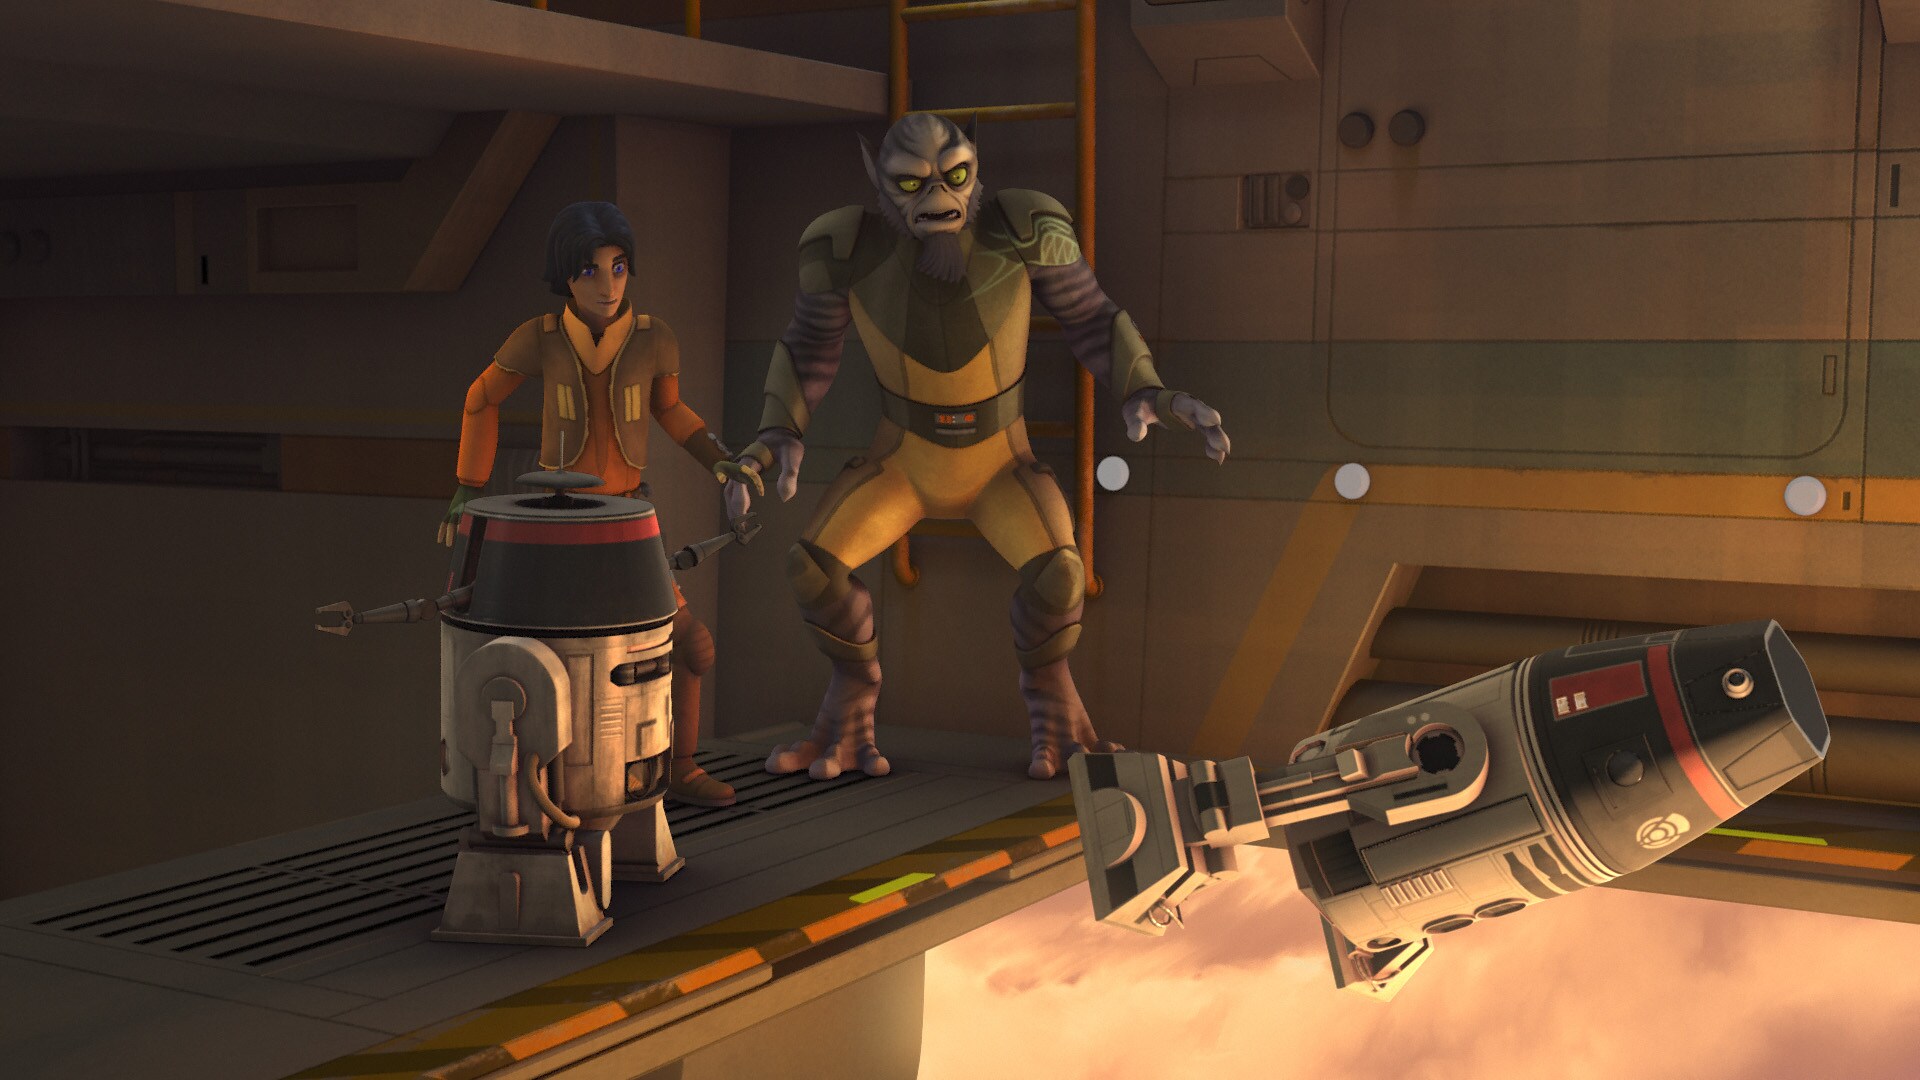
Finally, the group scans Chopper's new data. Kanan is currently on Tarkin's Star Destroyer, the Sovereign, but it's departing -- for the Mustafar system. Hera has only heard the name of the planet once, from Kanan. "It's where Jedi go to die," she reveals.
Rebel Resolve Episode Gallery
TM & © Lucasfilm Ltd. All Rights Reserved