


The Bad Batch: Now Streaming
Fortnite | Star Wars
Star Wars Outlaws
Tales of the Empire | Official Trailer
The Phantom Menace Returns to Theaters
Star Wars Celebration Japan

-
-
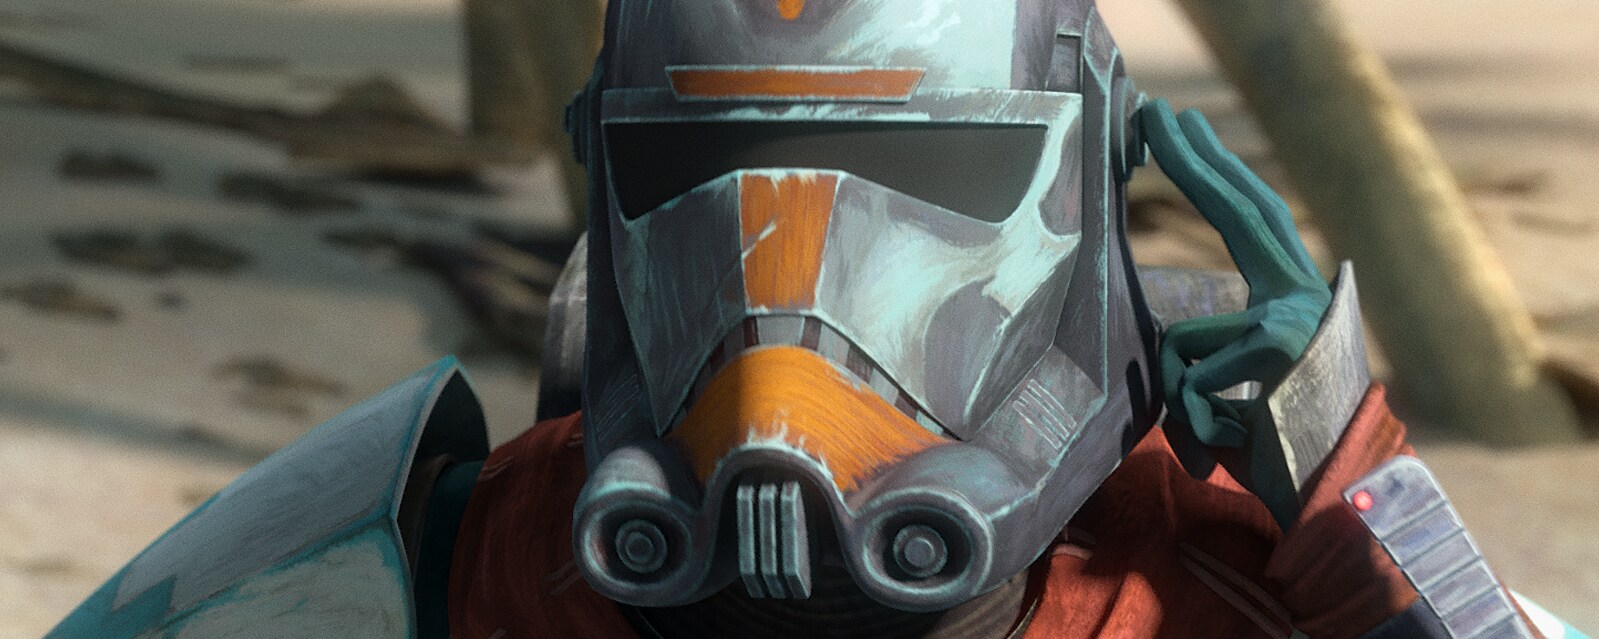
"The Harbinger" Episode Guide | Star Wars: The Bad Batch
As the Batch plans their next move, a mysterious stranger arrives.
-
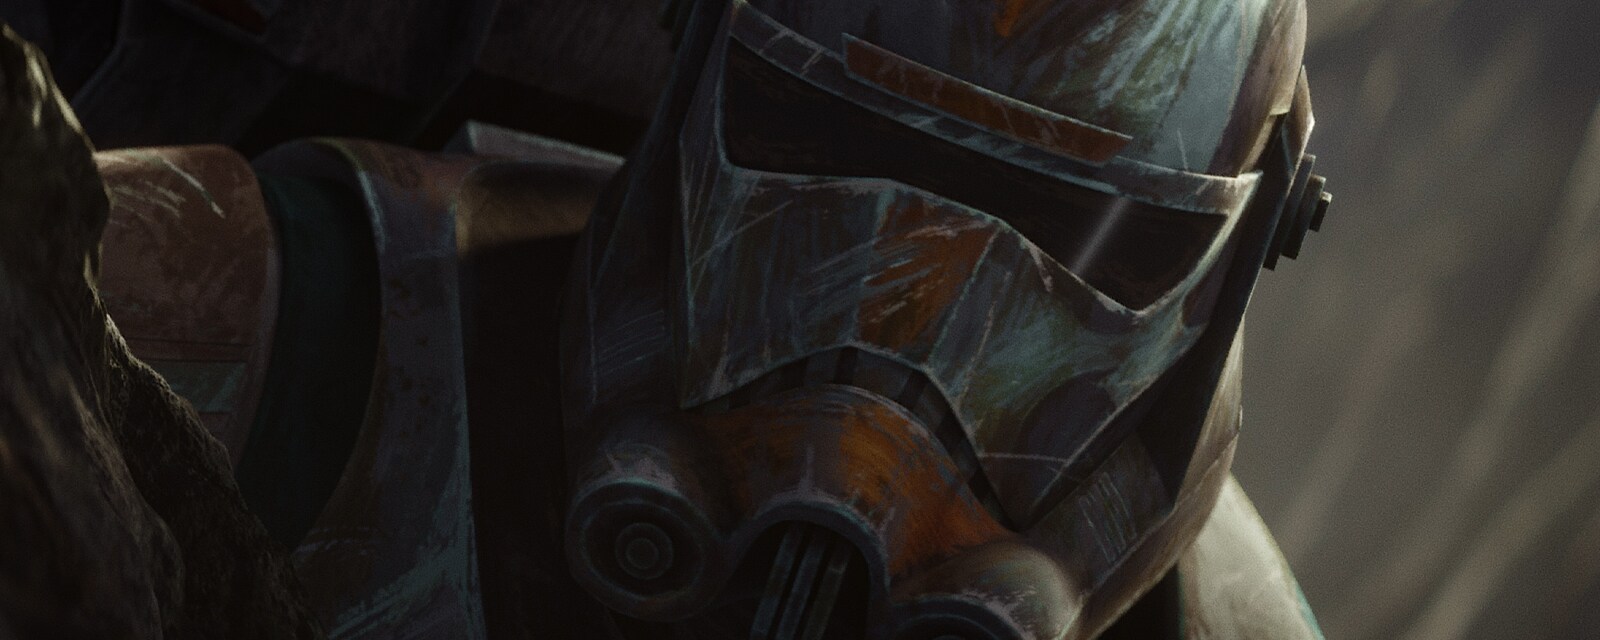
"Bad Territory" Episode Guide | Star Wars: The Bad Batch
Desperate for intel, Hunter and Wrecker track down a dangerous bounty hunter.
-
"Extraction" Episode Guide | Star Wars: The Bad Batch
As enemies close in, the Batch must evacuate a stronghold.
-
-
"Paths Unknown" Episode Guide | Star Wars: The Bad Batch
Following a lead, Hunter and Wrecker make a startling discovery.
-
"Confined" Episode Guide | Star Wars: The Bad Batch
Imprisoned on Tantiss, Omega adjusts to a new life.
-
-
-